Introduction
In the quest for stylish yet practical home organization, repurposing materials has become a popular and eco-conscious trend. One such versatile material is the humble wooden pallet, often seen as waste in warehouses and shipping yards. With a little creativity and some basic tools, you can transform these discarded pallets into a chic and functional DIY shoe rack, adding character to your entryway or closet while keeping your footwear organized and easily accessible. Let’s dive into the step-by-step guide on how to create your very own pallet shoe rack.
Gathering Materials and Tools
Before embarking on this DIY journey, ensure you have all the necessary materials and tools at hand:
- Materials:
- A clean and sturdy wooden pallet. Look for ones marked “HT” (heat treated), indicating they’re safe for indoor use.
- Sandpaper (medium and fine grit) for smoothing surfaces.
- Wood stain or paint to enhance the aesthetic and protect the wood.
- Screws and brackets for reinforcement, if needed.
- Optional: caster wheels for mobility.
- Tools:
- Saw (circular or handsaw) to trim the pallet if necessary.
- Drill with various bits for screwing and drilling holes.
- Screwdriver or drill driver.
- Sanding block or electric sander.
- Paintbrush or foam roller for applying finish.
Preparing the Pallet
- Cleaning: Start by thoroughly cleaning the pallet to remove dirt, dust, and any loose nails or staples. A wire brush and a vacuum cleaner can come in handy here.
- Sanding: Smooth out rough edges and surfaces using medium-grit sandpaper first, followed by fine-grit for a more polished touch. Focus on areas where shoes will rest to avoid snags.
- Trimming & Customizing: Depending on your space and preference, you might want to trim the pallet to size or remove excess planks to create a specific design. Use a saw carefully, ensuring straight cuts.
Adding Finishing Touches
- Staining or Painting: Apply your chosen finish. Stain brings out the natural grain of the wood, while paint offers a pop of color. Allow each coat to dry completely before applying additional layers or proceeding to the next step.
- Sealing: For added protection, especially in humid environments, consider applying a clear sealer or varnish after the stain or paint dries.
Assembly & Reinforcement
- Optional Reinforcements: If your design requires additional stability, attach brackets or L-brackets to the corners or underneath the shelves for support.
- Adding Mobility: To make your shoe rack portable, screw caster wheels onto the bottom of the pallet, ensuring they’re evenly spaced and securely fastened.
Styling & Placement
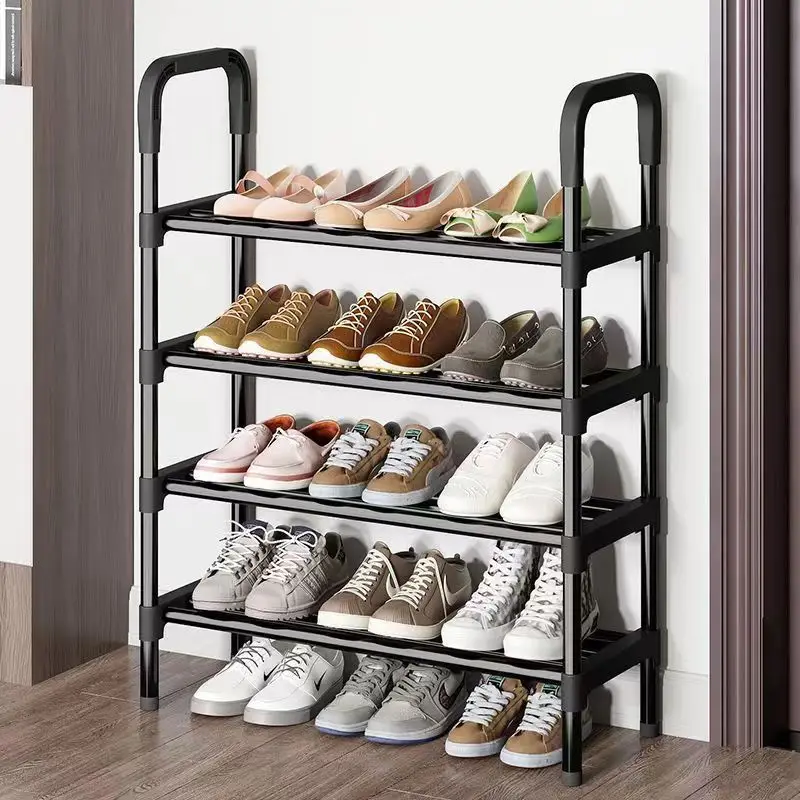
Once your DIY pallet shoe rack is complete, find the perfect spot for it. Whether it’s in the entryway to greet guests or tucked neatly in your walk-in closet, its rustic charm will elevate the space. Arrange your shoes neatly, perhaps categorizing by type or color for an organized and visually pleasing display.
Personalizing Your Pallet Shoe Rack
One of the most exciting aspects of a DIY project like this is the ability to personalize it and make it truly unique to your style and needs. Here are a few ideas to take your pallet shoe rack from functional to fabulous:
Creative Dividers
If you have a collection of varying shoe sizes and types, consider adding dividers within the shelves. You can cut additional pieces of wood to size and secure them vertically to create separate compartments. This not only keeps smaller shoes from getting lost under larger pairs but also adds a touch of customization.
Decorative Elements
Add a personal touch by incorporating decorative elements. This could be as simple as stenciling patterns or quotes onto the finished rack, attaching decorative hooks to hang keys or bags, or even installing small LED strip lights along the underside of the top shelf to provide ambient lighting.
Multifunctional Design
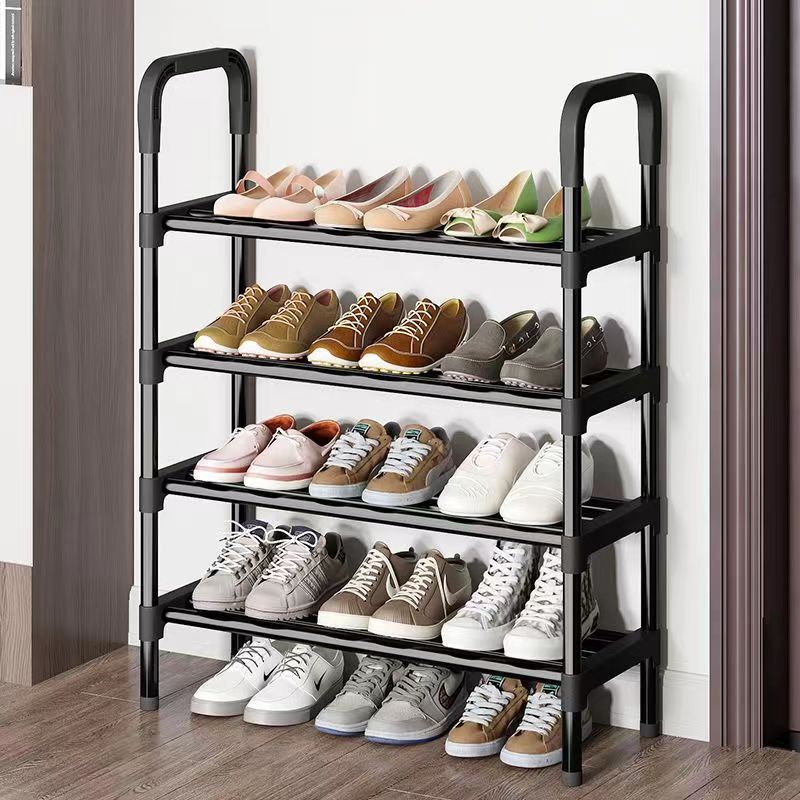
Expand the utility of your shoe rack by incorporating additional features. For instance, you could add a row of hooks on one side for hanging coats, hats, or umbrellas, turning it into a complete entryway organizer. Alternatively, attach a small shelf above the shoe rack for displaying potted plants, family photos, or decorative items.
Hanging Storage
For those tight on floor space, consider converting your pallet into a wall-mounted shoe rack. By attaching brackets or hooks to the back of the pallet, you can securely hang it on the wall, freeing up floor space while still providing ample storage.
Color Blocking and Patterns
If a uniform look isn’t your style, experiment with color blocking or creating patterns using different stains or paint colors on each plank. This technique can add visual interest and make your shoe rack a statement piece in your home.
Sustainability and Upcycling Tips
- Source Responsibly: When looking for pallets.
- Repurpose Other Materials: Extend the upcycling theme beyond just the pallet. For example, use leftover fabric scraps to create cushioned inserts for storing delicate shoes or recycle old leather belts as creative shelf brackets.
- Community Involvement: Engage your community in your upcycling efforts. Organize a pallet swap or upcycling workshop to encourage others to join the sustainability movement.

Lighting Integration
For an unexpected touch, integrate lighting into your shoe rack. String lights or LED strip lights along the underside or back of the pallet can create a warm and inviting ambiance, making your entryway feel more welcoming.
Sustainable and Upcycled Elements
Take sustainability further by incorporating other upcycled materials into your design. For instance, use old leather belts as straps to secure the pallet together, or recycle glass bottles as quirky vase holders attached to the sides.
Maintenance and Longevity
To ensure your pallet shoe rack stands the test of time, regular maintenance is key:
- Dust it regularly with a soft cloth to prevent the accumulation of dirt and grime.
- Periodically check for loose screws or brackets and tighten them as needed.
- If using outdoors or in high-moisture areas, reapply a protective sealant every year to prevent weathering and rot.
- Be mindful of weight distribution; avoid overloading one section to maintain structural integrity.
Step-by-Step Guide to Building Your Pallet Shoe Rack
Step 1: Prepare Your Pallets
Start by dismantling the pallets if necessary. Carefully remove the nails using a hammer or pry bar to separate the slats and other usable parts. Sand down any rough edges or surfaces to create a smooth finish.
Step 2: Measure and Cut
Measure and mark the dimensions for your shoe rack components based on your design plan. Use a saw to cut the pallet slats to the required lengths for shelves, sides, and any additional parts. Ensure all pieces are cut accurately for a snug fit during assembly.
Step 3: Assemble the Frame
Begin assembling the shoe rack frame by attaching the vertical sides to the base or back panel. Use wood screws or nails to secure the slats together, ensuring they are aligned properly. You can reinforce the joints with wood glue for added stability.
Step 4: Install Shelves or Dividers
Place the cut slats horizontally across the frame to create shelves or dividers for storing shoes. Space them evenly to accommodate different shoe sizes and heights. Secure each shelf with screws or nails through the sides or back panel.
Step 5: Finishing Touches
Once the structure is assembled, sand any remaining rough edges and surfaces to achieve a smooth texture. Apply paint or wood stain according to your desired finish. Allow sufficient drying time before applying a clear coat or sealer to protect the wood from moisture and wear.
Decorating and Customizing Your Shoe Rack
Paint or Stain Options
Choose a paint color or wood stain that complements your home decor. Lighter shades can brighten up a room, while darker stains add a sophisticated touch. Consider distressing techniques for a vintage look or stenciling designs for a personalized touch.
Adding Hooks or Handles
Enhance the functionality of creative pallet shoe rack by adding hooks or handles for hanging bags, umbrellas, or keys. Attach these accessories securely to the sides or back panel using screws or nails.
Maintaining Your Pallet Shoe Rack
Cleaning and Care Tips
To maintain the appearance and functionality of your pallet shoe rack, regularly dust or wipe it with a damp cloth. Avoid placing wet or dirty shoes directly on the rack to prevent moisture damage. If necessary, reapply a protective coat of sealer or paint to prolong its lifespan.
Conclusion
Transforming a discarded wooden pallet into a functional and stylish shoe rack is not only a fulfilling DIY project but also a sustainable choice that reduces waste. By following these steps, you’ll create a unique storage solution tailored to your needs while contributing to a greener lifestyle. This project serves as a reminder that with a little creativity, everyday items can be given new life and purpose, enhancing both the functionality and aesthetic of our homes.
