Introduction
Are you tired of tripping over scattered shoes every time you enter your home? Do you dream of having a well-organized footwear collection that’s not only easy to navigate, but also adds a touch of charm to your living space? Fear not, for a DIY homemade shoe rack is the solution you’ve been looking for! With a bit of creativity and some basic tools, you can transform your cluttered entryway or closet into a neat and stylish shoe sanctuary. Follow these easy steps to build your very own custom shoe rack.
1. Assess Your Needs and Space
Before diving into the project, take a moment to assess your specific needs and the available space. Consider factors such as the number of shoes you need to store, the dimensions of your chosen area, and whether you prefer a standing or wall-mounted design. This initial planning will guide the rest of your project.
2. Gather Materials and Tools
For a simple yet sturdy shoe rack, you’ll typically need:
- Wood planks (pine or plywood work well and are cost-effective)
- Saw (hand saw or circular saw)
- Sandpaper or sanding block
- Wood screws
- Drill
- Measuring tape
- Level
- Paint or wood stain (optional)
3. Measure and Cut
Measure and mark the lengths you need for the horizontal shelves and the vertical supports. The standard depth for shoe shelves is around 10-12 inches, while the height between shelves should be at least 6 inches to accommodate most shoes. Remember to factor in the height of your tallest shoes when deciding on the spacing. Cut your wood pieces accordingly using a saw.
4. Sand and Finish
Smooth any rough edges with sandpaper to prevent splinters and ensure a professional finish. If desired, apply a coat of paint or wood stain to match your home’s decor. Allow the finish to dry completely before proceeding.
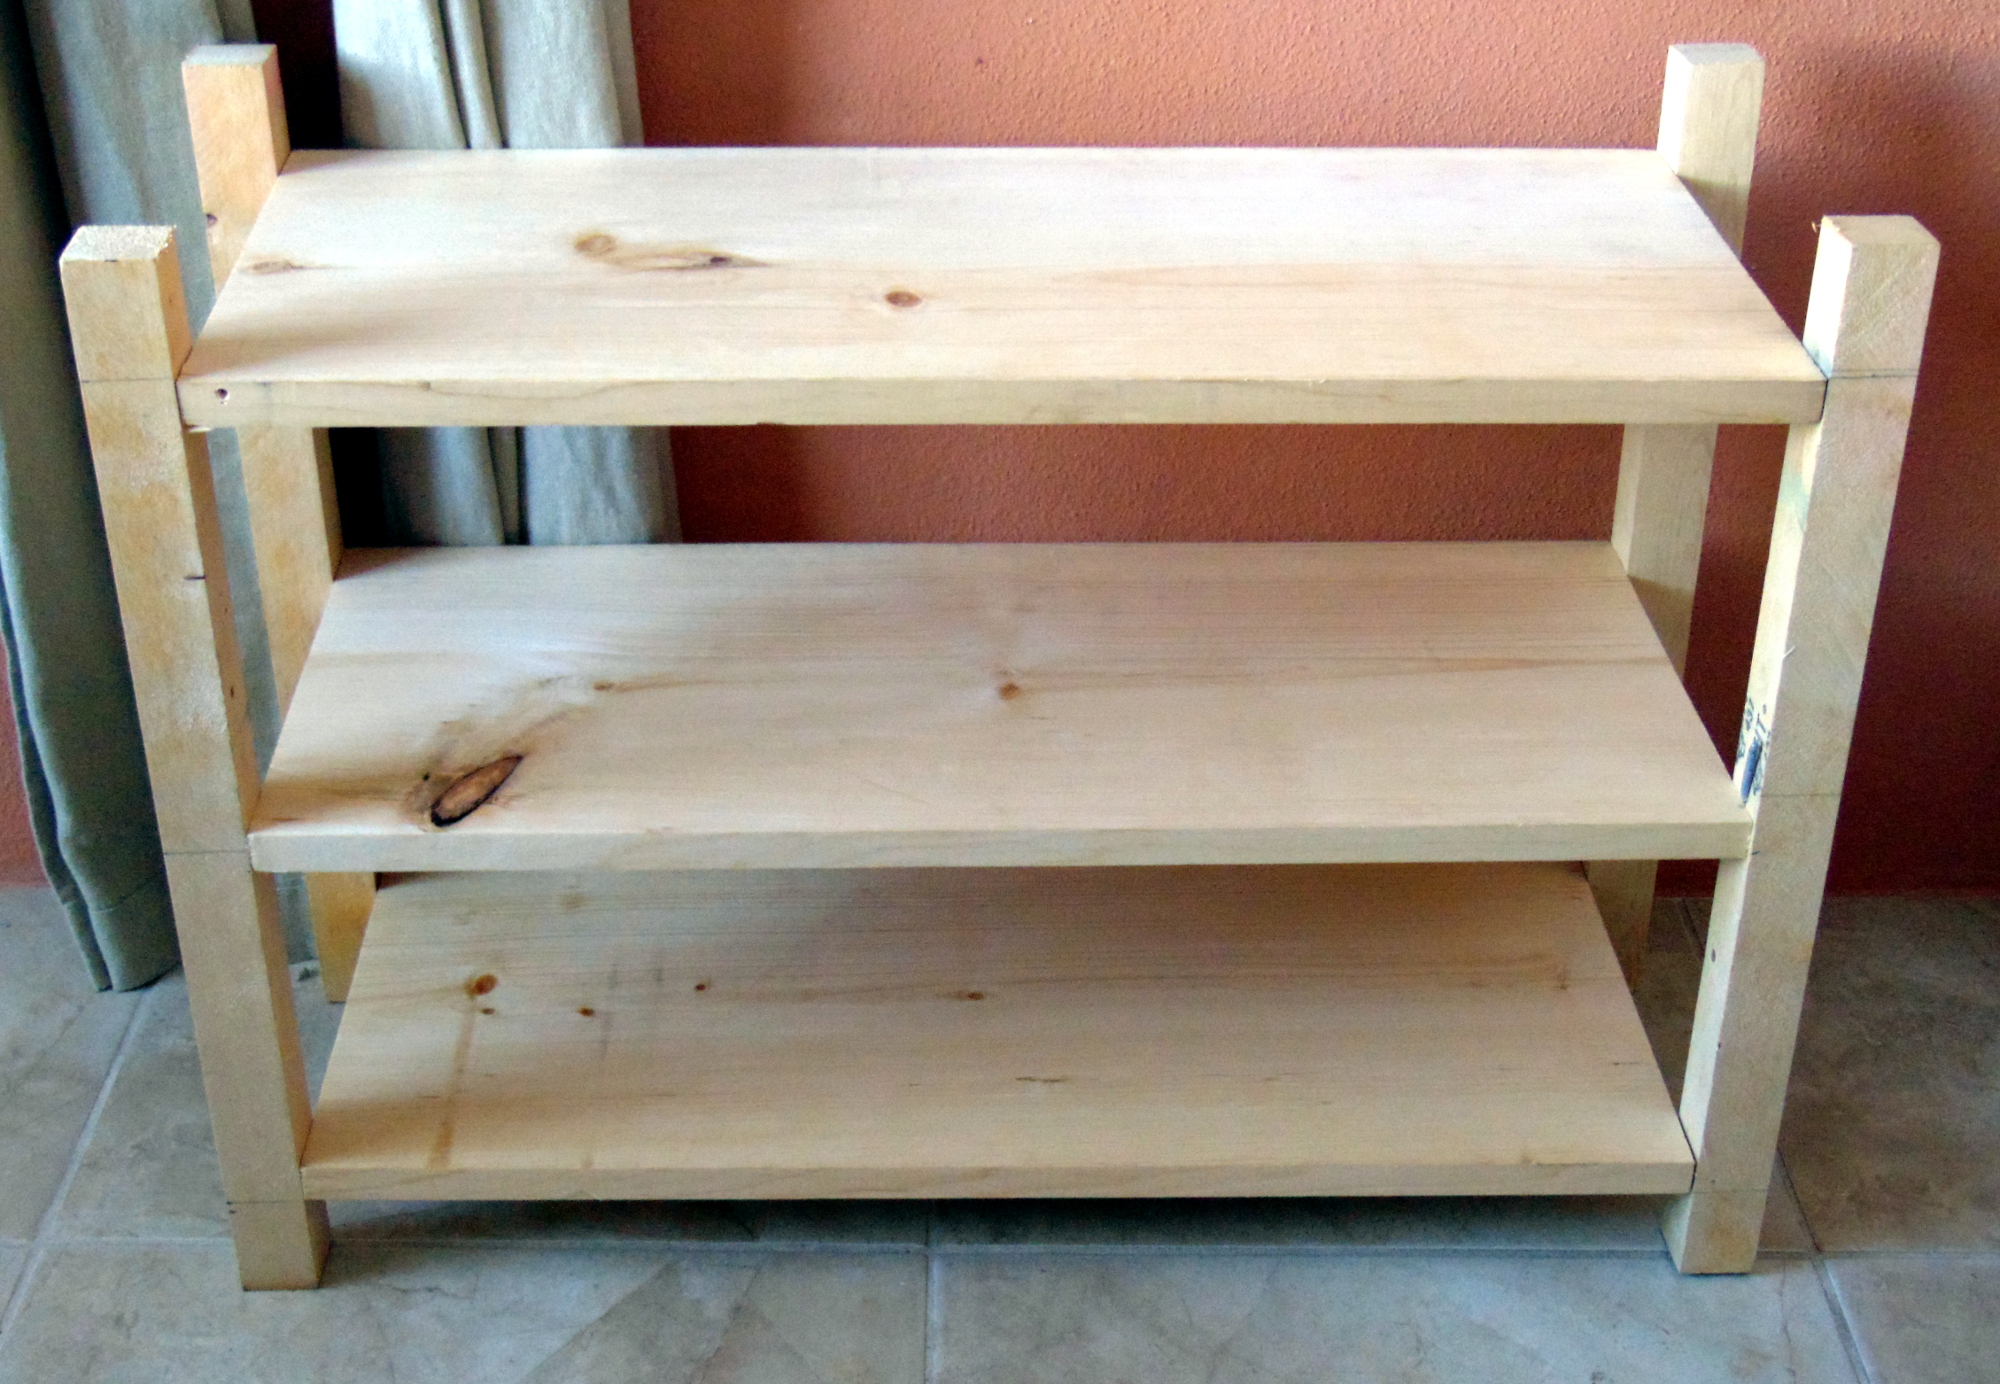
5. Assemble the Frame
Lay out your vertical support pieces flat on the ground, spacing them according to your design. Place the horizontal shelves on top, pre-drilling holes where screws will go to prevent splitting the wood. Secure each shelf to the supports using wood screws and a drill. Use a level periodically to ensure your rack remains straight and even.
6. Secure to Wall (Optional)
If you’re building a wall-mounted shoe rack, locate the studs using a stud finder and attach the rack securely using brackets or L-shaped brackets. This step is crucial for safety and stability.
7. Add Finishing Touches
Once your shoe rack is assembled, consider adding non-slip mats or lining to the shelves to keep shoes in place. You might also want to install hooks nearby for hanging coats, umbrellas, or bags, completing your entryway organization system.
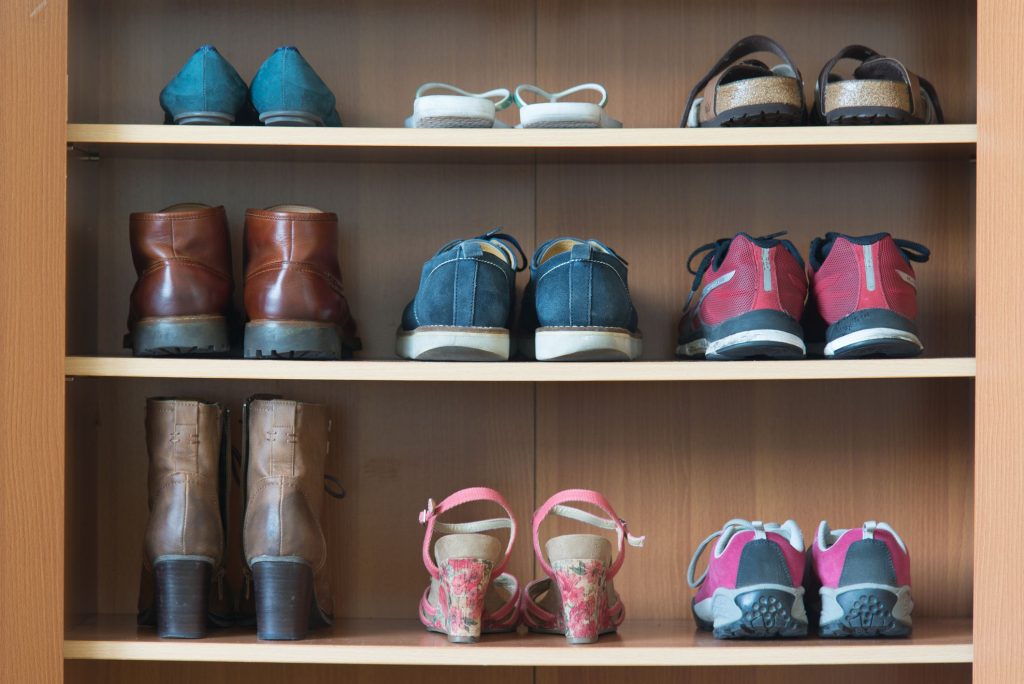
8. Organize Your Shoes
Finally, the fun part! Arrange your shoes on the new rack, grouping them by type, color, or season to find what works best for you. Not only will this make your daily routine smoother, but it will also give your home a tidy and organized appearance.
Adjustable Shelving
Consider incorporating adjustable shelving into your design. By using shelf pins or tracks, you can easily modify the spacing between shelves to accommodate different types of shoes or storage needs over time. This flexibility ensures your shoe rack remains adaptable as your footwear collection evolves.
Hidden Storage Compartment
Incorporate a hidden compartment into your shoe rack design for storing items like keys, wallets, or other small valuables. This can be as simple as adding a hinged lid to one of the shelves or designing a shallow drawer at the base of the unit.
Rotating Shoe Tree
For those with limited floor space, a rotating shoe tree can be a game-changer. Construct a cylindrical frame with multiple tiers of arms that rotate around a central axis. This allows you to store and access many pairs of shoes within a compact footprint.
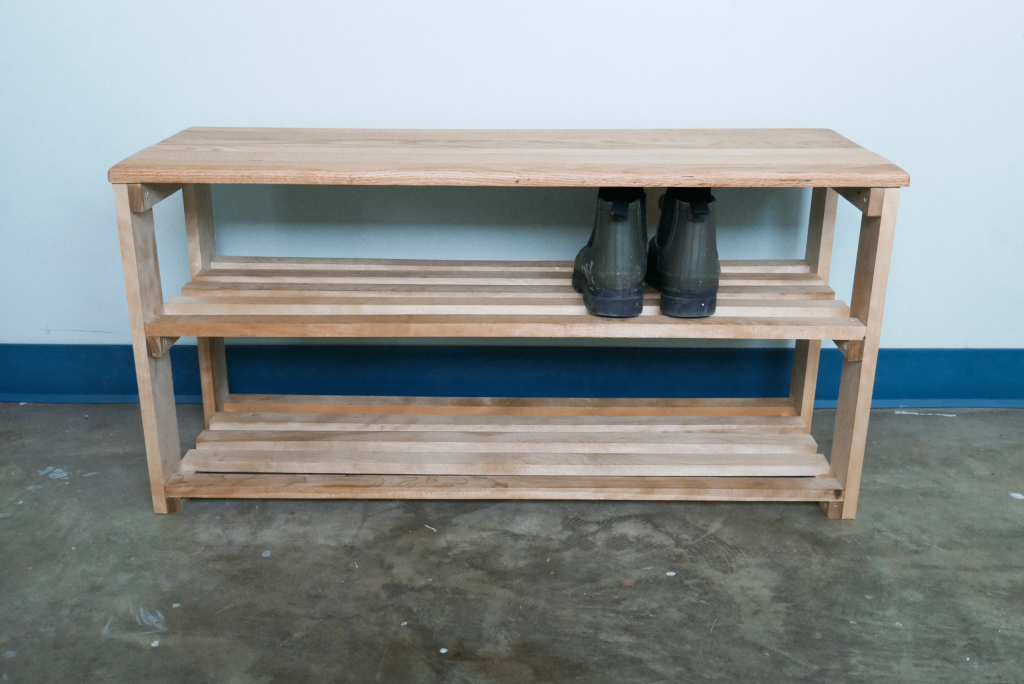
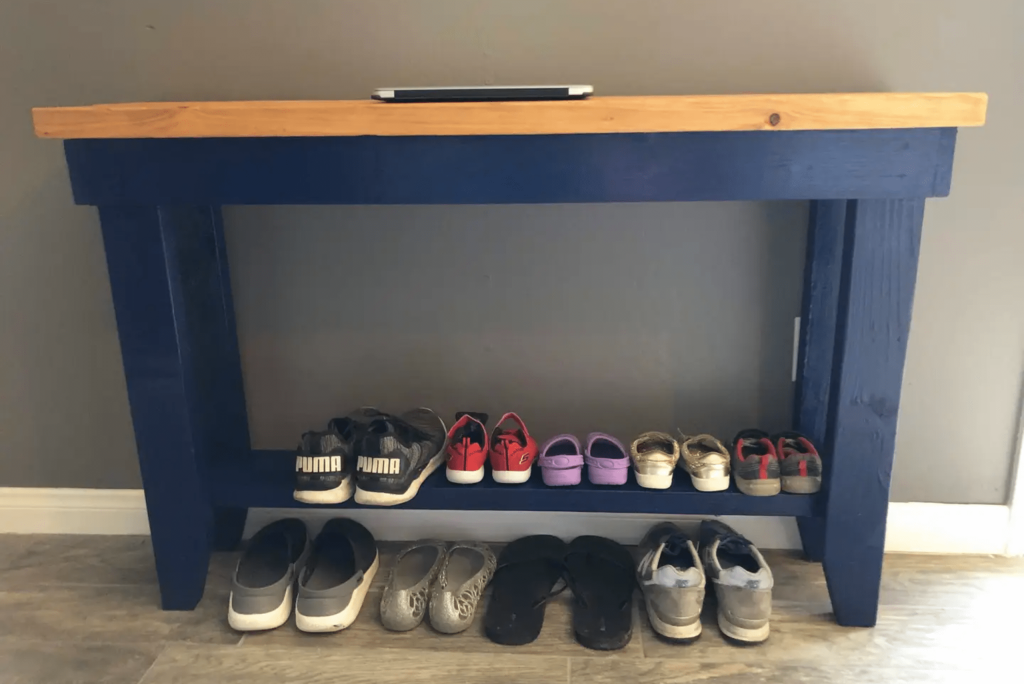
Integrated Seating
Combine functionality and comfort by integrating a bench into your shoe rack design. A simple wooden bench with lift-up seating can provide additional storage space underneath while offering a convenient spot to sit while putting on or taking off shoes.
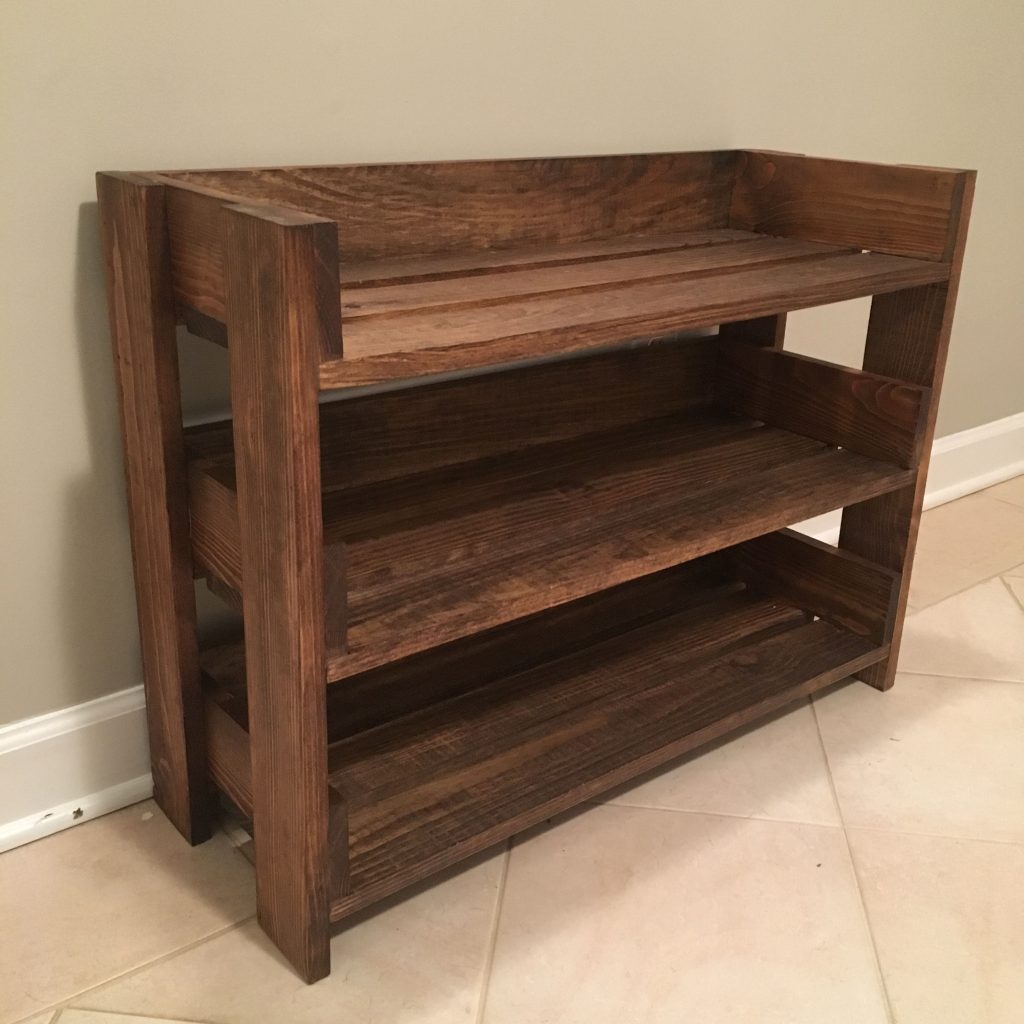
Repurposed Materials
Give your project an eco-friendly twist by repurposing materials. Old pallets, wine crates, or even discarded ladder sections can be transformed into unique and charming shoe racks. Not only does this reduce waste, but it also adds character to your home.
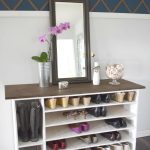
Personalized Decor
Infuse your personality into the design through decorative elements. Use stencils or wood-burning tools to add patterns, quotes, or family names onto the wood. Alternatively, attach decorative molding or trim to the edges for a more elegant look.
Lighting
Integrate lighting into your shoe rack to create both function and ambiance. LED strip lights along the underside of shelves can illuminate your shoes, making selection easier while also adding a warm glow to your entryway or closet.
Smart Shoe Rack
For tech enthusiasts, consider turning your shoe rack into a smart device. Install sensors that count the number of shoes or use Wi-Fi-enabled LED strips that can be controlled via smartphone apps, adjusting the lighting as needed.
By incorporating these advanced tips and customizations, your DIY shoe rack becomes not just a storage solution but a statement piece that reflects your personal style and enhances your living space. Remember, the key to a successful DIY project is to let your imagination guide you and to enjoy the process of creating something truly unique.
Customizing Your Shoe Rack for Special Needs
While the basic design outlined above will serve most needs, there’s always room for personalization and adaptation based on specific requirements. Here are a few ideas to enhance your homemade shoe rack:
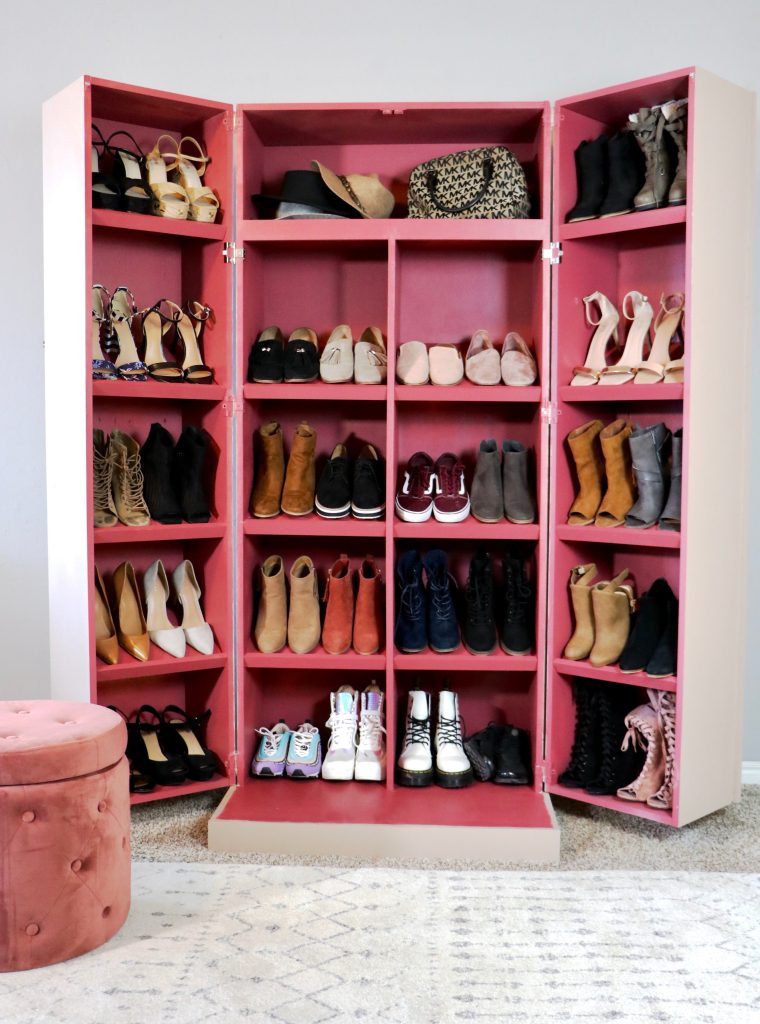
Adjustable Shelves
If you have a diverse shoe collection that includes both flats and high boots, consider incorporating adjustable shelves into your design. This allows you to customize shelf heights to perfectly fit different types of footwear.
Rotating Shoe Tree
For a compact space or a large collection, a rotating shoe tree can be a game-changer. By mounting a central pole and attaching tiers of angled shelves around it, you can easily access all sides of the rack with a simple spin.
Hidden Storage
Incorporate hidden storage compartments or drawers into your shoe rack design to stash away smaller items like socks, shoe polish, or insoles. This keeps everything related to footwear organized and easily accessible.
Conclusion
Building a DIY shoe rack not only solves a practical problem but also provides an opportunity for creative expression and customization. Whether you’re a seasoned DIY enthusiast or a beginner tackling your first project, creating your own shoe rack is a fulfilling endeavor that results in a functional and personalized addition to your home. So roll up those sleeves, gather your materials, and let your creativity shine as you transform your shoe chaos into a beautifully organized display.