Gathering Your Macrame Supplies
To kick off your simple macrame plant hanger, start by collecting the necessary supplies. You’ll need the following:

- A wooden or metal ring to serve as the anchor point.
- Macrame rope of your choice. Preferably 5mm single strand cotton cord for softness and ease of use.
- Sharp fabric scissors for clean cuts.
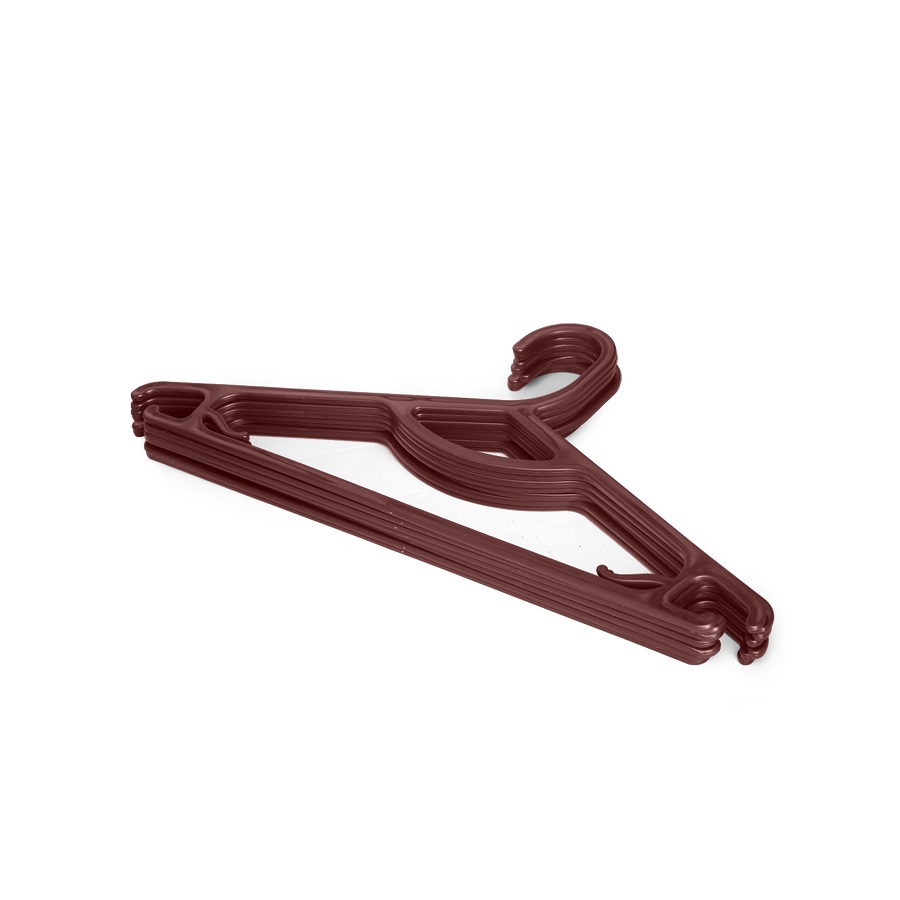
- Clothing rack or something similar to hang your work in progress.
- S Hook to attach your project to the rack, available at hardware stores.
- Measuring tape to ensure precise lengths of rope.
Choosing quality materials is crucial as they determine the sturdiness and aesthetic of your finished plant hanger. Select a rope that is both durable and easy to work with. A metal or wooden ring will provide a solid base for your creation. Using a clothing rack gives you a stable platform to hang your hanger as you work, and an S Hook makes it easy to attach and remove it as needed. Don’t skip on a measuring tape; accurate measurements are the foundation of a symmetrical macrame piece.
Ready all these items before you begin, and you’re set for a smooth macrame experience. With your supplies at hand, you’re well on your way to creating a beautiful and simple macrame plant hanger that will showcase your pot in style.
Preparing Your Macrame Cord
Before we dive into the knots, the first step is preparing your macrame cord. Your plant hanger’s strength and durability depend on how well you prep your cords. Here’s how to do it:
- Measure and cut your macrame rope. You’ll need eight pieces in total. Cut four strands to be 40 inches when halved, and another four strands to be 75 inches when halved.
- Fold each strand over the ring so that both ends are even. This is where the term ‘halved’ comes into play. You want the midpoint of each rope to sit at the top of the ring.
- Ordering the cords correctly is important. Arrange them so that you alternate between the shorter and longer lengths around the ring. This will help later when you form your knots.
Remember, it’s easier to measure and cut when the ropes are shorter. Ensure your cuts are precise with fabric scissors. Once done, double-check that all the ends are even for uniformity in your work.
Preparation is key to a great finish. Taking the time to measure and cut your cords accurately will make the rest of your macrame project go smoothly.
Starting with a Secure Gathering Knot
After preparing your macrame cords, it’s time to begin knotting. Start with a secure gathering knot. This foundational knot holds all of your cords together and sets the stage for the rest of your plant hanger. Here’s a step-by-step on how to tie it:
- Cut a separate piece of rope, about 30 inches long.
- Place it over all your gathered cords to form a loop a few inches down.
- Wrap the long end around the gathered cords 8-9 times, snugly.
- Tuck the end of the rope through the loop you left at the bottom.
- Pull the loose end at the top to tighten the loop around the wraps.
- Trim any excess rope from the ends for a neat appearance.
The gathering knot should be firm and tidy, acting as the neck of your plant hanger. A well-tied gathering knot will ensure that your simple macrame plant hanger maintains its structure and supports the weight of your pot.
 Crafting Spiral Knots for Character
Once you’ve secured your gathering knot, it’s time to add some flair to your simple macrame plant hanger with spiral knots. Here is how you can introduce these decorative and functional elements:
- Group your cords in sets of four, organizing two short cords in the center and two long cords on the outside.
- Take the right long cord, cross it over the middle short cords, and under the left long cord.
- Next, loop the left long cord under the right one, behind the short cords, and through the loop on the right.
- Pull the cords tight to form your first spiral knot.
- Continue this process to create a series of spiral knots, each one adding length and texture.
The goal here is to craft a segment of about 8.5 inches of spiral knots. These knots not only contribute to the visual appeal of your plant hanger but also provide additional support for your pot. Make sure the longer ropes remain on the outside, as they will get shorter with every knot you tie. This way, you won’t run out of rope and will maintain the consistency needed for a balanced design.
Creating spiral knots can be meditative and rewarding. Pay attention to the tension and uniformity of your knots to ensure the best outcome for your macrame plant hanger. This step is where your project begins to take shape, emphasizing the importance of handcrafted detail in your work.
Adding Square Knots for Stability
Once your spiral knots have added character, it’s time to weave in stability with square knots. Here’s how you interlace these functional knots into your simple macrame plant hanger:
- Take the ropes directly below your spiral section.
- Begin by crossing the right rope over the center strands, then under the left rope.
- Loop the left rope underneath the right rope and pull it through the space near your right hand.
- Pull both ropes to secure your first half of the square knot at the base of your spiral knots.
Now, reverse the steps:
- Cross the left rope over the middle strands, then under the right rope.
- Bring the right rope underneath the left one, pulling it through the space to complete the knot.
- Tighten the knot, ensuring it lies flat and snug against the spiral knots.
Repeat this sequence directly below each spiral section, leaving about 3.5 inches of space between knots. Double check your work as you go. You’ll create a series of square knots, providing a robust support structure for your plant pot. These knots not only offer strength but they also contribute to the hanger’s decorative pattern.
As you continue knotting, maintain consistent tension on the ropes. This will ensure each square knot is as strong and as uniform as the others. Your simple macrame plant hanger is getting closer to completion, one knot at a time. Keep the pattern even and the spacing consistent for a sleek look.
Connecting Sections with Square Knot Diamonds
It’s time to bring our simple macrame plant hanger sections together with square knot diamonds. These diamonds add an elegant touch and reinforce the hanger’s structure. Here’s what to do:
- Start from the square knots you just made under the spiral sections.
- Take two adjacent ropes, one from each pair of square knots from neighboring sections.
- Tie them together with a new square knot about 3.5 inches below the last ones.
- Work your way around the hanger, connecting all sections in this way to form the first row of diamonds.
Now for the second row:
- Alternate the ropes you just connected, taking the next rope along from each section.
- Make another set of square knots, another 3.5 inches down, to complete the diamond shapes.
This step involves creating interlocking patterns that provide a sturdy base for your plant. The rows of square knot diamonds will support your pot’s weight beautifully. Remember to keep the tension consistent. Knot firmly but don’t pull too tight, as that could warp the shape of your macrame plant hanger.
As you work, step back occasionally to check that your diamonds are even. This will ensure your hanger hangs straight and looks professionally crafted. With the diamonds in place, your simple macrame plant hanger will really start to take form, showcasing the harmony between function and design.
Finishing with a Final Gathering Knot
To complete your simple macrame plant hanger, you’ll tie a final gathering knot. This is a crucial step to ensure your hanger holds together firmly. Here’s how you can secure the final knot:
- First, leave about a one inch space below your last row of square knot diamonds.
- Cut a new piece of macrame rope, approximately 30 inches long, for your gathering knot.
- Place this new rope underneath the hanging cords, leaving a small loop at the top.
- Wrap the long end of the new rope tightly around the collection of hanging cords 8-9 times.
- Thread the end of the rope through the loop you left at the bottom.
- Pull the top end of the rope to draw the bottom loop up, tightening the knot.
- Trim the loose ends to tidy up your work, and your knot is complete.
Remember to keep the knot tight but not overly constricted. You want your simple macrame plant hanger to have a polished look that’s sturdy enough to hold a plant pot confidently. With this final gathering knot, the main structure of your macrame plant hanger is finished. In the next steps, you will give your project the final touches to perfect its appearance.
 Trimming and Final Touches
After securing the final gathering knot, your simple macrame plant hanger is nearly ready to hang. It just needs some final touches to polish the look. Here’s what to do:
- Inspect your plant hanger for any loose ends or uneven ropes. Make sure that all knots are tight and even. This stage is crucial for the overall quality.
- Use your sharp fabric scissors to trim any excess rope beneath the final gathering knot. Aim for a neat, tassel-like effect which will add to the hanger’s charm.
- If you desire a clean edge, consider singeing the ends of the ropes. This step prevents fraying and gives a professional finish. Be careful, as this involves a flame.
- Give your plant hanger a slight tug at various points to ensure everything is secure. You don’t want any surprises once a plant is in place.
- Straighten out your cords and knots to give your plant hanger the perfect shape. This will make sure it hangs just right.
Your simple macrame plant hanger is now complete! You’ve crafted an item that’s not only functional but will also add a touch of handmade elegance to any space. With your supplies and steps outlined in this blog, you now have the skills to create more macrame pieces. Pat yourself on the back—you’ve mastered the art of macrame plant hanger making!


