Choosing the Right Materials for Your DIY Shelves
When starting a DIY shelving project, the material choice matters for cost, durability, and appearance. Select budget-friendly and sturdy options to ensure long-lasting use. Here’s a guide to aid in picking the right materials:

Wood Type
Choose between solid wood like pine or manufactured wood like plywood. Solid wood offers a natural look but often costs more. Plywood comes cheaper and provides good strength for its weight.
Screws and Fasteners
Opt for quality screws and fasteners. Using 3″ screws and optionally, pocket hole screws will secure your shelves well.
Tools for Assembly
Have the right tools on hand: a drill, a saw, a level, and a square for accurate cuts and alignment.
Size and Thickness
Pick wood boards and sheets that fit your space. Check the thickness to hold the intended weight. Thicker boards offer more strength.
By focusing on these factors, your DIY storage shelves will be cost-effective, strong, and suitable for your needs. Keep simplicity and functionality in mind while planning and building.
Planning Your Storage Shelf Layout
Prior to constructing your DIY shelves, outlining a clear plan is critical for success. Here are the essential steps to planning an efficient storage shelf layout:
Visualize Your Space
Start by assessing the area where you plan to install your storage shelves. Measure the length, width, and height of the space. Envision how the shelves will fit into this area.
Determine Shelf Function
Ask yourself what items you’ll store on the shelves. This will help you decide on the shelf depth and the distance between shelves.
Sketch a Design
Take a piece of paper and sketch your ideal shelving layout. If working digitally, use design software to create the plan.
Calculate Materials Needed
Based on your design sketch, list the materials needed such as boards, screws, and tools. Make sure your list is thorough to avoid mid-project store runs.
Decide on Shelf Height
Consider the items you plan to store. Ensure that spacing between shelves allows for easy storage and access.
Keep Accessibility in Mind
Ensure that your shelf design does not block access to other areas or items in the room. You should be able to reach each shelf without strain.
By carefully planning each step, you set the stage for a storage solution that maximizes space and function. Remember, the groundwork laid during the planning phase can mean the difference between adequate and exceptional results. Keep simplicity at the core of your planning to maintain a clear focus on the end goal: well-organized and accessible storage.
Building a Solid Frame for Your Shelves
Building a sturdy frame is key for your DIY storage shelves. Follow these steps for a robust design:
Choose Quality Lumber
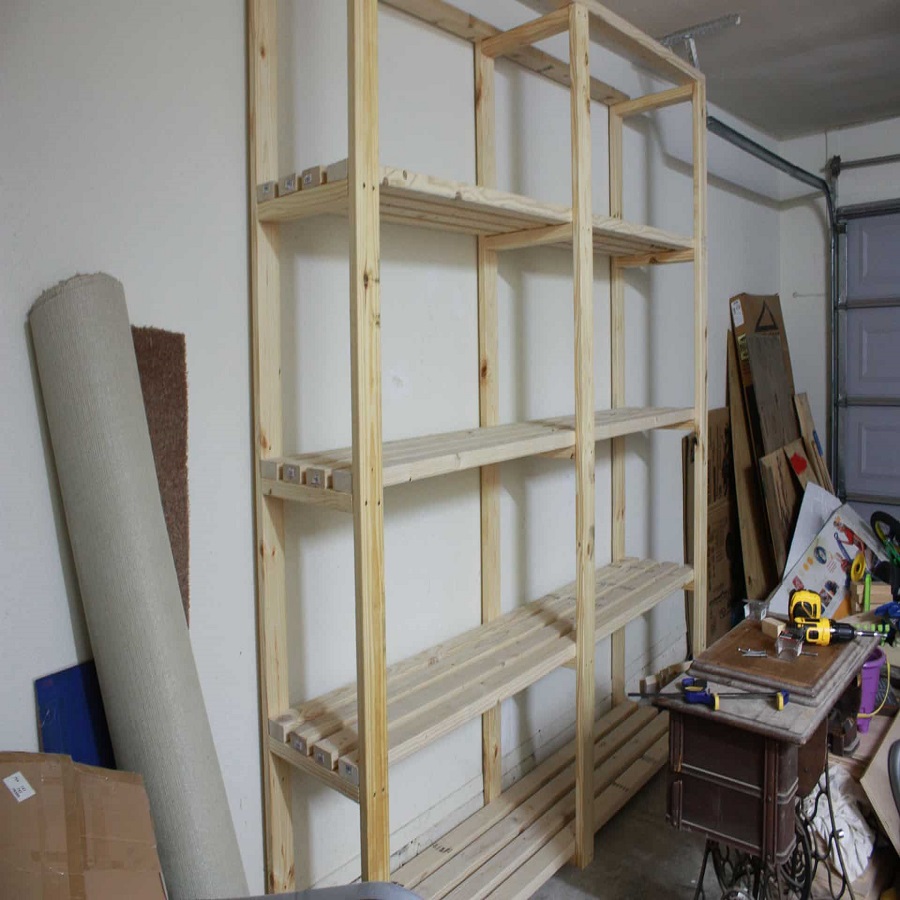
Select straight 2×4 boards or 2x2s for your frame. Check for warps or knots that may weaken the structure.
Cut to Precise Measurements
Use your saw to cut the lumber to the exact lengths needed. Ensure all cuts are straight for a perfect fit.
Secure with Strong Fasteners
Assemble your frame with 3″ screws, using a drill for tight connections. For added strength, use pocket hole screws if available.
Double-Check Squareness
Use a square tool to confirm right angles on your frame. An accurate frame ensures a leveled shelving unit.
Build in Stages
Construct your shelf frames one at a time. This helps focus on keeping each frame perfectly square and stable.
Use the Right Tools
Equip yourself with a reliable drill, level, and clamps. They will help maintain precision and ease the assembly.
By following these guidelines, your storage shelves will have a solid foundation. With a robust frame, you ensure your shelves can bear weight and last for years.
 Selecting Your Shelving Configuration
Choosing the right shelving configuration is essential for optimal space use. Consider these factors:
Assess the Items to Store
Think about what you intend to put on the shelves. Will you store heavy equipment or just light boxes?
Shelf Type and Design
Do you want floating shelves, corner units, or freestanding racks? Your choice affects the build process.
Space Dimensions
Measure your space carefully. Ensure the shelf design fits well within the area you’ve selected.
Vertical vs. Horizontal
Vertical shelves are great for height, while horizontal ones offer wider storage solutions.
Number of Shelves
Decide how many shelves you need. More shelves mean more storage but require more materials.
Shelf Depth
Choose a depth that matches the items’ size. Deeper shelves hold more but can take up more room.
Weight Distribution
Make sure the shelving can support the weight of stored items. Sturdier materials may be necessary for heavy loads.
Access and Flow
Think about how you’ll access the shelves. Ensure they don’t block pathways or doors.
After considering these elements, you can pick a design that works best for your needs and start building. Keep it simple for a smooth build and efficient storage solution.
Assembling Your Storage Shelves
Assembling your DIY storage shelves is a straightforward process when you follow these steps. First, gather your pre-cut lumber, screws, and tools. Start by laying out the frame pieces on the ground. Use a square tool to check angles and ensure a precise fit. Next, join the pieces using 3″ screws. Use a drill for tight, secure joins, ensuring robustness.
Now, situate the frame in its final location. It must be level, so use shims if the floor is uneven. Attach the frame to the wall, if necessary, for extra stability. For freestanding units, skip this step. Once the frame is stable, add the horizontal shelf supports.
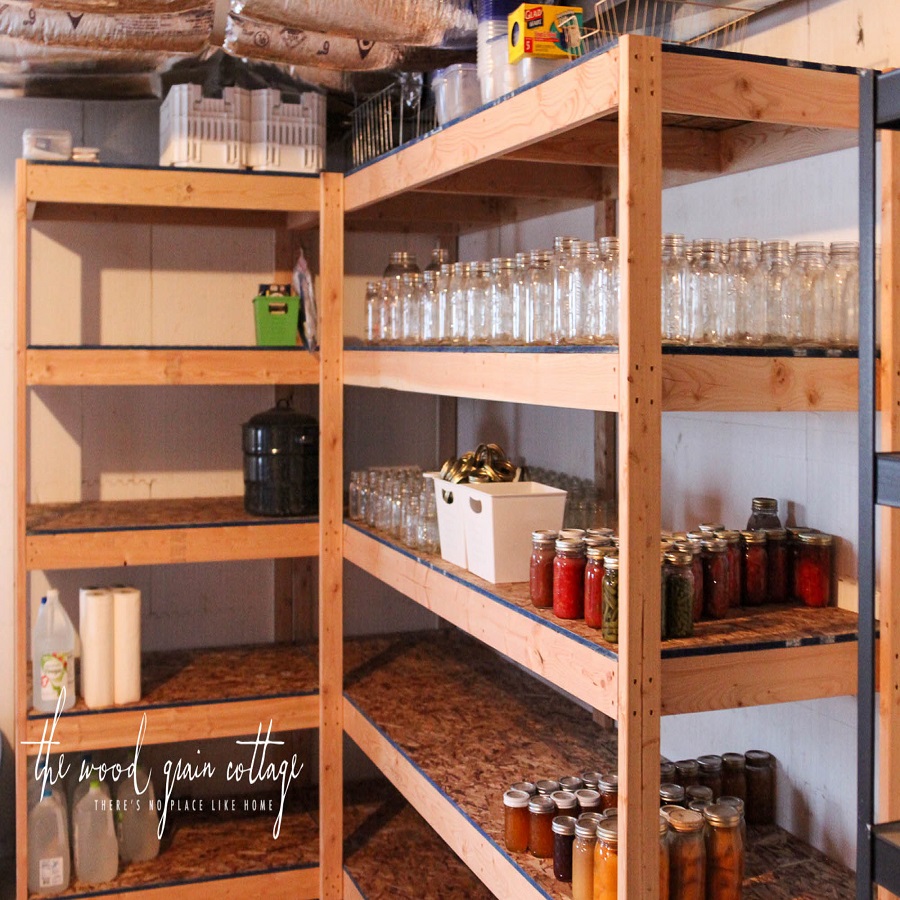
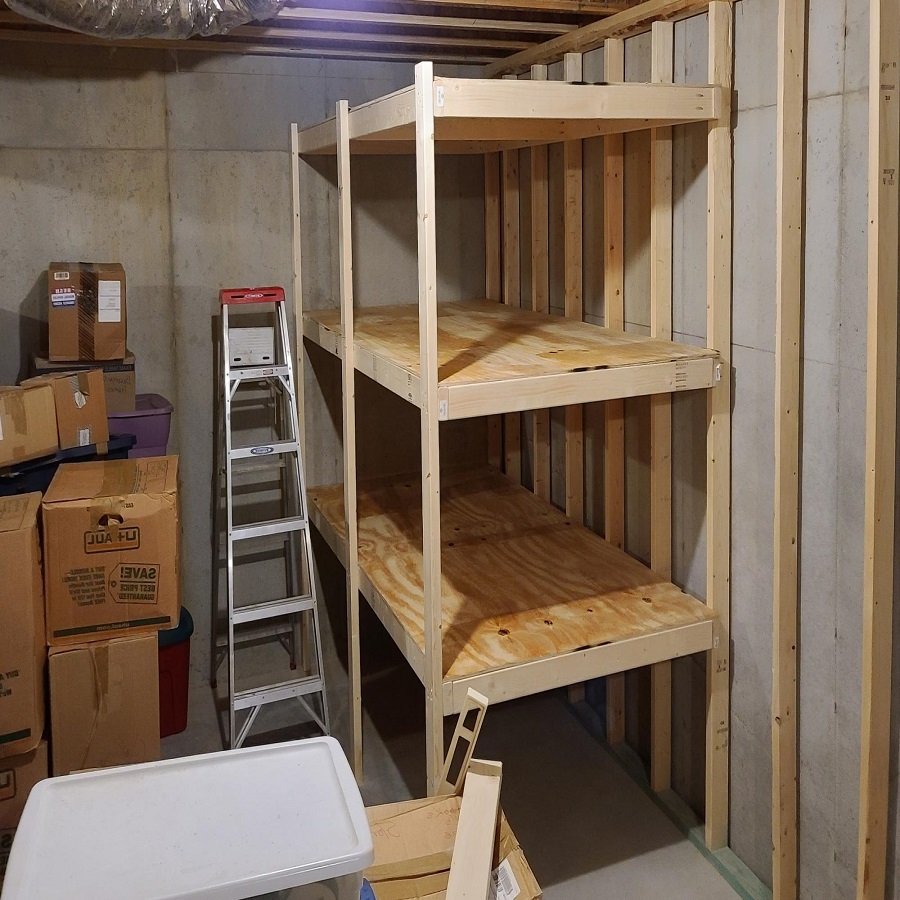
For each shelf, cut plywood or your chosen material to the correct size. Make sure it fits within the frame snuggly. If using plywood, sand any rough edges for safety. Place the shelf boards on the supports. Secure them from above with screws, nailing from below if needed.
Check the stability again before proceeding. Adjust if any shelves wobble or seem loose. Ensure each shelf is secure before adding the next. Repeat these steps until all shelves are assembled. Double-check the entire structure for strength and stability.
With careful assembly, your new storage shelves will be ready to load up. They should hold items securely and maximize your designated space. Remember to distribute the weight evenly across the shelves for the best performance.
Securing Shelves and Ensuring Stability
To guarantee your DIY storage shelves’ endurance, focus on securing and stability. Here’s how you do it:
Properly Anchor the Frame
Ensure the frame is anchored to studs in the wall. This provides maximum support for your shelves.
Use Quality Fasteners
Screws should be long enough to penetrate the studs by at least 1.5 inches. Choose screws that are durable and suitable for your materials.
Ensure Even Weight Distribution
Spread your items evenly across shelves to avoid strain on any one part. This helps in maintaining the shelves’ integrity.
Check for Levelness
After mounting your shelves, use a level tool to check for evenness. An unlevel shelf may compromise the unit’s stability.
Reinforce with Brackets
If shelves are long or will hold heavy items, adding brackets underneath can provide extra support.
Regular Inspections
Periodically inspect your shelves for any signs of weakness or damage. Regular checks ensure long-term stability.
By taking these measures, your storage shelves will remain sturdy and secure, ready to hold a variety of items safely and efficiently. Remember to distribute the weight and check for stability during and after the assembly to prevent any accidents or shelf failures.
 Customizations and Considerations for Different Spaces
Your unique space dictates custom shelving solutions. You must tailor your shelf design to fit various areas in your home or garage. Here’s how you can adapt your storage shelves to different spaces:
Consider Room Size and Purpose
For smaller rooms, go for slimmer and taller shelf units. This maximizes vertical space without taking up much floor area. In larger spaces, consider wider shelves that can hold more items across.
Think About the Environment
Moisture-prone areas like basements or garages require materials resistant to water damage. For these spaces, choose treated wood or metal shelving.
Factor in Accessibility
Place frequently used items on lower shelves within easy reach. Seasonal or seldom-used items can go higher up or in less accessible areas.
Shape and Style Options
L-shaped shelves fit snugly in corners, making good use of that space. For a sleek look, floating shelves with hidden supports can transform living areas.
Adjustable Features
Invest in adjustable shelving systems that allow you to change shelf height as needed. This flexibility is especially useful for evolving storage requirements.
Evaluate Weight Capacity
Calculate the expected load for your shelves. Ensure your design can bear the weight. Some shelving may need extra support or sturdier materials.
Optimize for Aesthetics
For visible areas, consider the visual appeal. Stain or paint your shelves to complement room decor. Invisible mounted hardware can enhance the look as well.
By factoring in these elements, you create storage shelves that are not just practical, but also a perfect fit for any space in your home.
Organizing and Loading Your New Shelves
After building your DIY storage shelves, it’s time to organize and load them. Here’s how to do it effectively:
Sort and Categorize Your Items
Begin by sorting your items into categories. Group similar items together for easy access. This simplifies finding things later.
Use Storage Containers
Use bins, boxes, or baskets to keep small items tidy. Containers help in managing clutter and protect items from dust.
Label Everything
Label your containers. This step is crucial for maintaining order and saves time when searching for things.
Place Heaviest Items Lower
Put heavy items on the bottom shelves. It ensures stability and eases lifting. Lighter items can go higher.
Distribute Weight Evenly
Balance the weight across the shelves. Even distribution prevents shelf strain and potential warping.
Leave Space for Future Items
Don’t fill every inch. Leave some space for new items you might acquire. This avoids overloading in the future.
Regular Maintenance Checks
Periodically check the shelves for loose screws or sagging. Tighten and adjust as necessary to maintain security.
Reevaluate Organization Periodically
As needs change, your organization might need tweaking. Don’t hesitate to reorganize for better efficiency.
By prioritizing these organizational strategies, you keep your new shelves orderly and functional. Good organization also enhances the longevity of your DIY shelves, ensuring they remain a reliable storage solution for years to come.


