Introduction
Creating your own storage shelves can be a rewarding project, offering both functionality and a sense of accomplishment. Whether you’re looking to organize your garage, enhance your living room, or add storage space in a closet, building your own shelves allows you to customize the design to fit your needs and style. This comprehensive guide will walk you through the process of constructing DIY storage shelves, from planning and gathering materials to assembly and finishing touches.
Planning Your Storage Shelves
a. Assess Your Needs
Before you start building, determine the purpose of your shelves and where they will be installed. Consider the following:
- Location: Will they be mounted on a wall, stand alone, or fit into a closet?
- Dimensions: Measure the space where you plan to install the shelves, including height, width, and depth.
- Load Capacity: Think about what you’ll store on the shelves to decide how strong they need to be.
b. Choose a Design
There are various types of shelf designs you can choose from, including:
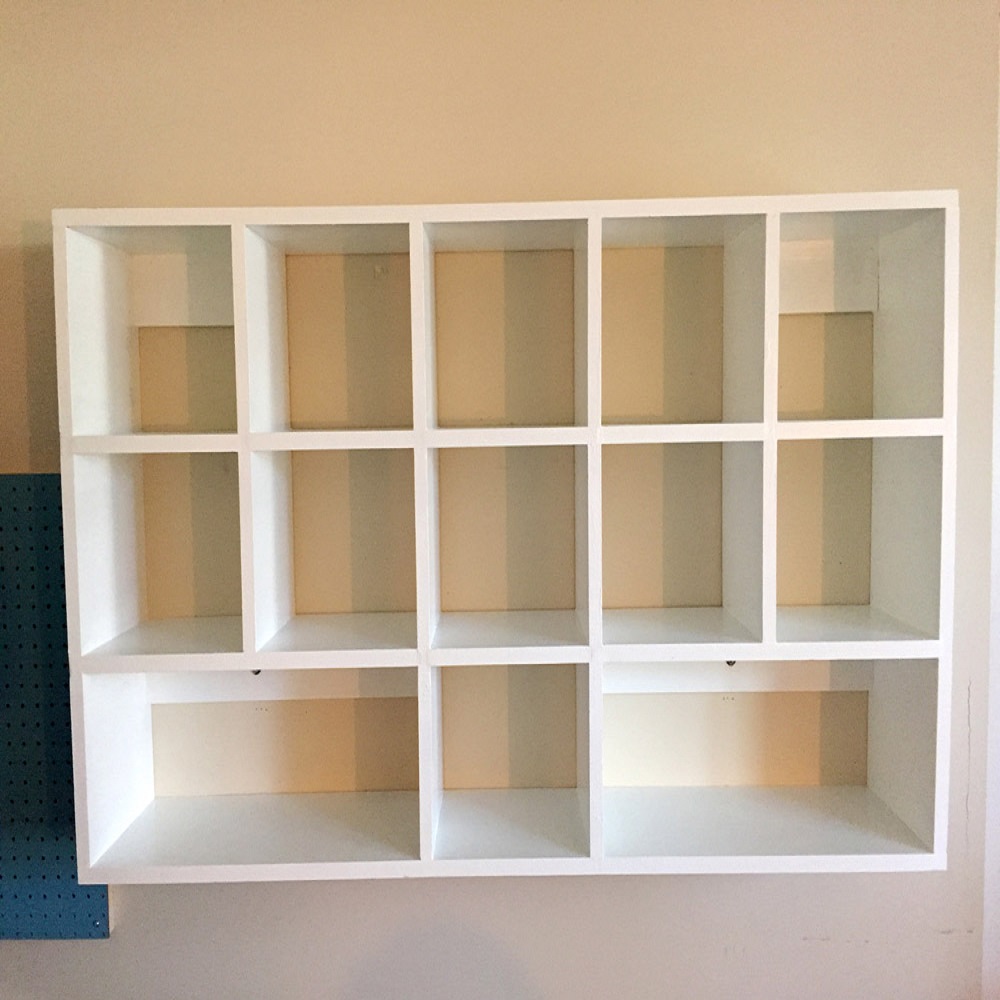
- Floating Shelves: Mounted directly to the wall with hidden brackets.
- Bracket Shelves: Supported by visible brackets attached to the wall.
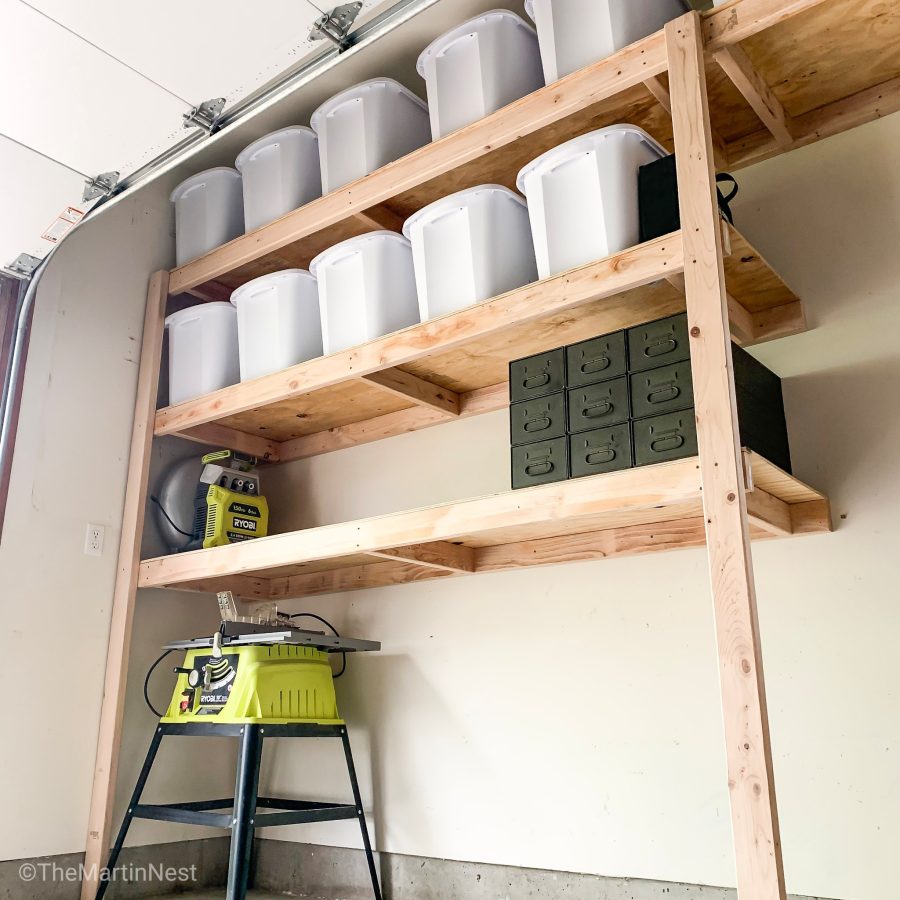
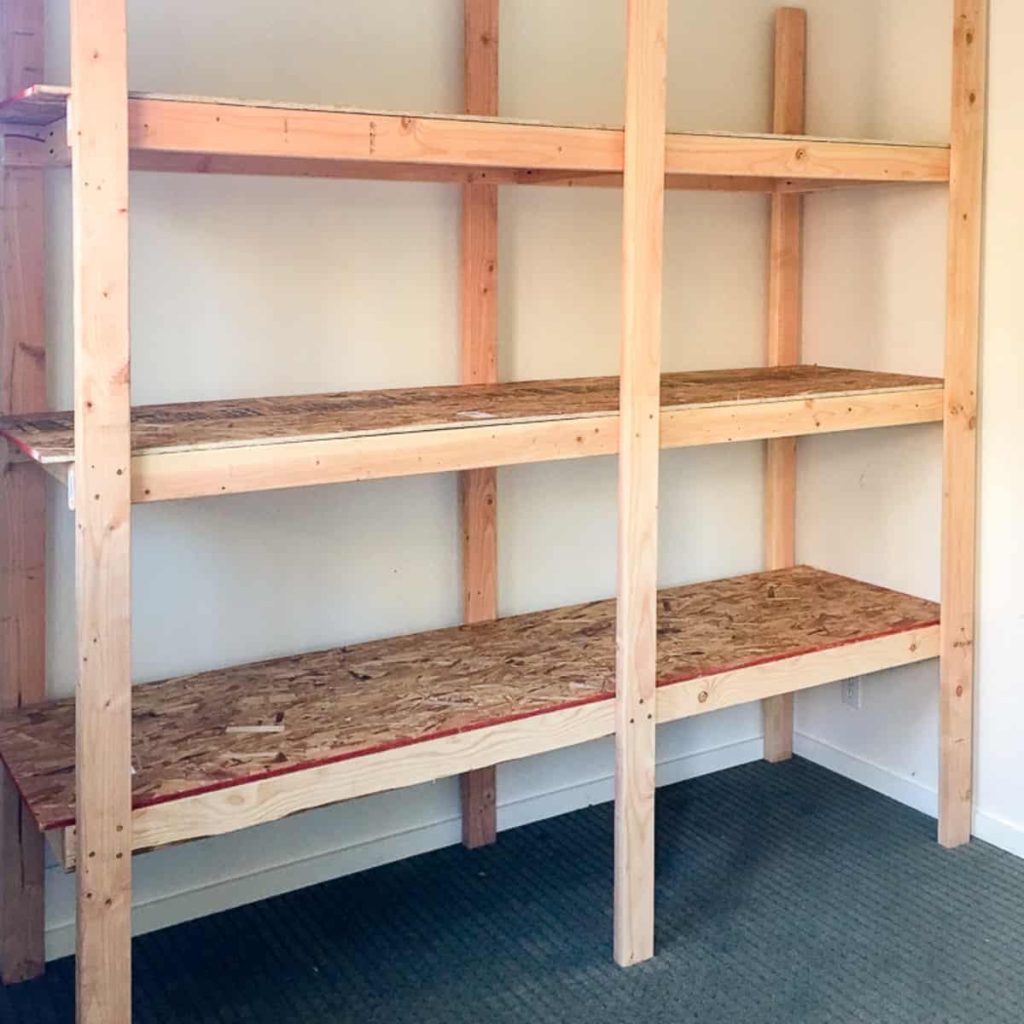
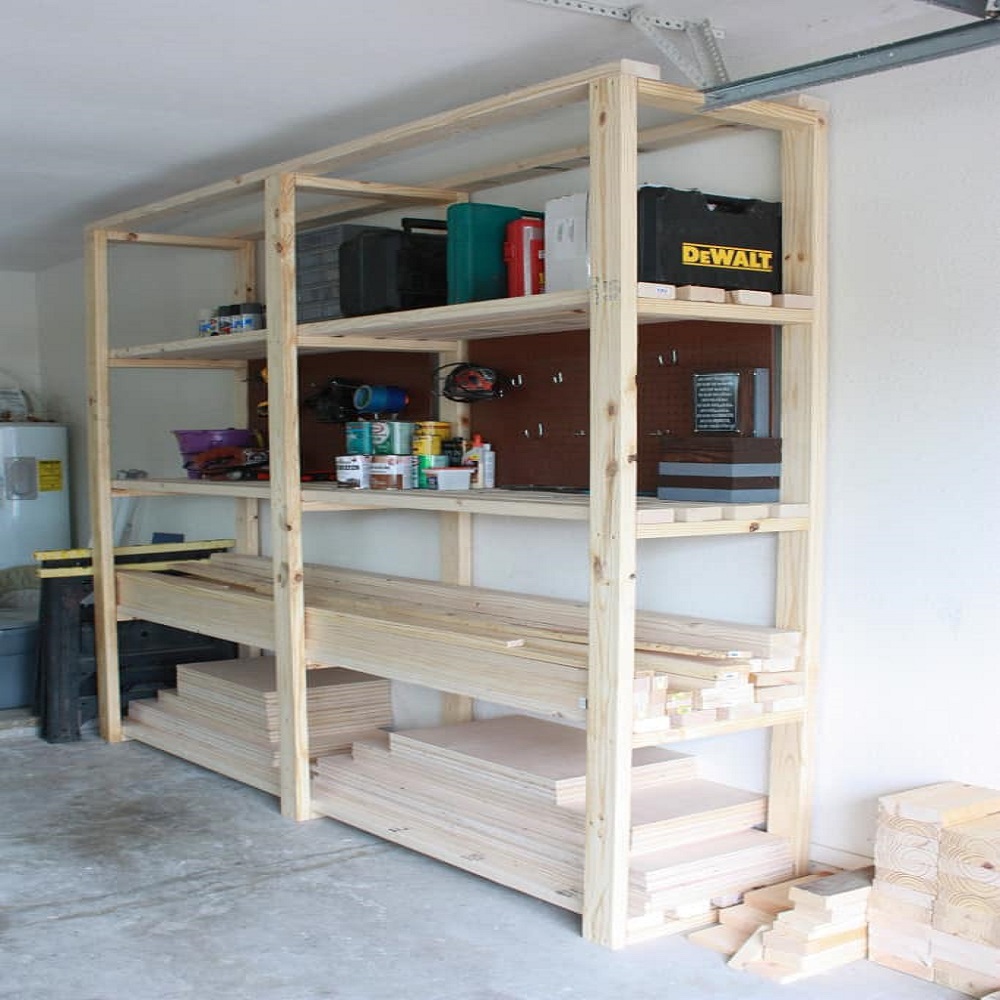
- Freestanding Shelves: Independent units that stand on the floor.
For beginners, bracket shelves or freestanding shelves are generally easier to build.
c. Gather Your Tools and Materials
Here’s a basic list of what you might need:
- Materials: Plywood or MDF for the shelves, 2x4s for the frame (if building freestanding), shelf brackets (if applicable), screws, and wood glue.
- Tools: Measuring tape, saw (circular or hand saw), drill, screwdriver, level, sandpaper, and paint or stain (optional).
Building the Shelves
a. Measuring and Cutting
- Measure and Mark: Measure the dimensions of your shelving area. Mark these dimensions on your plywood or MDF, allowing for the depth and width of the shelves.
- Cut the Shelves: Use a saw to cut the plywood or MDF to your desired size. Ensure that your cuts are straight and accurate to avoid any gaps or uneven edges.
b. Constructing the Frame (For Freestanding Shelves)
- Cut the Frame Pieces: Cut the 2x4s to create the frame of your shelving unit. You’ll need pieces for the vertical supports, horizontal top and bottom supports, and additional supports for the shelves.
- Assemble the Frame: Use screws and wood glue to attach the vertical and horizontal pieces together. Ensure the frame is square by measuring diagonally from corner to corner.
- Add Supports: If your shelves will hold heavy items, add additional support pieces inside the frame. These can be horizontal pieces placed between the vertical supports.
c. Installing Wall-Mounted Shelves
- Install Brackets: Use a level to mark where the brackets will go on the wall. Ensure they are level and spaced evenly. Drill pilot holes into the wall and secure the brackets with screws. For added stability, anchor screws into wall studs.
- Attach the Shelves: Place the shelves onto the brackets, ensuring they are securely positioned. If using floating shelves, attach the shelf supports to the wall first, then slide the shelf onto them.
d. Sanding and Finishing
- Sand the Shelves: Use sandpaper to smooth the edges and surfaces of your shelves. This step is crucial for achieving a professional finish and preventing splinters.
- Finish the Shelves: Apply paint, stain, or a clear sealant to the shelves as desired. Allow adequate drying time before placing any items on the shelves.
Installing and Organizing
a. Positioning the Shelves
If you’re installing wall-mounted shelves, ensure they are level before securing them. For freestanding shelves, place them in their designated spot and ensure they are stable and level.
b. Organizing Your Items
Once your shelves are installed, start organizing your items. Group similar items together, and consider using bins or baskets to keep smaller items organized.
Maintenance and Tips
a. Regular Checks
Periodically check your shelves for any signs of wear or instability, especially if you’re storing heavy items. Tighten any loose screws and ensure that wall-mounted shelves remain securely attached.
b. Customize Your Shelves
Consider adding additional features like adjustable brackets, decorative trim, or lighting to enhance both the functionality and appearance of your shelves.
c. Safety First
Always use proper safety equipment when working with tools and materials. Ensure you’re working in a well-ventilated area, especially if you’re using paints or stains.
Planning and Design
Measure Twice, Cut Once: Before embarking on any project, accurate measurements are crucial. Measure the width, height, and depth of the space where your shelves will be installed. Consider the items you plan to store; their sizes will influence shelf spacing and depth.
Material Selection: Choose materials based on your budget, desired look, and the weight the shelves need to bear. Common options include plywood, MDF, solid wood, and metal brackets. For heavy loads, opt for sturdier materials and appropriate brackets or supports.
Design Aesthetics: Decide on the style that complements your space. Floating shelves offer a sleek, modern look, while bracketed designs can add a traditional or rustic touch. Sketch your design, including shelf dimensions and any decorative elements.
Tools and Materials Checklist
- Measuring tape
- Level
- Saw (circular saw, handsaw, or miter saw depending on your cutting needs)
- Drill
- Screwdriver set
- Wood screws or brackets
- Sandpaper or electric sander
- Wood glue (optional)
- Paint, stain, or finish of your choice
Cutting and Preparation
Precision Cuts: Use your measurements to mark and cut your shelf pieces. For straight edges and precise angles, a miter saw is ideal. Always wear safety gear, including goggles and ear protection.
Sanding and Finishing: Smooth all cut edges with sandpaper. Start with a coarse grit and progress to a fine grit for a smooth finish. Apply your chosen paint, stain, or clear coat to protect the wood and enhance its appearance.
Assembly and Installation
Leveling: Ensuring shelves are level is critical for stability and appearance. Use a level to mark the wall where brackets or ledger boards will be attached. If installing floating shelves, locate studs or use appropriate anchors for support.
Bracket Installation: If using brackets, attach them to the wall first, ensuring they’re level and securely fastened. For heavier loads, use multiple brackets per shelf.
Attaching Shelves: For floating shelves, slide the shelf onto the hidden brackets or ledger board, ensuring it’s flush against the wall. Secure it in place with screws driven into pre-drilled pilot holes.
Adjustments: After all shelves are mounted, double-check their levelness and adjust as necessary. Fill any screw holes with wood filler, sand, and touch up with paint or stain.
Advanced Techniques for a Professional Finish
Mitred Corners: For a seamless look, especially on face frames or floating shelves, mitre the corners at 45-degree angles before assembly.
Cable Concealment: If wiring electronics or lighting, plan ahead for cable management. Conceal cables within hollow shelf supports or run them behind the wall for a clean appearance.
Integrated Lighting: Add LED strip lights beneath the shelves to highlight displayed items. Ensure wiring is safely managed and consult an electrician if necessary.
Custom Inserts: Consider adding drawer units, baskets, or dividers to further customize your storage solution.
Conclusion
Building your own storage shelves can be a fun and practical project that adds value to your home. By following this step-by-step guide, even beginners can create sturdy, attractive shelves tailored to their specific needs. Remember to plan carefully, measure accurately, and take your time with each step to ensure the best results. Enjoy the satisfaction of a job well done and the new organization and storage solutions you’ve created!