Introduction
Installing a towel bar in your bathroom not only serves a practical purpose but can also contribute to the overall aesthetic appeal of the space. Whether you’re replacing an old bar or adding a new one, following a systematic approach ensures a secure and professional-looking installation. Here’s a detailed guide on how to install a towel bar with precision.
Choose Your Location and Type
- Location: Decide where you want to place the towel bar, considering both function and design. Make sure there’s enough space for towels to hang without obstructing doors, drawers, or other fixtures. Use a level to ensure the proposed spot is straight.
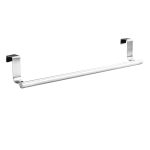
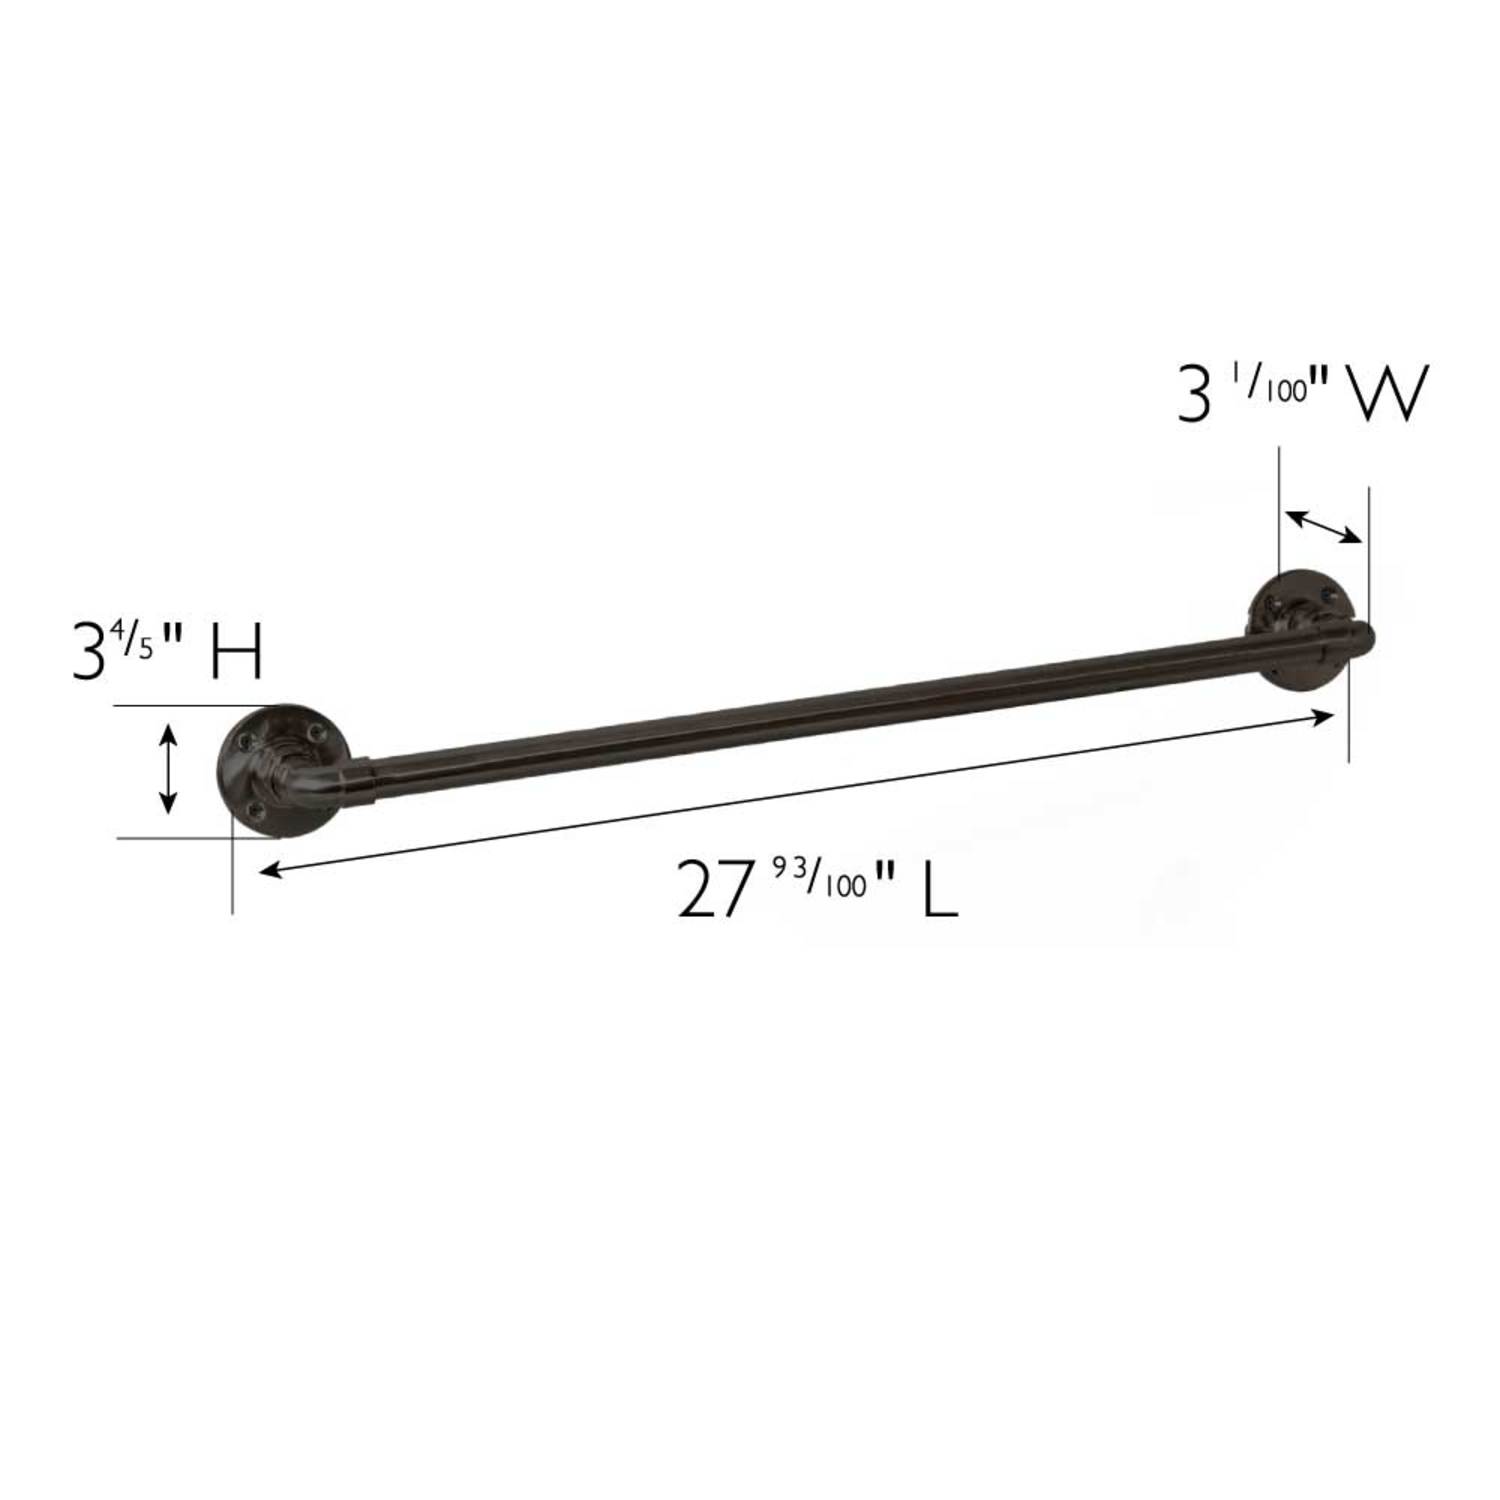
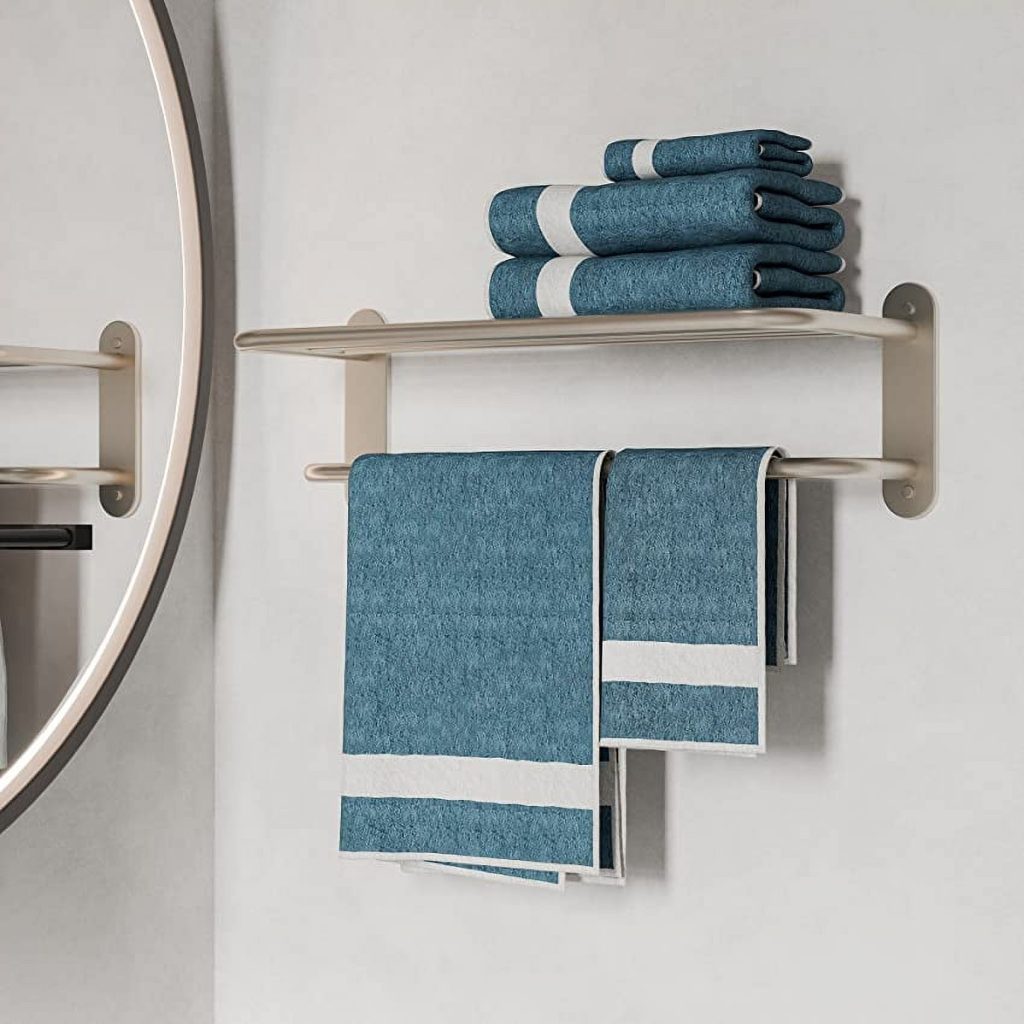
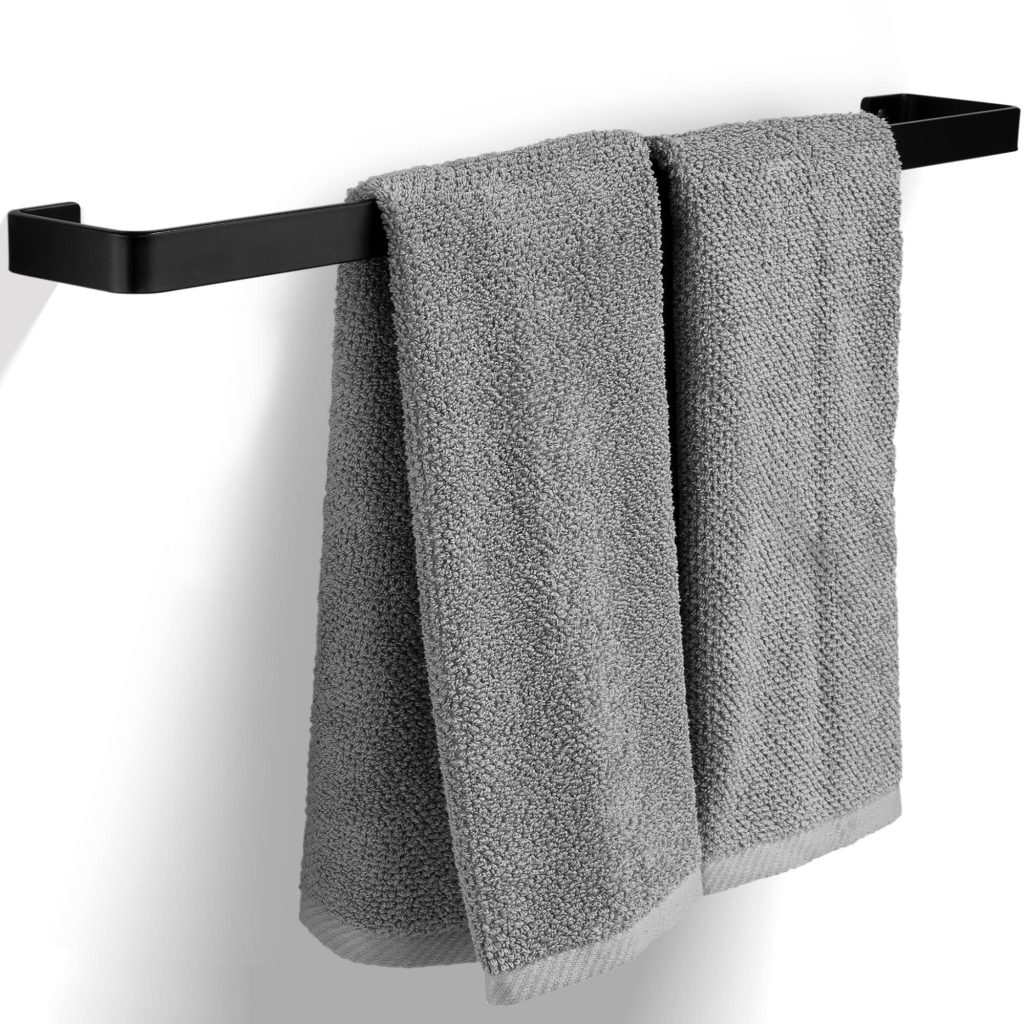
- Type: Select a towel bar that suits your needs and matches your bathroom’s style. Consider the material, finish, and whether it’s a fixed, spring-loaded, or free-standing model.
Gather Tools and Materials
- Tools: You’ll likely need a drill, screwdriver (electric or manual, depending on the screws), level, pencil, tape measure, and possibly a stud finder.
- Hardware: Most towel bars come with screws and wall anchors. Ensure you have the right size and type for your wall material (e.g., drywall, tile, or plaster).
Find Studs (Optional)
- Using a stud finder, locate the wall studs if you plan to mount the towel bar directly onto them for added stability. Mark the center of the studs.
Measure and Mark
- Measure and mark the desired height for your towel bar, using the previously mentioned guidelines for optimal placement.
- If you’re not mounting into studs, decide on the number and position of brackets or screws. Mark these points evenly on the wall, ensuring they align horizontally with each other.
Prep the Wall
- Drilling: For drywall installations, use a drill bit slightly smaller than your wall anchor to create pilot holes at your marked points.
- Tile or Plaster: If drilling into tile or plaster, use a specialized drill bit and proceed cautiously to avoid cracking.
Install Wall Anchors (If Needed)
- Insert wall anchors into the pilot holes, following the manufacturer’s instructions. Anchors provide extra support for screws in hollow walls.
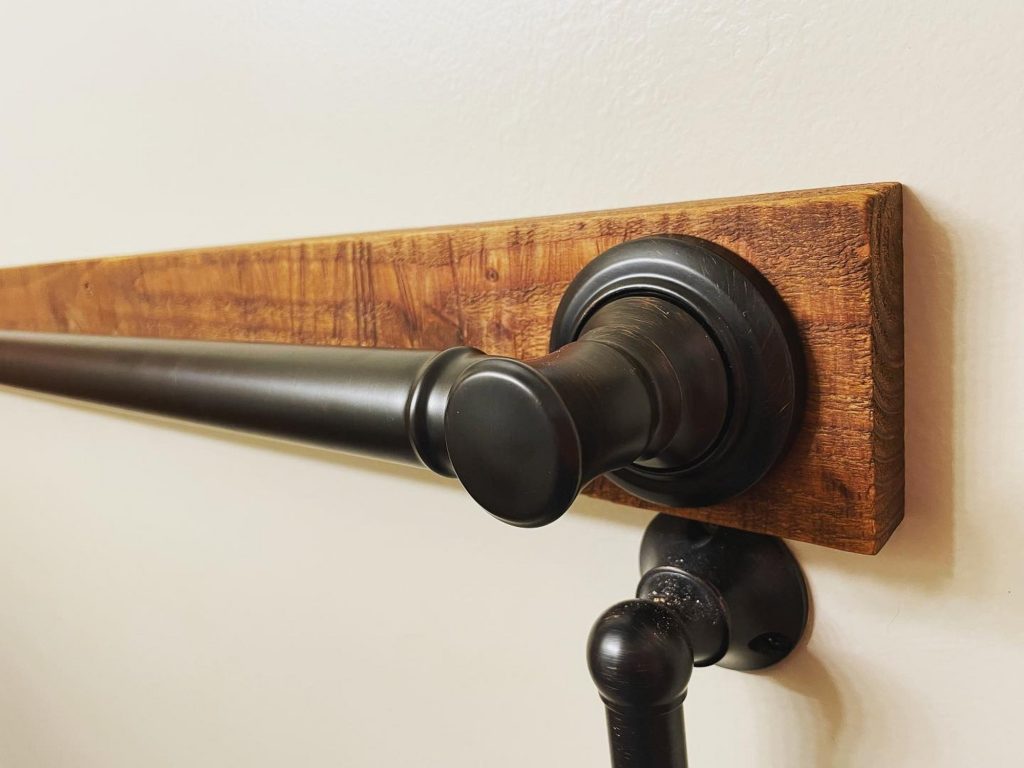
Attach Brackets or Mounting Plates
- Brackets: If your towel bar comes with separate brackets, attach these to the wall first using screws and a screwdriver or drill. Ensure they’re level and securely fastened.
- Direct Mount: Some towel bars have built-in mounting plates. Align these with your markings and screw directly into the wall or studs.
Mount the Towel Bar
- Slide the towel bar onto the brackets or mounting plates, ensuring it’s seated correctly and evenly.
- Tighten any set screws or connections according to the manufacturer’s instructions to keep the bar in place.
Finishing Touches
- Check the towel bar’s stability by giving it a gentle tug. Make any necessary adjustments to ensure it’s firmly attached.
- Cover any exposed screw heads with decorative caps, if provided, for a clean finish.
Test and Enjoy
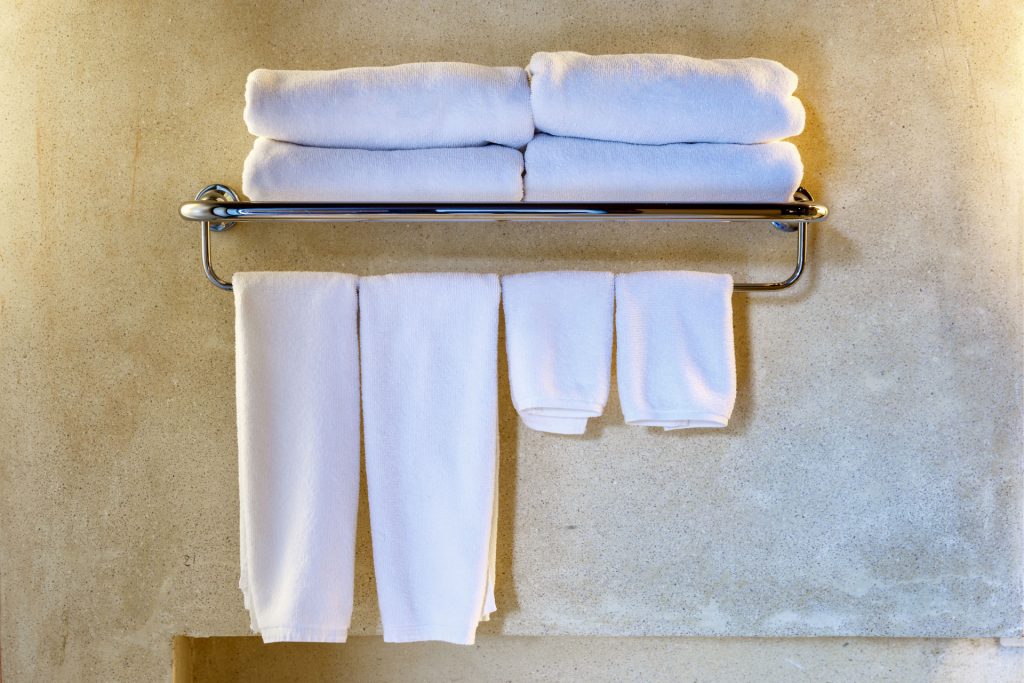
- Hang your towels and admire your handiwork. Ensure the bar is sturdy and towels hang without obstruction.
Additional Tips
- Safety First: Wear safety goggles when drilling to protect your eyes from debris.
- Avoid Plumbing and Electrical: Use a cable or pipe detector to avoid drilling into hidden pipes or wires.
- Seal Around Anchors (Tile/Bathroom): If installing in a moist area like a bathroom, consider using silicone caulk around the edges of the bracket or anchor holes to prevent water seepage.
By following these steps, you can achieve a secure and stylish towel bar installation that complements your bathroom’s functionality and design. Remember, taking accurate measurements and proceeding methodically can make all the difference in the final result.
Troubleshooting Common Issues
During the installation process, you might encounter a few challenges. Here are some troubleshooting tips to overcome potential hurdles:
Uneven Walls or Unequal Spacing
- If your walls are uneven, use shims behind the brackets to ensure they sit flush against the wall. This will help maintain a level appearance for the towel bar.
Screws Won’t Tighten Properly
- If screws seem loose in the wall anchors, try switching to a larger size anchor or using toggle bolts for added support, especially in hollow walls.
Damaged Wall Surface
- Accidental wall damage can happen during drilling or installation. Keep spackle and touch-up paint handy to repair minor imperfections once the job is complete.
Bracket Alignment Issues
- To ensure brackets are perfectly aligned on opposite sides of the wall, you can tie a string or use a straight piece of wood as a guide. Attach one end to the first bracket, stretch it across to mark the second bracket’s position, then drill and install.
Choosing the Right Hardware
- Screws: Use high-quality screws suitable for your wall type. For drywall, opt for screws designed for drywall anchors. If mounting into studs, use wood screws.
- Anchors: Plastic expansion anchors are common for drywall, while metal toggles or molly bolts provide extra strength. For tiles, specialized tile anchors are necessary.
Decorative Considerations
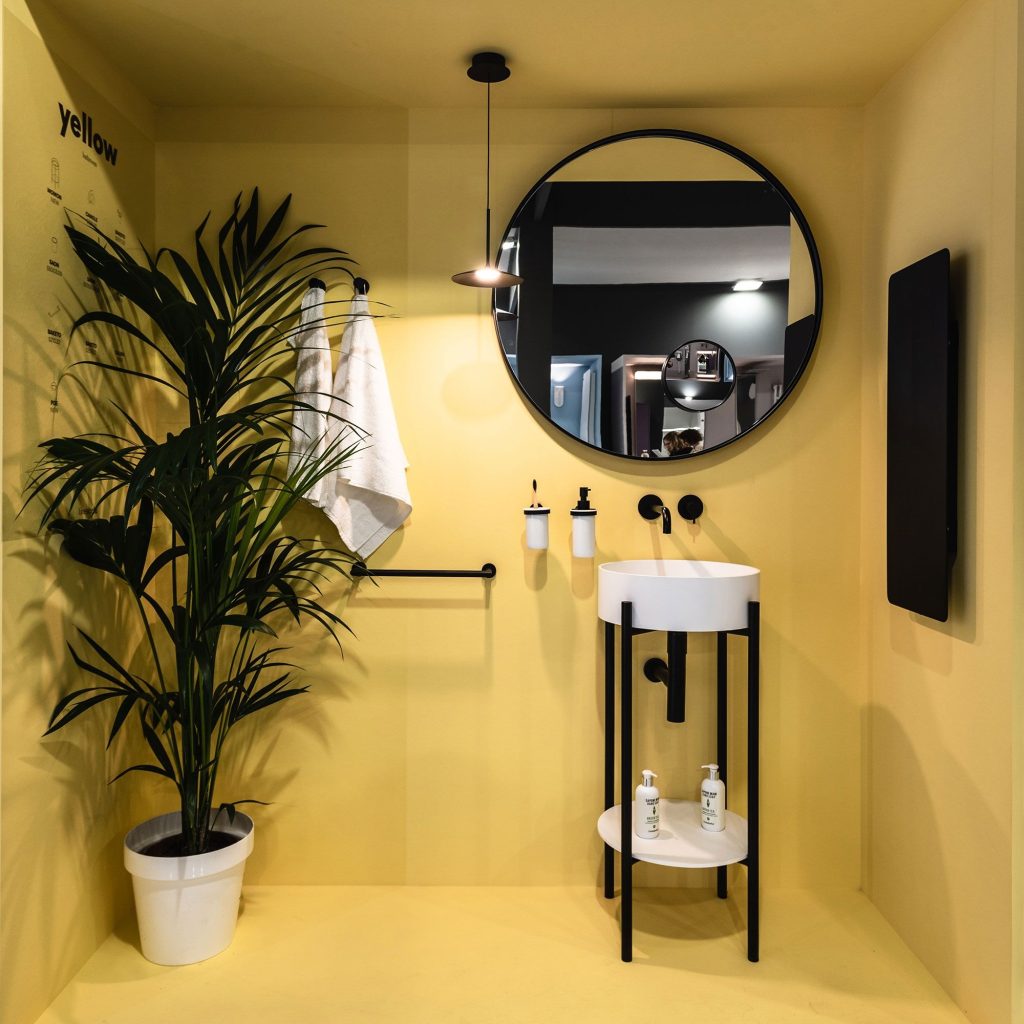
- Coordinate the towel bar’s finish with other bathroom fixtures for a cohesive look. Popular finishes include chrome, brushed nickel, oil-rubbed bronze, and matte black.
- Consider adding matching robe hooks or toilet paper holders to complete the ensemble and enhance the overall aesthetic.
Post-Installation Maintenance
- Regularly clean your towel bar with a mild soap solution and a soft cloth to maintain its finish and hygiene.
- Inspect the mounting hardware periodically to ensure it remains secure, tightening screws as needed.
By addressing these additional aspects, you can ensure your towel bar installation is not just structurally sound but also visually appealing and long-lasting. Remember, careful planning and attention to detail are key to achieving a professional-looking result.
Additional Considerations for Installing a Towel Bar
Choosing the Right Hardware
- Screws and Anchors: Ensure the screws and anchors provided are suitable for your wall type. For heavy-duty towel bars or in high-moisture areas, consider upgrading to stainless steel screws to prevent rust.
- Decorative Covers: If your towel bar kit includes decorative end caps or covers for the screws, make sure they match the finish of the bar and are securely fastened to complete the look.
Working with Different Wall Surfaces
- Drywall: Use toggle bolts or Molly bolts for added support in drywall where no studs are available.
- Concrete or Brick: For masonry surfaces, use concrete screws or specialized anchors designed for these materials. Drill pilot holes using a masonry bit.
- Tiles: When drilling into tiles, use a carbide-tipped drill bit and apply light, consistent pressure to avoid cracking the tile. Place a piece of masking tape over the drilling spot to reduce slippage.
Special Installation Scenarios
- Uneven Walls: If your wall is uneven, shims can be used to level brackets before screwing them in place. Ensure the towel bar remains level despite wall irregularities.
- Reinforced or Thick Walls: In cases where you encounter metal studs or unusually thick walls, consult the manufacturer’s guidelines or a professional for advice on suitable anchoring systems.
Conclusion
By taking these additional considerations into account, you can ensure a well-executed towel bar installation that not only serves its functional purpose but also enhances the overall ambiance of your bathroom. Remember, careful planning and execution are key to achieving a professional and long-lasting result.