Introduction:
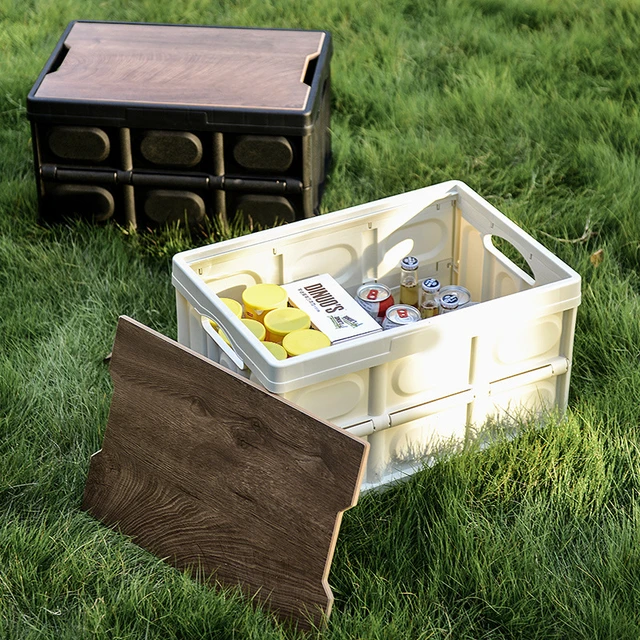
Diy outdoor storage box – Outdoor storage boxes are essential for keeping your patio, deck, or backyard organized and clutter-free. Not only do they provide convenient storage for items like gardening tools, cushions, and outdoor toys, but they also offer protection from the elements. Building your own outdoor storage box can be a rewarding DIY project that allows you to customize the size, design, and materials to suit your specific needs and preferences. In this guide, we’ll walk you through the steps to build your own outdoor storage box, from planning and materials selection to construction and finishing touches.

Step 1: Planning and Design:
Before you begin building your outdoor storage box, take some time to plan and design the project. Consider the size of the box, its intended use, and where it will be placed in your outdoor space. Measure the available area to ensure that the storage box will fit comfortably and allow for easy access.
Next, decide on the design of your storage box. You can choose a simple rectangular box shape or get creative with angles, curves, and decorative details. Sketch out your design ideas on paper or use design software to visualize the final product.
Step 2: Gather Materials and Tools:
Once you have a plan and design in place, it’s time to gather the materials and tools you’ll need for the project. Here’s a basic list of materials:
- Pressure-treated lumber or cedar boards for the frame and panels
- Exterior-grade plywood for the bottom of the box
- Stainless steel or galvanized screws
- Hinges and a latch for the lid
- Waterproof sealant or outdoor paint
As for tools, you’ll likely need:
- Circular saw or miter saw for cutting lumber
- Drill/driver for assembling the box
- Screwdriver for attaching hinges and latch
- Tape measure, pencil, and carpenter’s square for measuring and marking
Step 3: Cut the Lumber:
Using your measurements and design plan, use a circular saw or miter saw to cut the lumber to the appropriate lengths. Remember to wear safety goggles and follow proper safety precautions when using power tools.
Cut the boards for the front, back, sides, and lid of the storage box, as well as any additional trim pieces or decorative elements you plan to include.
Step 4: Assemble the Frame:
Once you have all the lumber cut to size, begin assembling the frame of the storage box. Use screws to attach the front, back, and side panels together, forming a rectangular box shape. Make sure the corners are square and the panels are flush with each other.
If desired, add additional support pieces inside the box to strengthen the frame and provide additional stability.
Step 5: Attach the Bottom and Lid:
Next, cut a piece of exterior-grade plywood to fit the bottom of the storage box and attach it to the frame using screws. This will create a sturdy base for the box and prevent items from falling through.
For the lid, attach hinges to one side of the box and the lid, allowing it to open and close smoothly. Install a latch or lock mechanism to keep the lid securely closed when not in use.
Step 6: Finish and Seal:
Finally, sand any rough edges and surfaces of the storage box to smooth out any imperfections. Apply a waterproof sealant or outdoor paint to protect the wood from moisture, UV rays, and other outdoor elements. Choose a finish that complements your outdoor decor and enhances the appearance of the storage box.
Step 7: Enjoy Your New Outdoor Storage Box:
Once the finish has dried, your DIY outdoor storage box is ready to use! Place it in your desired location and fill it with gardening supplies, outdoor cushions, pool toys, or any other items you need to store. Enjoy the convenience and organization that your custom-built storage box provides, knowing that you created it yourself with care and craftsmanship.
Step 8: Maintenance and Care:
To ensure your outdoor storage box remains in good condition and withstands the elements, it’s important to perform regular maintenance and care. Here are some tips to keep your storage box looking its best:
- Inspect the box periodically for any signs of damage, such as cracks, warping, or loose screws. Repair any issues promptly to prevent further damage.
- Clean the exterior of the storage box regularly with a mild detergent and water solution to remove dirt, dust, and debris. Rinse thoroughly and allow the box to dry completely before applying any protective coatings.
- Apply a fresh coat of waterproof sealant or outdoor paint every 1-2 years to maintain the box’s durability and appearance. Make sure to follow the manufacturer’s instructions for application and drying times.
- Store the storage box in a sheltered area or cover it with a waterproof tarp during inclement weather, especially during the winter months or periods of heavy rain or snow.
- Avoid placing sharp or heavy objects on top of the storage box lid, as this can cause damage or deformation over time. Use caution when opening and closing the lid to prevent accidents or injuries.
By following these maintenance tips, you can prolong the lifespan of your outdoor storage box and keep it looking great for years to come.
Step 9: Customization Ideas:
One of the benefits of building your own outdoor storage box is the ability to customize it to suit your specific needs and personal style. Here are some ideas to personalize your storage box and make it uniquely yours:
- Add decorative trim or molding to the exterior of the box for a touch of elegance and sophistication.
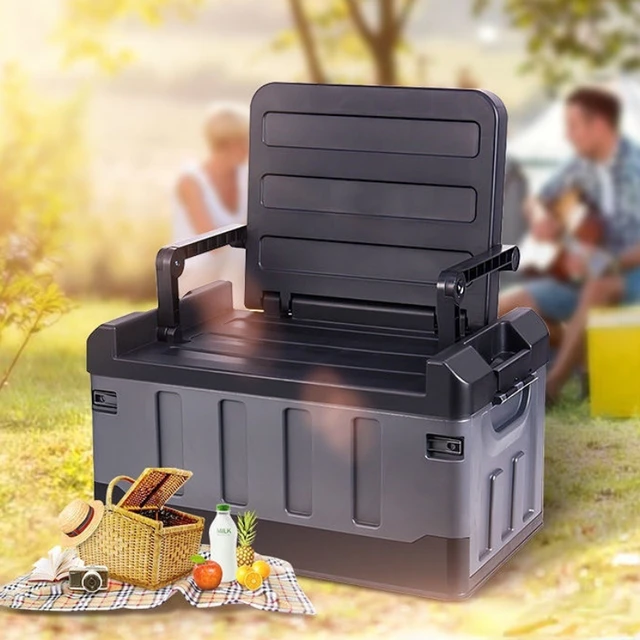
- Install a built-in bench seat on top of the storage box lid for additional seating and functionality in your outdoor space.
- Attach hooks or racks inside the box to hang small tools, hoses, or other accessories for easy organization.
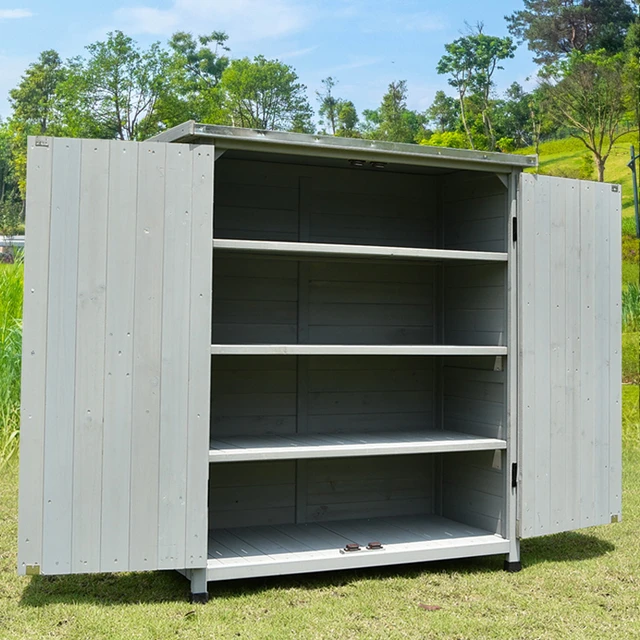
- Incorporate built-in shelving or compartments inside the box to separate and categorize different items for efficient storage.
- Paint or stain the storage box in vibrant colors or patterns to add visual interest and complement your outdoor decor scheme.
Get creative and think outside the box (pun intended) to customize your outdoor storage solution in a way that reflects your personality and enhances your outdoor living experience.
Conclusion:
Building your own outdoor storage box is a rewarding DIY project that offers both practical storage solutions and opportunities for creative expression. By following the steps outlined in this guide and incorporating your own design ideas and customization preferences, you can create a functional and stylish storage solution that enhances your outdoor space and meets your specific needs. Whether you’re storing gardening tools, patio cushions, or pool toys, your custom-built storage box will add convenience, organization, and charm to your outdoor oasis.