The Basics of DIY Cardboard Storage
Getting started with DIY cardboard box storage ideas is straightforward and cost-effective. Here are the basic steps to help you embark on this creative journey:
- Assess Your Needs: Before diving in, identify what items you need to store. This will determine the size and quantity of cardboard boxes you’ll require.
- Collect Cardboard Boxes: Gather boxes from your own deliveries or ask local stores for their unused boxes. Ensure they are clean and sturdy.
- Plan Your Design: Decide if you need simple storage cubes or if compartments and dividers will help organize your items better.
- Gather Supplies: You’ll need basic tools such as scissors, a craft knife, tape, and a ruler. Adhesives like glue or hot glue guns can provide additional strength.
- Prepare the Boxes: Trim any excess flaps and reinforce the corners and edges to ensure your boxes can withstand use over time.
- Assemble and Customize: Piece together your boxes according to your planned design. Customize them to fit the space and aesthetic of the room they will be in.
By following these simple steps, you can start creating functional storage solutions that reduce clutter and organize your space efficiently. Remember, the goal is to create a storage system that suits your specific needs while repurposing materials that might otherwise be discarded.
Selecting the Right Cardboard Boxes for Storage
Choosing the right cardboard boxes is key to successful DIY storage solutions. Opt for boxes of varying sizes to suit different items. Look for strong, sturdy boxes that can hold weight without collapsing. It’s also important to check for clean, dry, and odor-free boxes to avoid transferring any smells to your stored goods. Select boxes with flaps intact; they provide extra strength when folded inside. Keep in mind the space where you plan to place these boxes. This ensures they will fit well and be practical for everyday use. For a uniform look, select boxes of similar colors or plan to decorate them consistently. With the right boxes, your DIY cardboard box storage ideas will take shape, offering an organized and eco-friendly solution for any space.
Step-by-Step Guide to Creating Your Own Cardboard Storage Bins
Creating your own cardboard storage bins is both a fun and sustainable way to organize your home. Here’s a simple guide to help you craft your DIY cardboard box storage ideas into reality.
- Measure Your Space: Before cutting any cardboard, measure the area where you plan to use the storage bins. This ensures they fit perfectly and serve their purpose well.
- Cut to Size: With your collected cardboard boxes, cut them to the required size based on your measurements. Use a ruler and a craft knife for precision.
- Reinforce the Structure: Apply tape along the edges and corners to give the bins extra strength. If you need more durability, use glue or a hot glue gun.
- Assemble the Base: Fold and secure the flaps at the bottom to create a solid base. Make sure it can bear the weight of the items you’ll store.
- Attach the Sides: Stand up the side walls and secure them to the base. Check all joints are tight and secure to avoid collapsing.
- Add Finishing Touches: Customize your bins with paint, fabric, or wrapping paper for a personal touch. This step is optional but adds to the aesthetic appeal.
- Place and Use: Position your new storage bins in their designated area and begin organizing. Enjoy the neatness and extra space they provide.
By following these steps, you will enhance your living space with custom, eco-friendly storage solutions. Put these DIY cardboard box storage ideas to good use and keep your home tidy and well-organized.
Customizing Your Cardboard Storage Solutions with Dividers and Decor
Once you have your basic cardboard boxes ready for storage, personalizing them can make a big difference. Customizing not only improves the look but also boosts the functionality of your storage solutions. Here is how you can add dividers and decor to your DIY cardboard box storage ideas:
- Create Dividers: For smaller items, dividers are perfect. Measure the inside of your box and cut pieces of cardboard to size. Slide the dividers in to create compartments.
- Decorate with Wrapping Paper: Choose a wrapping paper that matches your room’s decor. Cut it to fit your box’s outer surfaces. Stick it on with glue for a fresh look.
- Paint for a Bold Statement: Acrylic paint works well on cardboard. Pick colors that blend or stand out in your space. Apply two coats for a better finish.
- Cover with Fabric: For added texture, cover your boxes in fabric. Cut the fabric to wrap around the box and glue it securely.
- Label for Convenience: Use labels to know what’s inside at a glance. Stick them on the front for easy identification.
- Add Handles: Punch holes on the sides of the boxes and thread through rope or ribbon for handles. This makes it easier to pull the boxes out.
By applying these quick and easy customization techniques, you can turn simple cardboard boxes into chic and organized storage solutions suitable for any room in your home. With these DIY cardboard box storage ideas, you can have fun while creating an organized living space.
 Innovative Cardboard Box Storage Ideas for Every Room
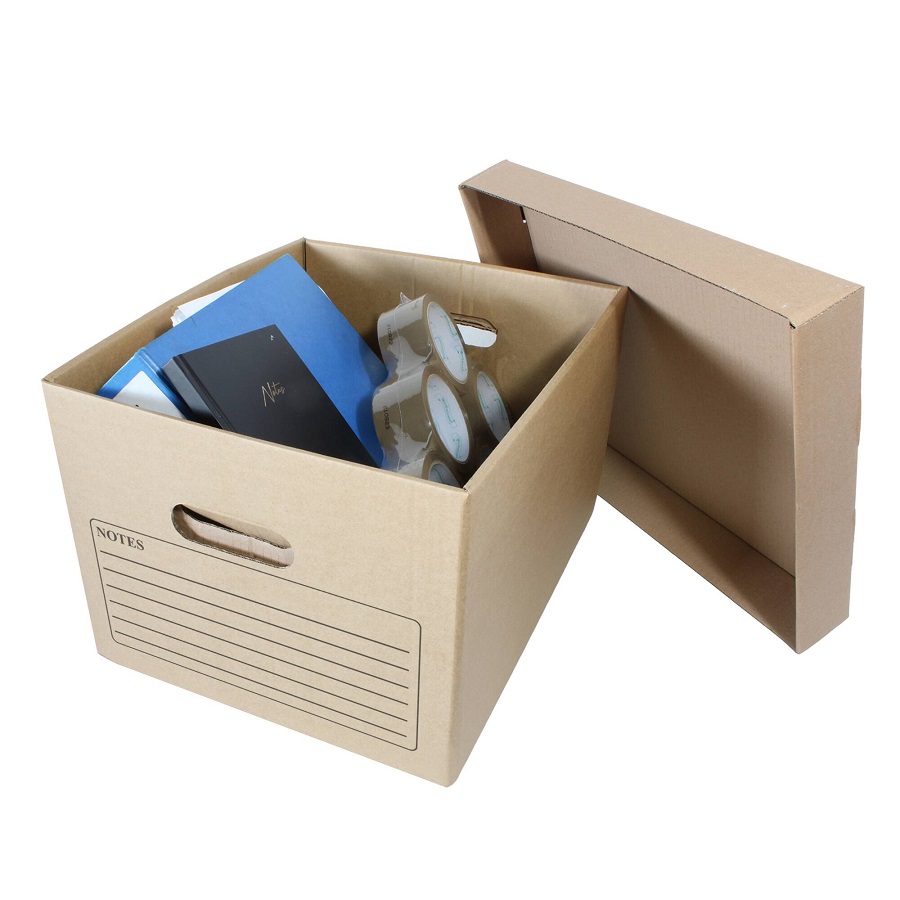
Innovative DIY cardboard box storage ideas can revitalize every room in your house. Let’s explore some creative ways to repurpose cardboard boxes for enhanced organization and style.
Living Room
In the living room, stackable cardboard storage bins can serve as multi-functional pieces. They can act as coffee tables or side tables, while offering ample storage for books, magazines, and remote controls. You can cover them with a stylish fabric or paint to match the room’s decor. Add glass or wooden tops for a more polished look.
Bedroom
For the bedroom, create under-bed storage solutions from cardboard boxes. These are perfect for storing seasonal clothing, extra bedding, or shoes. Customize the boxes with casters for easy sliding and add decorative handles.
Kitchen
In the kitchen, use smaller cardboard boxes as drawer dividers for utensils or as organizers inside pantry. Label each section to maintain an organized space. You can also create a recyclable bin using larger boxes, decorating them to complement the kitchen aesthetics.
Bathroom
Waterproofed cardboard boxes can be transformed into bathroom organizers. Treat boxes with a waterproof coating and use them to store towels, toiletries, or cleaning supplies. Personalize them with labels and fittings that enhance their functionality.
Office
In your home office, cardboard boxes can make excellent file storage or stationery holders. Decorate them with wrapping paper that suits your office theme and label them for easy identification of contents.
Garage
Lastly, in the garage, large cardboard boxes can be utilized to store sports equipment, gardening tools, or holiday decorations. Reinforce them for durability and use dividers to keep things organized.
With these DIY cardboard box storage ideas, every room in your house can achieve a neat, organized look without compromising on style.
Eco-Friendly Tips for Upcycling Cardboard Boxes into Storage
Turning cardboard boxes into useful storage solutions is eco-friendly and resourceful. Here are some valuable tips to ensure that your storage creations are sustainable and practical.
- Use Non-Toxic Adhesives: When assembling or decorating your cardboard storage boxes, choose adhesives that are non-toxic. Options like white glue, rice glue, or gum arabic are safer for both the environment and your health.
- Repurpose Old Boxes: Instead of buying new cardboard, look around for boxes that have already been used. Check at local stores or save the boxes from online deliveries. This reduces waste and supports recycling efforts.
- Avoid Laminated Cardboard: Laminated cardboard, often used in certain types of packaging, can be difficult to recycle. Stick with plain corrugated cardboard which is easier to upcycle and decompose.
- Natural Decor: Opt for natural materials when decorating your boxes. Use water-based paints, or cover boxes with leftover fabric or brown paper. These materials keep the boxes recyclable and reduce environmental impact.
- Maximize Use: Design your storage boxes to be multifunctional. For instance, larger boxes can double as a side table or a pet bed. This ensures you get the most use out of each piece.
- Composting Old Cardboard: When a cardboard box can no longer be used, consider composting it. Remove any non-compostable materials like tape and glue residues, shred the cardboard, and add it to your compost bin. It provides carbon-rich material that benefits compost.
By following these eco-friendly tips, your DIY cardboard box storage ideas not only help organize your space but also contribute to reducing your environmental footprint.
Organizing Tips for Maintaining Your Cardboard Box Storage System
Maintaining your DIY cardboard box storage is key for long-lasting use and effectiveness. Follow these tips to keep your storage system in top shape:
- Regular Cleaning: Dust and clean your cardboard storage boxes regularly to keep them neat. Use a dry cloth to wipe surfaces.
- Check for Damage: Inspect your boxes periodically for any signs of wear or damage. Reinforce or replace as necessary.
- Avoid Overloading: Do not fill the boxes beyond their capacity. Overloading can cause the boxes to deform or collapse.
- Keep Dry: Ensure your cardboard storage areas remain dry and moisture-free. Moisture can weaken the cardboard and lead to mold.
- Organize Contents: Sort and label the contents of your storage boxes. It makes finding items easier and maintains order.
- Re-adjust Layouts: Periodically, re-evaluate the layout of your storage setup. Adjust as needed to improve accessibility and use of space.
- Recycle Unneeded Boxes: If a box is no longer needed, don’t let it clutter your space. Recycle it properly to help the environment.
By implementing these straightforward organizing tips, your DIY cardboard box storage ideas will sustain their utility and appearance, making your spaces more organized and appealing.
 DIY Cardboard Storage Projects for Children’s Room
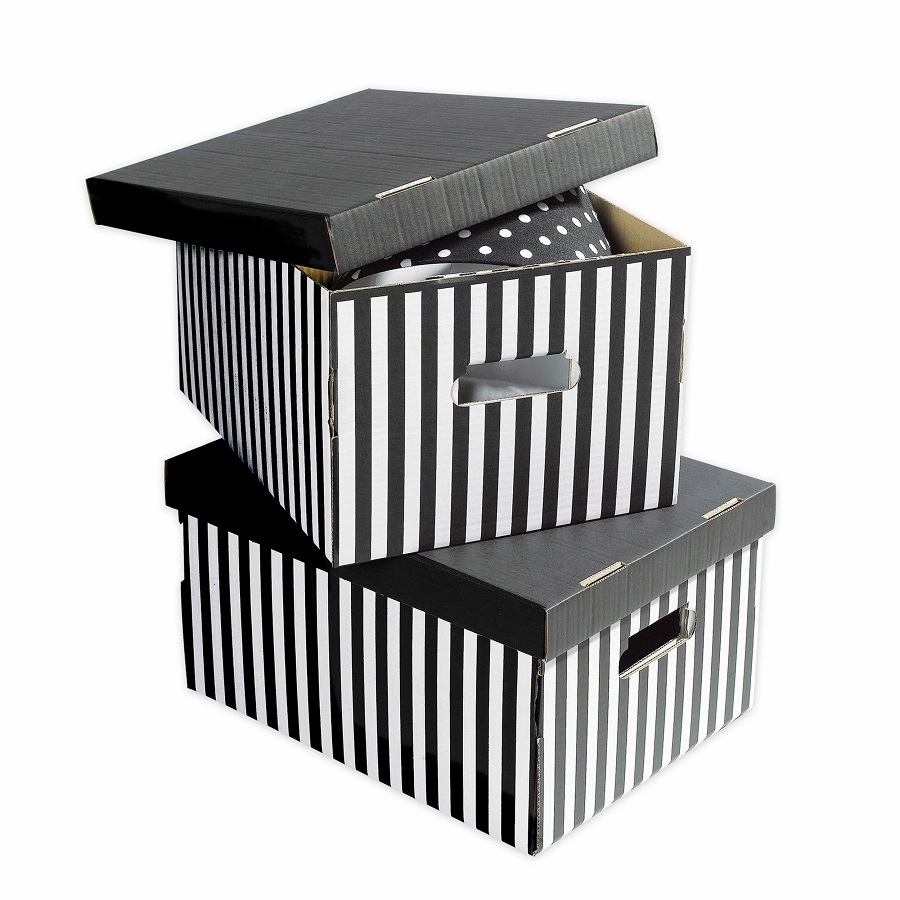
Children’s rooms are full of toys, books, and crafts, making storage key to maintain order. DIY cardboard box storage ideas can bring fun and functionality to these areas. Here, we offer creative ways to craft child-friendly storage units out of cardboard.
- Toy Bins: Start by creating large bins for toys. Use sturdy boxes and reinforce them for durability. Decorate with bright colors or characters that kids love.
- Bookcases: Convert cardboard boxes into mini bookcases. Stack them vertically or horizontally and secure them together. Cover them with colorful paper to attract young readers.
- Art Supply Organizers: For crafty kids, make organizers for art supplies. Small compartments work well for storing pens, pencils, and scissors. Use labels to mark each section.
- Dress-Up Corner: Build a dress-up box for costumes and accessories. Add a hanging rod inside a large box for easy costume selection. Decorate the outside to make it inviting.
- Homework Station: Craft a portable homework station with slots for notebooks and a flat surface for writing. Adding a handle can make it easy to carry around.
- Puzzle Keeper: Make puzzle storage with shallow boxes. Add dividers to keep pieces from different puzzles separated.
- Game Storage: Turn smaller boxes into storage for board games and playing cards. Customize to the size of the game boxes and add labels for quick access.
By using these diy cardboard box storage ideas, you can encourage kids to keep their rooms tidy while providing a creative outlet for them to express themselves. Plus, involving them in the creation process teaches organization and the value of upcycling.
