Introduction
Before embarking on your DIY project to create a step-by-step rope plant hanger, there are essential points you must consider. Firstly, this project is beginner-friendly and does not require advanced craft skills, making it a perfect starting point for those looking to delve into the DIY world. Secondly, the process involves straightforward techniques using readily available materials. Lastly, knowing the steps beforehand allows for a smoother project flow and an enjoyable crafting experience.
What You Need to Know Before Starting
To begin your DIY rope plant hanger, understanding the basic materials and knots involved is crucial. You will work primarily with rope, so choosing the right type (we’ll discuss this next) impacts both the appearance and durability of your hanger. Familiarize yourself with simple knotting techniques, which will form the foundation for constructing your plant hanger. Remember, precision in measuring and cutting the rope is key to ensuring your hanger’s final look is balanced and pleasing.
Materials Required
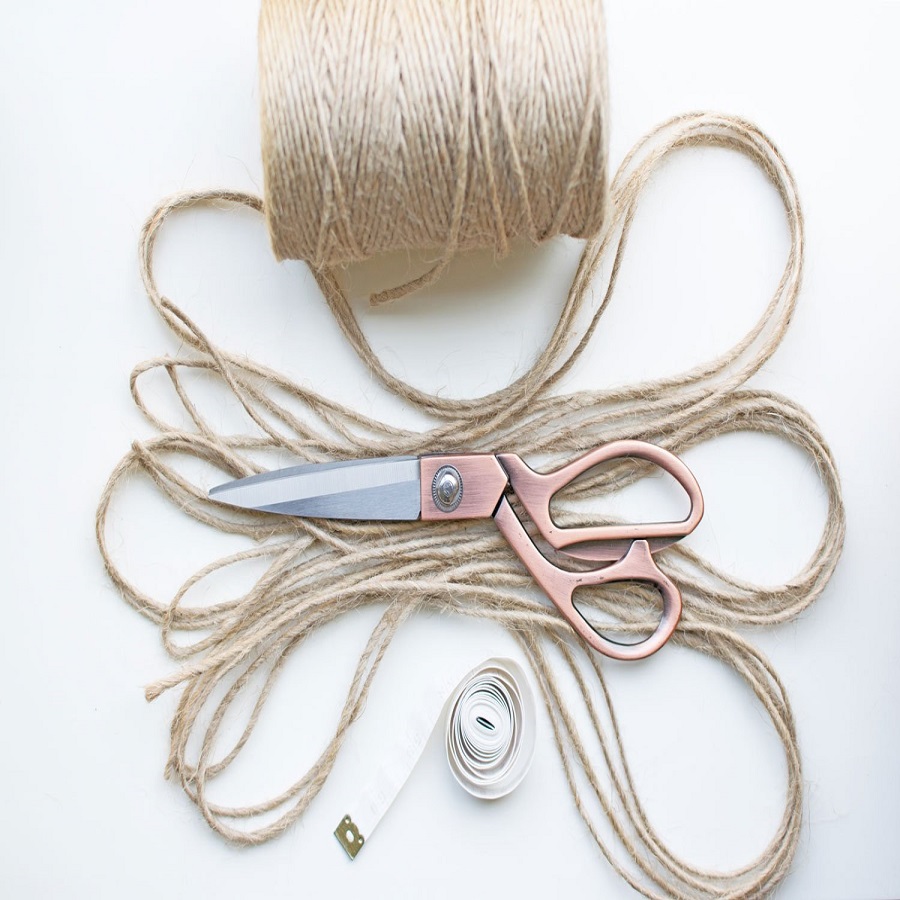
When crafting your DIY rope plant hanger, gathering the right materials is essential. Begin with selecting a durable rope that fits your aesthetic and functional needs, and ensure you have sharp scissors for clean cuts. A measuring tape will help maintain accuracy in length, contributing to a symmetrical design.
Choosing the Right Rope and Supplies
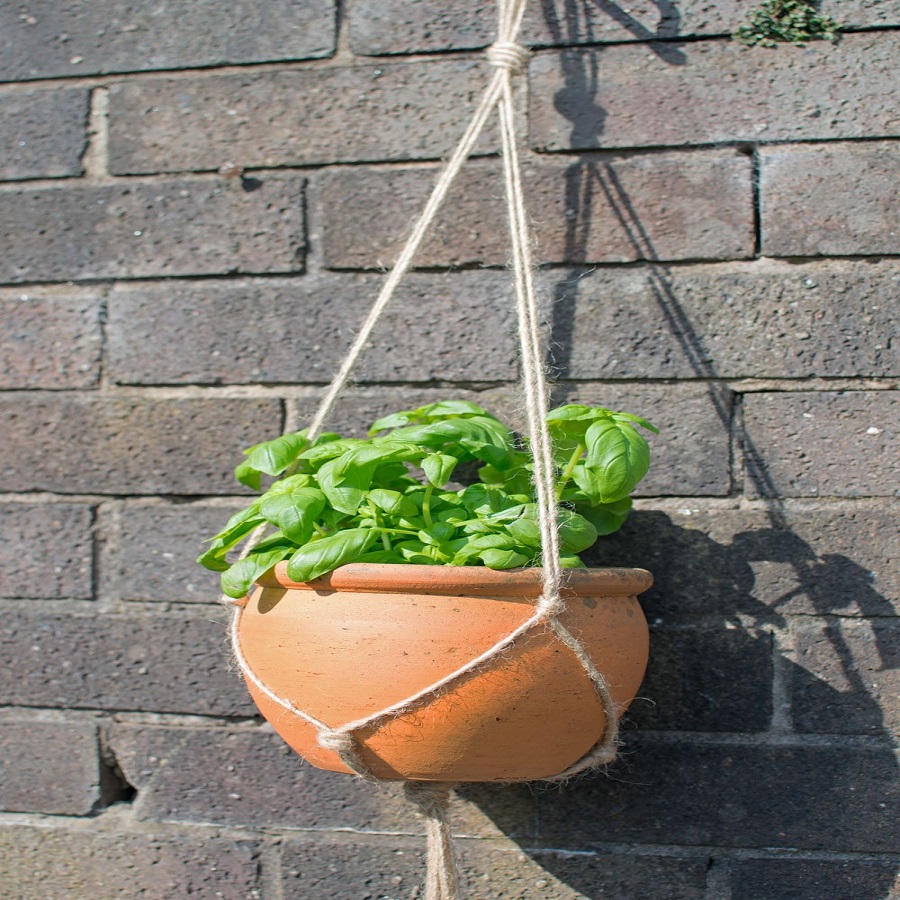
For your plant hanger, the rope is your lifeline. Jute twine is a popular choice due to its sturdiness and natural look, ideal for both indoor and outdoor settings. However, you can explore other materials like cotton or synthetic options, depending on your preference and the weight of the pot.
Choose a thickness that complements the pot size – thicker ropes for heavier pots to provide adequate support. Accuracy is crucial, so a reliable measuring tape is indispensable. You’ll also need a sharp pair of fabric scissors for precise cuts. Lastly, a ring made of wood or metal will serve as the starting point of your hanger, holding your rope securely in place.
With these materials in tow, you’re ready to embark on the first step: preparing the rope for your plant hanger.
Step 1: Preparing the Rope
Preparing the rope correctly sets the foundation for your DIY rope plant hanger. This initial step involves accurate measuring and cutting, ensuring the rest of the project flows smoothly.
Measuring and Cutting the Rope
Start by selecting the appropriate length of rope for your plant hanger. Using a measuring tape, determine the desired total length of your hanger. For a standard hanger, you may want to start with several pieces of rope, each around 3 meters long, similar to the lengths used in the examples from the retrieval results. Ensure they are all equal to maintain symmetry in the final product.
Once you have your measured lengths, use sharp fabric scissors to make clean and precise cuts. This will help prevent fraying and ensure a neat look. Position your scissors at the measured points and cut swiftly to maintain accuracy. Repeat the process for each piece of rope needed. With your ropes neatly cut and ready, you’re well-prepared to advance to the next steps of crafting your plant hanger.
Step 2: Starting the Hanger
Moving on to Step 2 in your DIY rope plant hanger project involves beginning the construction. This step is crucial as it lays the foundation for the entire structure of your plant hanger.
Attaching the Rope to the Ring
Now that your ropes are prepped, the next task is attaching them to the ring securely. First, gather all your cut ropes. Take each rope and fold it in half to find the midpoint. Hold the ring in one hand, and loop the ropes over it, aligning their midpoints to ensure even hanging.
Next, pull the loose ends through the loop created by the folded midpoint. This is commonly referred to as an ‘overhand knot’. Tighten the knot by pulling the ends while holding the loop part on the ring. Repeat this with all the rope segments. Make sure the knots are tight and the ropes hang evenly to maintain symmetry.
Ensure each knot is secured tightly against the ring. This prevents any slippage and maintains the integrity of your plant hanger’s form. Once all knots are checked and evenly spaced, your foundation for the plant hanger is set, and you’re ready to move to the creation of intricate knots in Step 3.
 Step 3: Creating Knots
Now that your foundation is secure, step 3 focuses on the core of your design. This step is essential for the overall structure and aesthetics of your plant hanger. It involves crafting specific knots that hold the form and enhance the design. This reveals its unique hand-crafted beauty.
Techniques for the Gathering Knot and Spiral Knot
The gathering knot serves as a solid binding for your hanger. Start by cutting a length of rope about 30 inches long. Place this rope around the cluster of hanging ropes. Make sure to leave a short loop at the start. Wrap this rope tightly around the cluster for about eight to nine times. Then, thread the rope through the loop you left. Pull tightly to secure the wraps in place and tuck in any loose ends for a clean finish.
The spiral knot, or half-square knot, creates twisted patterns that add texture to your hanger. To form these, group your ropes in fours. Position the longer ropes on the outside and the shorter ropes in the center. Cross the right outer rope over the two middle ropes and then under the left outer rope. Loop the left outer rope behind the two middle ropes, passing through the loop formed on the right. Pull tight and repeat this pattern to create a spiral design. This process may require patience and precision but results in an impressive detailed look.
By mastering these knots, you ensure that your plant hanger is not only functional but also strikingly decorative. As you continue, the combination of these knots will begin to form the iconic macramé patterns known in plant hangers.
Step 4: Building the Structure
After mastering the preliminary knots, it’s time to focus on the structure of your rope plant hanger. This step is where your project starts to take shape, quite literally. Here is where you’ll form and connect square knots, building a grid that will cradle your plant pot with style and stability.
Forming and Connecting Square Knots
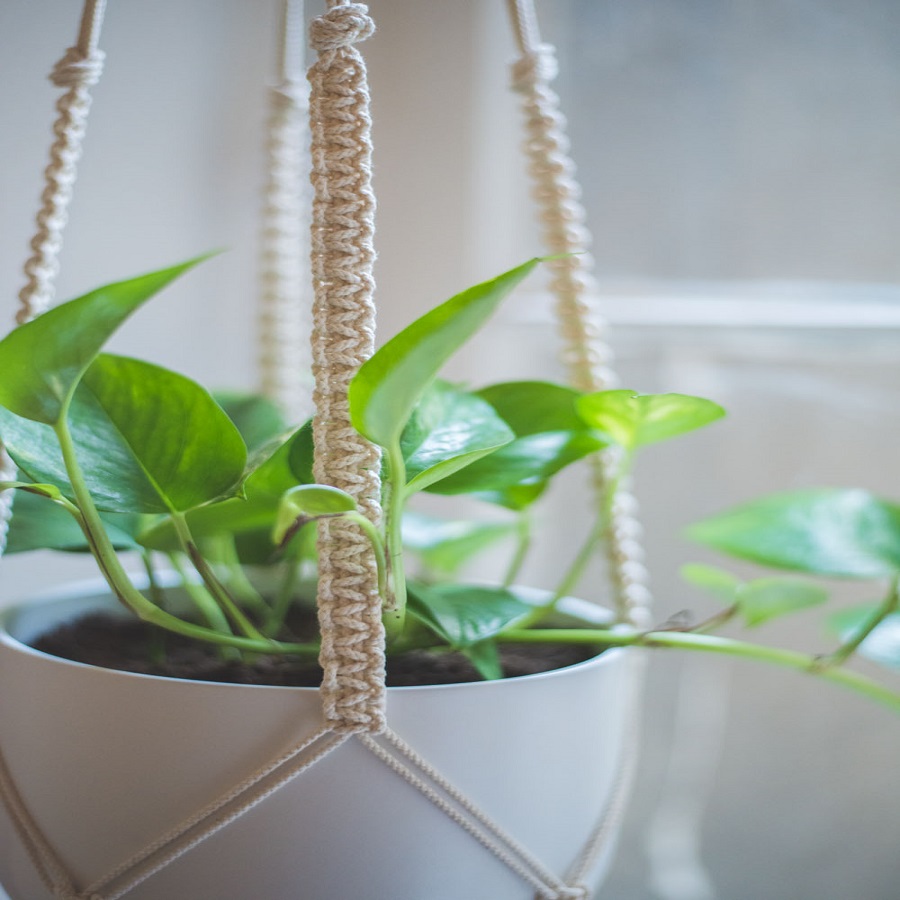
Square knots are at the heart of your plant hanger’s strength and beauty. Start by separating the rope strands into groups of four. Make sure to have the longer strands on the outside and the shorter in the middle. The goal here is to create a secure mesh for the plant pot to sit in.
To tie a square knot, cross the right outer strand over the two center strands, and then beneath the left outer stand. Next, move the left outer strand under the right one, behind the center strands, and through the space next to your right hand. Pull both outer strands to tighten the knot at the top. Repeat this process below the first knot, aiming for consistency in space and tension.
Now, join sections of these knots to form a net. Extend a rope from one knot to the neighboring knot and tie them together. This creates a pattern – think of the diamonds in a net. The distance between these connecting knots is up to you, but keeping them equal is essential for uniformity.
Forming and connecting the square knots requires patience. But, the effort pays off with a robust and attractive plant hanger. With your structure in place and knots connected, the step by step rope plant hanger DIY is almost complete. Soon, you’ll be ready to trim the tail and admire your handiwork, a perfect blend of form and function.
Step 5: Finalizing the Hanger
As you approach the completion of your DIY rope plant hanger, attention to detail will ensure a refined and elegant final product. Step 5 involves adding those important finishing touches and properly trimming the tail of your hanger.
Adding Finishing Touches and Trimming the Tail
Now that your plant hanger’s structure is established, it’s time to refine it. Review each knot and tighten any that seem loose. This step guarantees that your plant hanger will hold its shape and securely support the plant pot.
Next, trim the tail of your plant hanger. The tail is the portion of rope that extends beyond the last knot. Consider the aesthetic you prefer. Some like a longer, flowing tail, while others opt for a shorter, neater look. Measure from the bottom knot to ensure an even cut across all ropes. Use sharp fabric scissors for a clean cut. By doing this, you prevent fraying and maintain a tidy appearance.
These final adjustments are crucial for achieving a professional-looking DIY project. With each adjustment and trim, you are one step closer to a pristine rope plant hanger that is both functional and attractive.
Where to Hang Your Plant Hanger
Finding the perfect spot for your new rope plant hanger adds the final touch to your DIY project. It’s about combining function and decor to best suit your living space.
Ideal Locations for Displaying
When deciding where to display your plant hanger, consider the aesthetics and the plant’s needs. Here are some ideal locations:
- Indoors: Hang near a window with moderate sunlight. Ensure it’s not a path of heavy traffic to avoid bumps.
- Porches: A covered porch shields your plant from harsh weather, but still offers fresh air.
- Balconies: Great for smaller spaces. Use hooks or railing mounts for secure placement.
- Living Rooms: Adds a warm touch. Hang from ceiling hooks or a sturdy curtain rod.
- Bedrooms: For a calming effect, place near beds but out of the way of foot traffic.
- Bathrooms: A steamy room is great for tropical plants. Just make sure it’s well-supported.
Ensure the location you choose can support the weight of the plant hanger and is stable. Also, consider the plant type. Some plants need more light, others thrive in shadows. Tailor the spot to the plant’s needs for the best results.
 Conclusion
As we reach the end of this step by step rope plant hanger DIY guide, let’s summarize. We’ve walked through each step, from selecting your materials to trimming the tail of your finished plant hanger. You’ve learned how to measure and cut the rope, attach it to the ring, and form various knots. You’ve built a hanger’s structure and refined your handcrafted creation. Now, you’re equipped to display it proudly in your chosen spot.
Recap and Additional Tips for Success
To recap, here are the key steps to remember:
- Choose the right rope and gather all supplies.
- Measure and cut your rope accurately.
- Secure the ropes to the ring to start the hanger.
- Create sturdy knots to form the hanger’s body.
- Build the structure by connecting square knots.
- Add finishing touches and trim the tail for neatness.
Here are some extra tips to help you succeed:
- Always use sharp scissors for cutting rope.
- Check knots twice to ensure strength and symmetry.
- Be patient with yourself while learning new knots.
- Customize the length of your hanger to fit the space.
- Consider the plant’s needs when choosing a location.
With these steps and tips, your DIY adventure in making a rope plant hanger should be a success. So, gather your materials and get started on this enjoyable and rewarding project. Remember, practice makes perfect, and each hanger you create will have its own unique charm.


