Introduction to DIY Shoe Storage Solutions
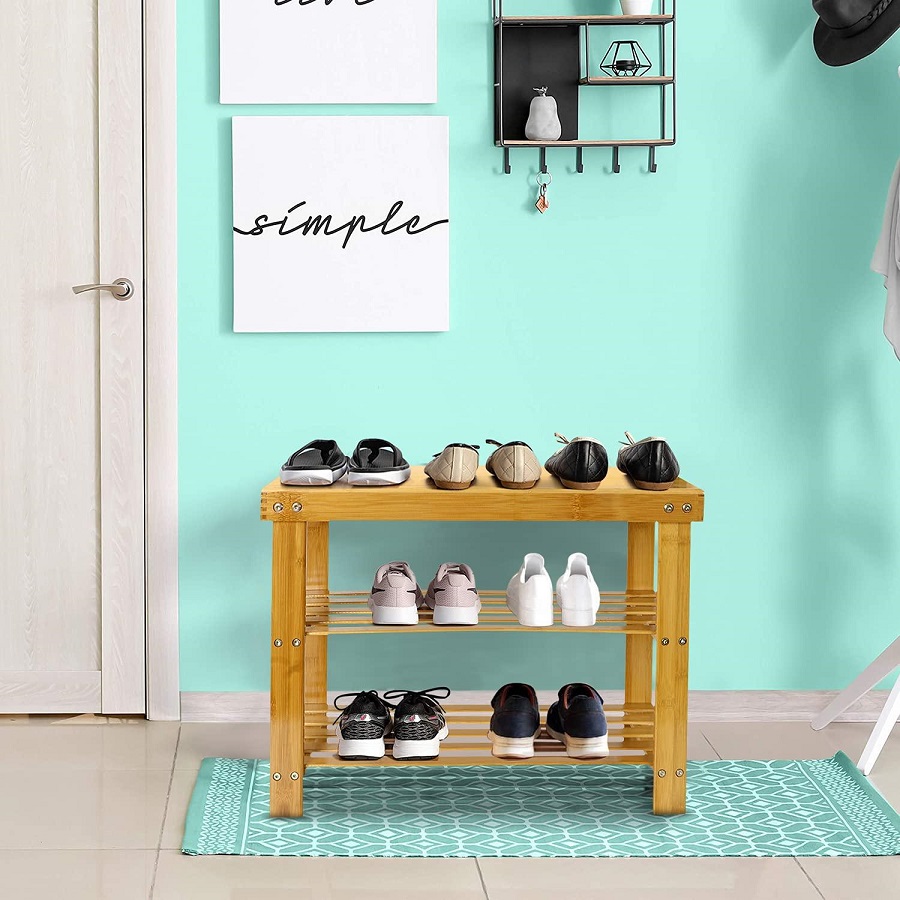
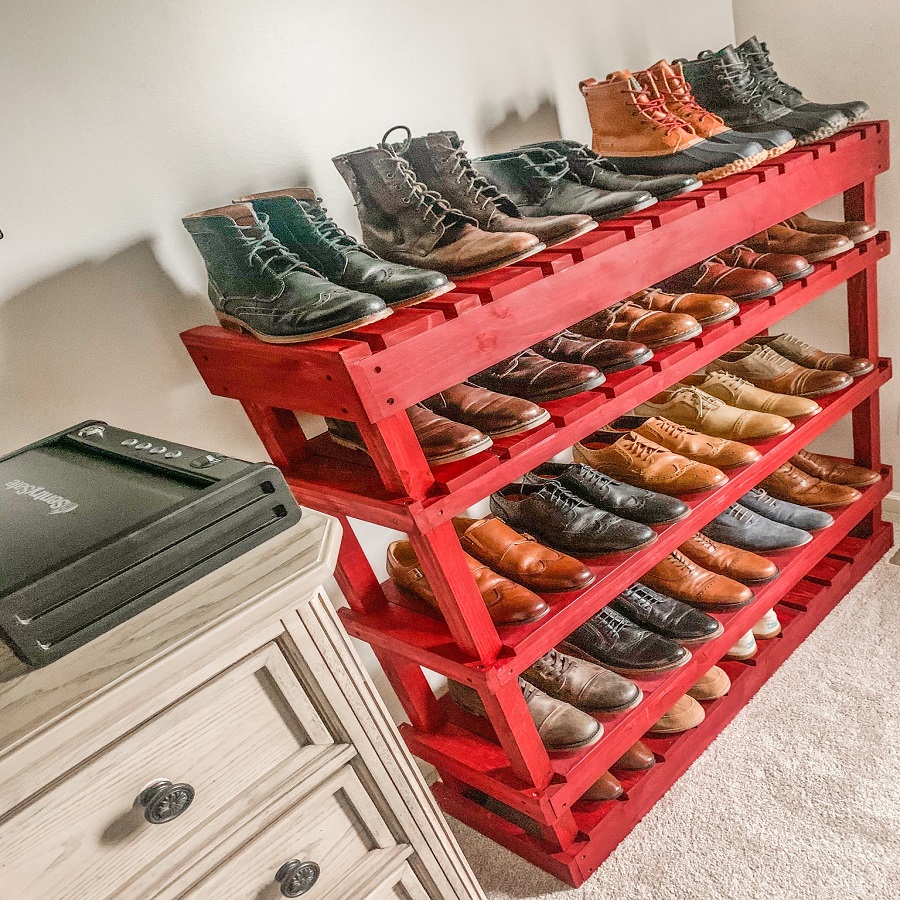
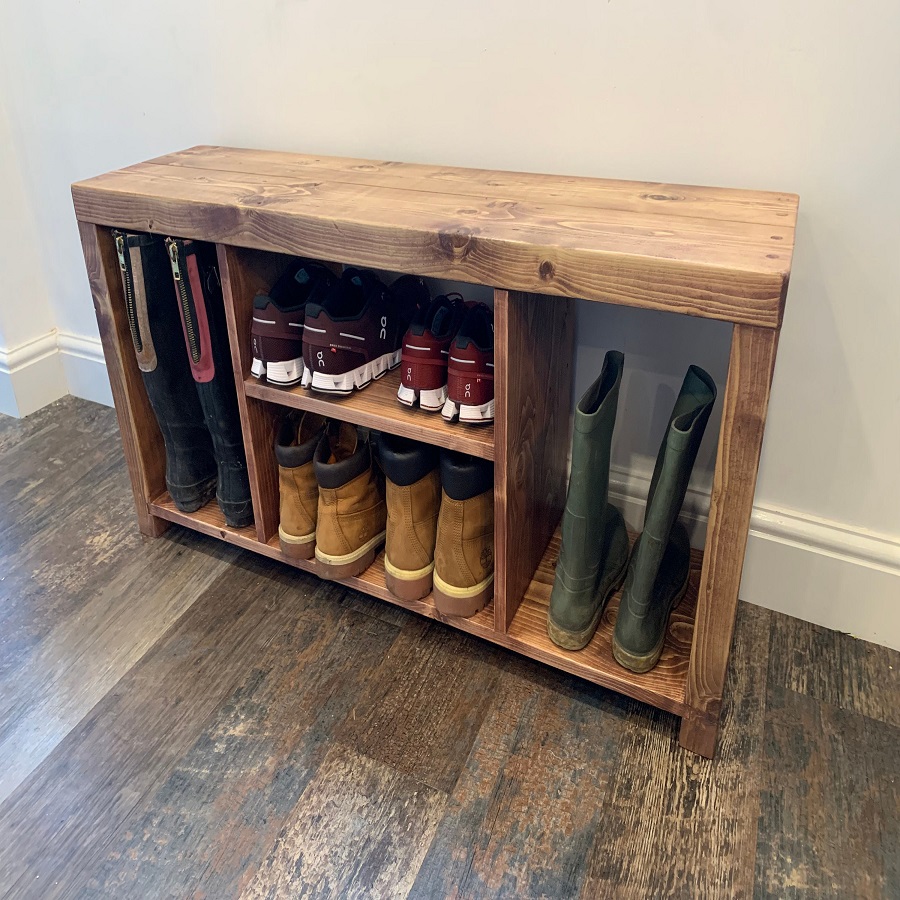
If you’re facing a mess of shoes, a wooden homemade DIY shoe rack can be a lifesaver. Shoes scattered on the floor create clutter and make finding the right pair difficult. A DIY shoe rack not only organizes your footwear but also adds a personal touch to your space. Building one with your own hands offers satisfaction and a custom fit for your home.
A DIY project might sound daunting, but with the right tools and a set of clear instructions, even beginners can create a beautiful and functional shoe rack. This guide will walk you through every step, ensuring that you have a smooth experience from start to finish. We’ll discuss essential tools, materials needed, assembly, and final touches like paint and stain to complete your project. Not only will you end up with a unique piece of furniture, but you’ll also gain skills and confidence in DIY woodworking. Let’s get started on creating an efficient shoe storage solution that complements your living space!
Essential Tools and Materials Needed
Before you start building your wooden homemade DIY shoe rack, gathering the right tools and materials is crucial. The better prepared you are, the smoother the build will go. Here’s what you’ll need for your project:
Selecting the Right Wood and Supplies
Choosing the correct type of wood is essential for durability and aesthetics. For a sturdy shoe rack, pine or cedar are both excellent options. Ensure you purchase boards free of knots and warps for uniformity. Along with your wood, you’ll need:
- 1×12 boards
- 2×2 boards
- 1×2 boards
- Wood screws (1 1/4″)
- Pocket hole screws (1 1/4″)
Remember to adjust the quantity and size of the boards to fit the dimensions required for your specific shoe rack design.
Power Tools for Efficient Construction
Without the appropriate power tools, assembling a shoe rack can be challenging. Here is a list of recommended power tools for efficient construction:
- A saw (to cut your boards to the desired dimensions)
- A pocket hole jig (for creating strong joints)
- A drill, preferably a compact series drill and impact driver kit
- A set of drill bits
- A measuring tape and a carpenter’s square (for precise measurements and angles)
With all your tools and materials ready, you’re set to measure and cut the wood to start your DIY shoe rack project. Ensure to follow safety practices when handling the power tools, like wearing safety glasses and working in a well-lit area.
Measuring and Cutting the Wood
Before you dive into the construction of your wooden homemade DIY shoe rack, precise measuring and cutting of the wood are vital. The success of your project largely hinges on how accurately you can replicate the dimensions specified in your design. Here’s how to ensure your wood cutting is on point for your DIY project.
Determining the Size of Your Shoe Rack
Start by deciding where you’ll place your shoe rack and measure the available space. Keep in mind the number of shoes you aim to store. These measurements will guide the overall size of your rack, ensuring it fits neatly into your designated area and holds all your footwear comfortably.
Create a sketch or a blueprint, noting the length, width, and height you’ve chosen. This step is crucial – the clearer your plan, the smoother your project will proceed.
How to Accurately Cut Wood for Your DIY Project
With your measurements and blueprint ready, it’s time to start cutting your wood. For this, you’ll need a reliable saw. Cut the boards slowly and steadily to ensure straight, clean edges. A miter saw is ideal for this job, but you can use a hand saw if you’re skilled in its use.
Always double-check your measurements before cutting. Mark your wood using a pencil and a ruler or a carpenter’s square for precise lines. Remember, measure twice, cut once, to avoid mistakes that could waste materials and time.
It’s essential to follow safety protocols, such as wearing safety goggles and operating the saw in a secure, stable environment. Rushing can lead to inaccuracies or injuries, so take your time.
Cutting wood may seem intimidating if you’re new to DIY projects, but with patience and attention to detail, you can achieve professional-looking results. As you gain more experience, you’ll find that this part of the project becomes easier and more satisfying. Now, you’re ready to move on to the next phase: assembling the shoe rack frame.
 Assembling the Shoe Rack Frame
Once you have all your wooden pieces cut to the right measurements, it’s time to start assembling the frame of your shoe rack. This stage is where your project begins to take shape, and by following these instructions, you’ll have a sturdy base ready to hold those shelves in no time.
Constructing the Base and Legs
To construct the base, lay out the legs using the 2×2 boards you’ve cut. You’ll want to form two rectangles that will act as the sides of the rack. Use the pocket hole jig to create holes at each end of the shorter boards. Attach the pieces using 1 1/4″ pocket hole screws to form a strong frame. If necessary, employ a carpenter’s square to ensure everything is at the right angle. This step creates the base and the legs that will support the weight of the shoes.
Attaching Horizontal Brace Pieces
Next, add the horizontal braces to the sides you just assembled. These braces will support the shelves and add stability to the frame. Take the 1×12 boards and distribute them evenly, securing them to the frames with more pocket hole screws. Make sure each brace piece is level before attaching it, as this will prevent the shelves from sloping once in place. Careful alignment is crucial for a balanced shoe rack.
With the base and legs assembled and the braces firmly in place, your shoe rack frame is complete. Following these directions carefully provides a solid foundation for the next step: adding the shelves.
Adding the Shelves to the Frame
Adding shelves is a key step for a wooden homemade DIY shoe rack. It brings structure and storage space. Here’s how you can add shelves efficiently to your shoe rack frame.
Securing Shelves with Wood Screws
Begin by laying your cut shelves on the horizontal braces. Check that they are even and well-spaced. Secure each shelf by drilling wood screws through the shelf and into the braces. Use the 1 1/4″ wood screws for this. Be sure screws go straight to avoid wood splitting. Tighten the screws firmly, but avoid over-tightening which can strip the wood.
Tips for Even Shelf Placement
For even shelves, use a measuring tape to space them out. Note the height of your tallest shoes to allow enough space. A level can help ensure your shelves are perfectly horizontal. Even shelf placement makes your rack look good and work well.
With your shelves secured and evenly placed, your shoe rack will now start to resemble the final product. Next, you will move on to the finishing touches, which will either involve painting or staining your shoe rack based on your preference.
Finishing Touches: Paint or Stain
Your wooden homemade DIY shoe rack is almost ready to use. But, before you fill it with shoes, it’s time for the finishing touches. Choosing the right paint or stain will protect your shoe rack and add an aesthetic touch to match your home decor.
Choosing Between Paint and Stain
Think about the look you want for your shoe rack. For a natural, classic feel, wood stain is the way to go. It lets the grain show through and can warm up the wood’s natural hue. Stain comes in many shades, from light oak to dark walnut, offering a range of choices. On the other hand, paint provides a wide range of colors and can give your rack a crisp or bold look. It hides imperfections well and can fit any color scheme. Consider the decor of the room where the shoe rack will go and pick a paint or stain that complements it.
Remember, stain is subtle and enhances the wood, while paint covers and transforms it. Both need the correct prep and finish. For staining, sand the wood smoothly to help the stain soak in evenly. For painting, primer is a must. It prevents the wood grain from showing through the paint.
Applying Finishes for a Professional Look
Start by wiping down your rack to remove any dust. If you’re staining, rub the stain on with a rag and work it into the wood. Wipe off excess stain for an even coat. If you’re painting, apply primer first, let it dry, then paint with smooth, even strokes. Either way, finish with a sealer like Polycrylic for protection.
Take your time and let each coat dry fully. Patience during this phase pays off with a long-lasting and beautiful finish. Once you’re done, you’ll have a professional-looking DIY shoe rack that’s ready for use.
 Final Steps: Moving and Organizing Your Shoe Rack
After completing your wooden homemade DIY shoe rack, it’s time to move it into its final position and organize your footwear. These final steps are important to ensure that your hard work provides the most benefit and that your shoe storage solution integrates seamlessly into your home.
Positioning Your Shoe Rack
Decide where in your home the shoe rack will live. Pick a spot that’s convenient but doesn’t obstruct traffic. Ensure the area is dry to avoid dampness affecting the wood. When you have found the perfect location, carefully move the rack into place. You may need to secure it to a wall for added stability if it seems wobbly or if you live in a space with children or pets.
Shoe Organization Strategies for Maximum Storage
Now comes the enjoyable part: organizing your shoes. Here are some strategies to maximize storage:
- Place shoes that you wear most frequently at eye level for easy access.
- Arrange shoes by type — keep boots, sneakers, and sandals in their own sections.
- Use the bottom shelf for shoes you wear less often, like special occasion footwear.
- Consider alternating the direction of shoes (toe to heel) to fit more on each shelf.
Proper organization not only makes your shoe rack more functional but also showcases the beauty of your DIY creation. A well-organized shoe rack can transform a cluttered entryway or closet into an orderly and pleasant space. Enjoy the satisfaction of a job well done and the improved convenience your new shoe storage solution brings to your daily routine.


