Introduction to DIY Shoe Rack Projects
Embarking on a DIY shoe rack project is both practical and rewarding. This type of project allows you to create a custom storage solution for your shoes that is tailored to your space and style preferences. Additionally, building your own shoe rack can be an enjoyable and fulfilling activity that provides you with the opportunity to develop woodworking skills.
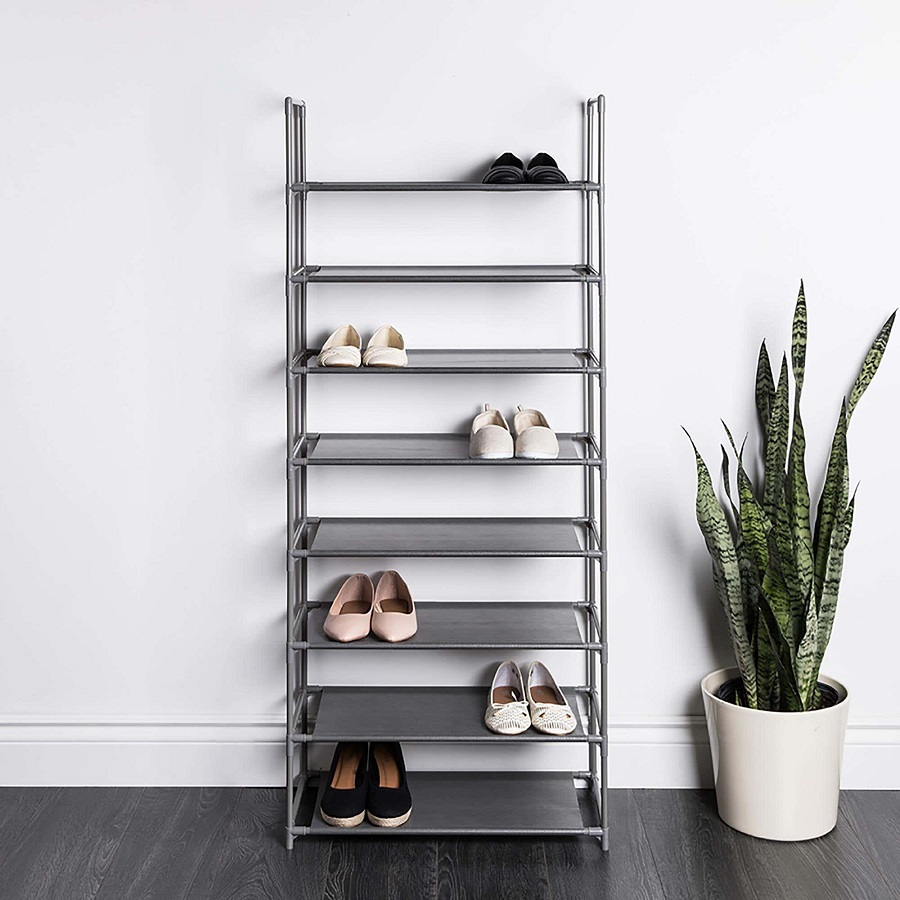
By learning how to make a shoe rack, you’ll be able to declutter your entryway, closet, or any other area where shoes tend to accumulate. With the right tools and materials at hand, you can construct a sturdy and aesthetically pleasing shoe rack that not only serves its purpose but also enhances your home decor. Moreover, this DIY endeavor can be cost-effective compared to purchasing a pre-made shoe storage unit.
Next, I’ll guide you through the essential tools and materials needed to begin your project. We will ensure you’re equipped with everything necessary for building a robust shoe rack. Get ready to put on your DIY hat and create a personalized piece that meets all your shoe storage needs.
Essential Tools and Materials for Your Shoe Rack
Before diving into how to make a shoe rack, it’s important to gather all the necessary tools and materials. Here’s what you’ll need:
- Power Drill and Impact Driver: Choose a compact, lightweight kit with LED worklights for easy handling in tight spaces. A powerful drill will make assembling the shoe rack much simpler.
- Miter Saw: This will let you cut your boards to the precise measurements needed for your shoe rack.
- Pocket Hole Jig: An essential tool for making strong, hidden joints between boards.
- Wood Boards: Based on the size of your rack, you’ll need 1×12, 2×2, and 1×2 boards cut to length.
- Pocket Hole Screws: These specialize screws work with your pocket hole jig for secure joins.
- Wood Screws: Having 1 1/4″ wood screws is critical for attaching shelves to the braces.
- Stain or Paint: Pick a color that matches your decor and add a personal touch to your shoe rack.
- Polycrylic or Polyurethane: To protect the finished rack, especially if you choose to stain it.
Having the right tools and materials from the start will set your project up for success. Stick to reliable brands to ensure quality and ease of use. Don’t forget to measure your space to know the exact dimensions needed for your rack. This will save time and make the process run more smoothly.
Step 1: Preparing the Wooden Components
The initial phase in learning how to make a shoe rack is to prepare the wood. Begin by selecting your wood boards, ensuring they’re free from any significant knots or flaws that might weaken the structure. Use your miter saw to cut the boards according to your design’s measurements. Remember to keep the measurements tailored to fit the space you’ve designated for your shoe rack.
For our purposes, we might cut three 1×12 boards to a length of 50 inches each for the main shelves. Likewise, we cut four 2×2 boards to 28 1/2 inches and four more to 12 inches to create the side frames. Another four 1×2 boards, each 12 inches long, are prepared to act as brace pieces. Always double-check your lengths before cutting to avoid wasting materials.
When the boards are cut to the right size, smooth any rough edges with sandpaper to prepare them for assembly. This step is crucial for a visually appealing and splinter-free final product.
Accuracy and attention to detail are key in this preliminary step and set the stage for a successful build. Your precision now ensures a sturdy and well-fitted shoe rack later. So take your time, measure twice, and cut once.
 Step 2: Assembling the Sides of the Shoe Rack
Once you have your wooden components prepared, the next step in learning how to make a shoe rack is assembling the sides. This is where your shoe rack starts taking shape, forming the upright framework that will hold your shelves. Here’s how to assemble the side frames of your rack:
- Start by Creating the Frames: Position your cut 2×2 pieces on a flat surface to create two rectangles. These will act as the side frames of your rack.
- Use a Pocket Hole Jig: You’ll need this tool to drill two pocket holes at each end of your 12-inch 2x2s and 1x2s. The pocket holes should be on the inside of the frames for a cleaner look.
- Join the Pieces: Connect the 12-inch 2x2s to the 28 1/2-inch 2x2s using 1 1/4-inch pocket hole screws. You’re building two leg frameworks for stability.
- Ensure They’re Square: It’s crucial for your shoe rack’s stability that the frames are perfectly square. Use a carpenter’s square to check and adjust as necessary.
- Secure All Joints: After joining all the pieces, double-check each joint to ensure they’re tightly secured with your screws.
Achieving a solid assembly in this step is fundamental to the integrity of your shoe rack. With the sides assembled, you’ll have a stable base for adding the shelves in the next steps.
Step 3: Adding Horizontal Braces for Stability
After you’ve assembled the sides, it’s time to add horizontal braces. These pieces give your shoe rack firmness and a flat surface for the shelves. Here’s what you do:
- Measure and Mark: Make sure the spacing between braces fits your shoe sizes. Mark the inside of your side frames for accurate placement.
- Drill Pocket Holes: Prepare your horizontal 1×12 boards. Drill two pocket holes on each end. These face inward for a clean look.
- Secure the Braces: Align your horizontal boards with the marks you made. Attach them to the frames using 1 1/4-inch pocket hole screws.
- Evenly Space Out: Place the braces equally apart. This ensures weight distributes evenly when you add the shelves.
- Check for Level: Before you screw them in, use a level. Ensure each brace is perfectly horizontal. This will keep your shoes from sliding off.
Adding these braces is crucial. They provide the skeleton of your rack with strength. They also define how many shelves you’ll have. Make sure they are attached securely. This will help keep the entire structure rock-solid once it’s complete.
Step 4: Attaching the Shelves
Once you’ve added the horizontal braces, the next task is attaching the shelves. Here is a straightforward guide to help you complete this part of your DIY shoe rack project:
- Position Your Shelves: Lay your cut 1×12 boards across the horizontal braces. Make sure they fit snugly.
- Pre-drill Holes: To avoid splitting the wood, pre-drill holes in the shelves where you’ll insert the screws.
- Attach with Screws: Secure each shelf to the braces using your 1 1/4-inch wood screws. Ensure a tight fit for each shelf.
- Check for Alignment: Use a level to check that each shelf is horizontally aligned. Adjust as needed before fully tightening the screws.
- Stagger Screws for Strength: Stagger the screws along the length of each shelf. This pattern adds strength and stability to the rack.
- Repeat for All Shelves: Work from the bottom up, attaching each shelf to the braces. Double-check that each is secure and level.
After these steps, your shelves will be firmly in place. Remember to regularly check your drill’s battery to ensure it doesn’t run out halfway through. A well-constructed shoe rack will be a solid piece of furniture that neatly organizes your shoes for years to come.
Step 5: Finishing Touches with Paint or Stain
After assembling your shoe rack, the next important step is to add your personal touch with paint or stain. This not only provides a layer of protection but also complements your home decor. Here’s how to proceed with the finishing touches:
- Choose Your Finish: Decide whether you want a natural look with stain or a pop of color with paint. Pick a product that matches your interior style.
- Prep the Surface: Make sure the wood is clean and smooth. Wipe off any sawdust and sand down rough spots.
- Apply Paint or Stain: Use a brush or rag to apply paint or stain evenly. Work in a well-ventilated area.
- Let It Dry: Follow the paint or stain manufacturer’s guidelines for drying time. Patience is key for a smooth finish.
- Add a Protective Coat: If you stain, apply Polycrylic or Polyurethane to protect the wood from wear and tear. For paint, a clear sealer will work.
- Sand Between Coats: If you’re using multiple coats, sand lightly between them for a finer finish.
- Cure Time: Once done, give the shoe rack time to cure. This ensures the finish sets properly before use.
Taking the time to apply finish to your shoe rack will extend its life and make it easier to clean. Don’t rush this final step as it makes all the difference in the overall quality and look of your project.
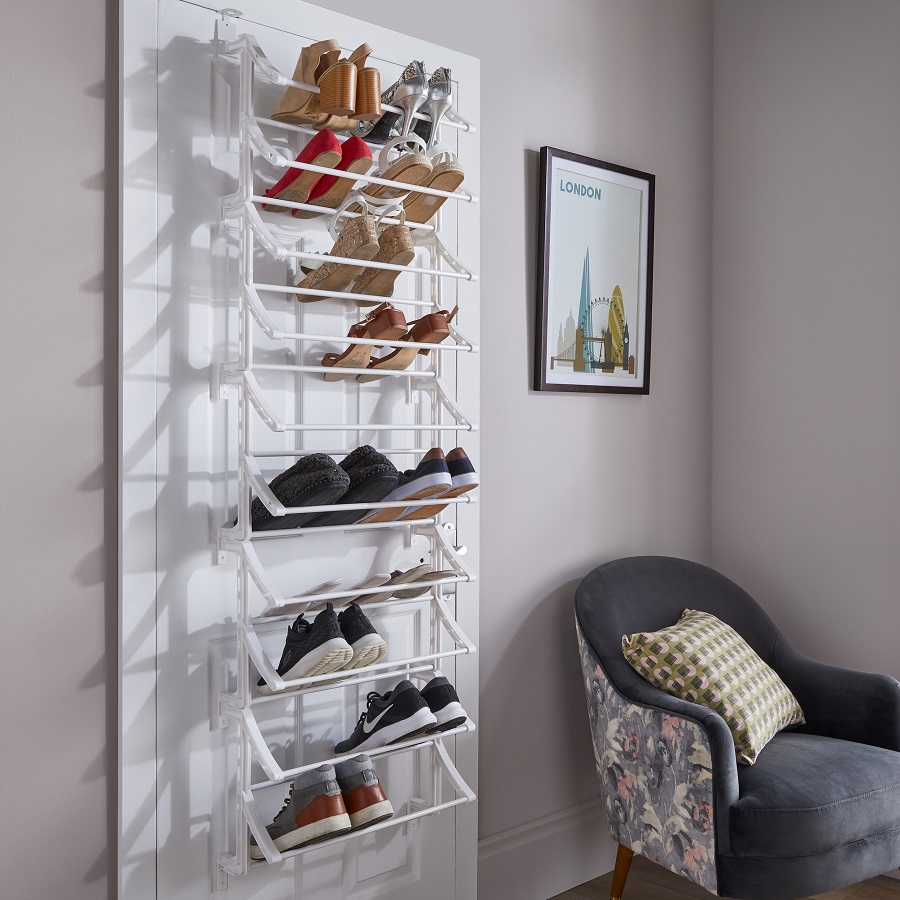 Customization Tips for Your DIY Shoe Rack
After you’ve built your shoe rack, why not tailor it further to fit your personal style or the decor of your home? Here are some ways to add a splash of creativity to your new piece:
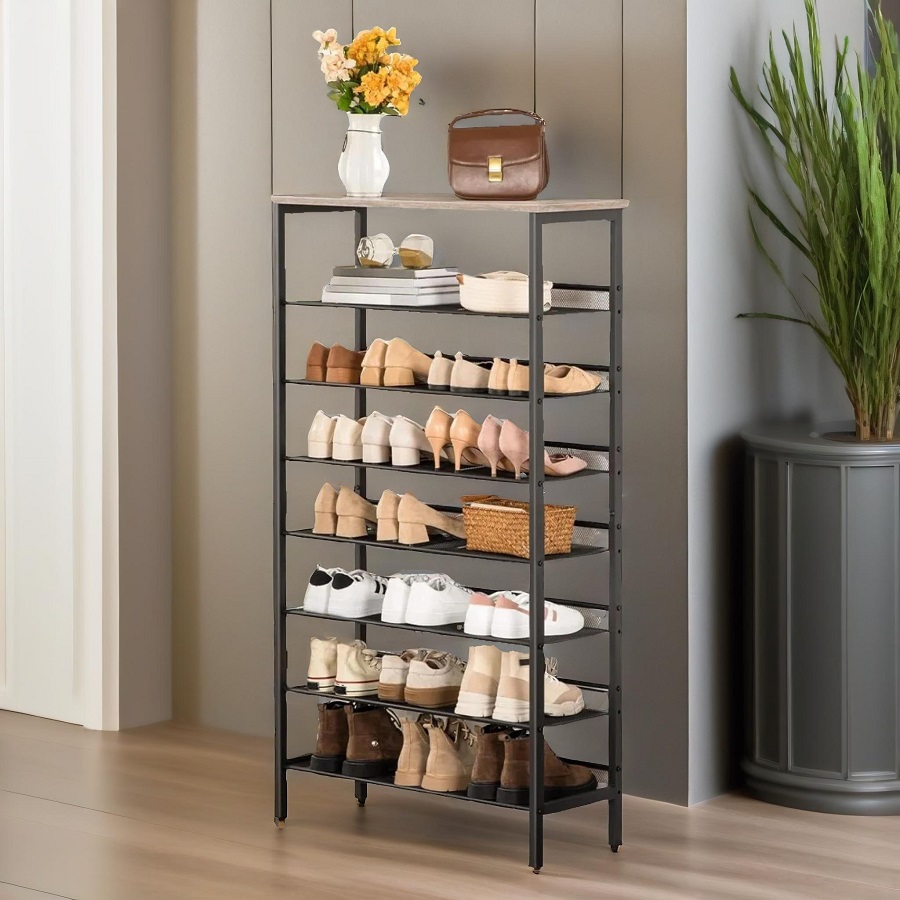
- Adjust the Size Accordingly: If you have tall boots or high-top sneakers, consider adding a taller space between some shelves. Shorten others for flats or sandals.
- Play with Colors: Make your shoe rack stand out with a bold paint job. Or pick a stain that brings warmth to the wood.
- Add Backing or Side Panels: For a more finished look, fix plywood or fabric panels to the sides or back of the rack.
- Include Decorative Elements: Think about attaching molding or trim for a more sophisticated look. Even simple changes, like rounded edges, can add elegance.
- Functionality Upgrades: Adding wheels can make your shoe rack mobile, and incorporating hooks on the sides can hold scarves or umbrellas.
- Protective Lining: Lining the shelves with felt or cork can protect delicate footwear and add a touch of luxury.
Customizing your shoe rack is a chance to express your creativity and ensure it meets all your storage needs. Don’t hesitate to experiment with these tips to make it uniquely yours.
