Introduction
How to hang sawtooth hanger – Hanging pictures, artwork, or decorative items is a straightforward and effective way to personalize your living space and add a touch of charm to your walls. Among the various hanging methods, the sawtooth picture hanger stands out for its simplicity and versatility. This handy little hardware piece allows you to hang frames securely without the need for complicated tools or techniques. In just five easy steps, you’ll learn how to install a sawtooth hanger and have your artwork displayed beautifully in no time.
Hanging a picture or artwork using a sawtooth hanger is a straightforward process that can be completed with just a few tools and some careful measuring. This type of hanger is particularly useful for frames with a solid backing, like wooden ones, as it allows for level hanging and easy adjustments. Here’s a step-by-step guide on how to properly install and use a sawtooth hanger:
Tools and Materials You’ll Need
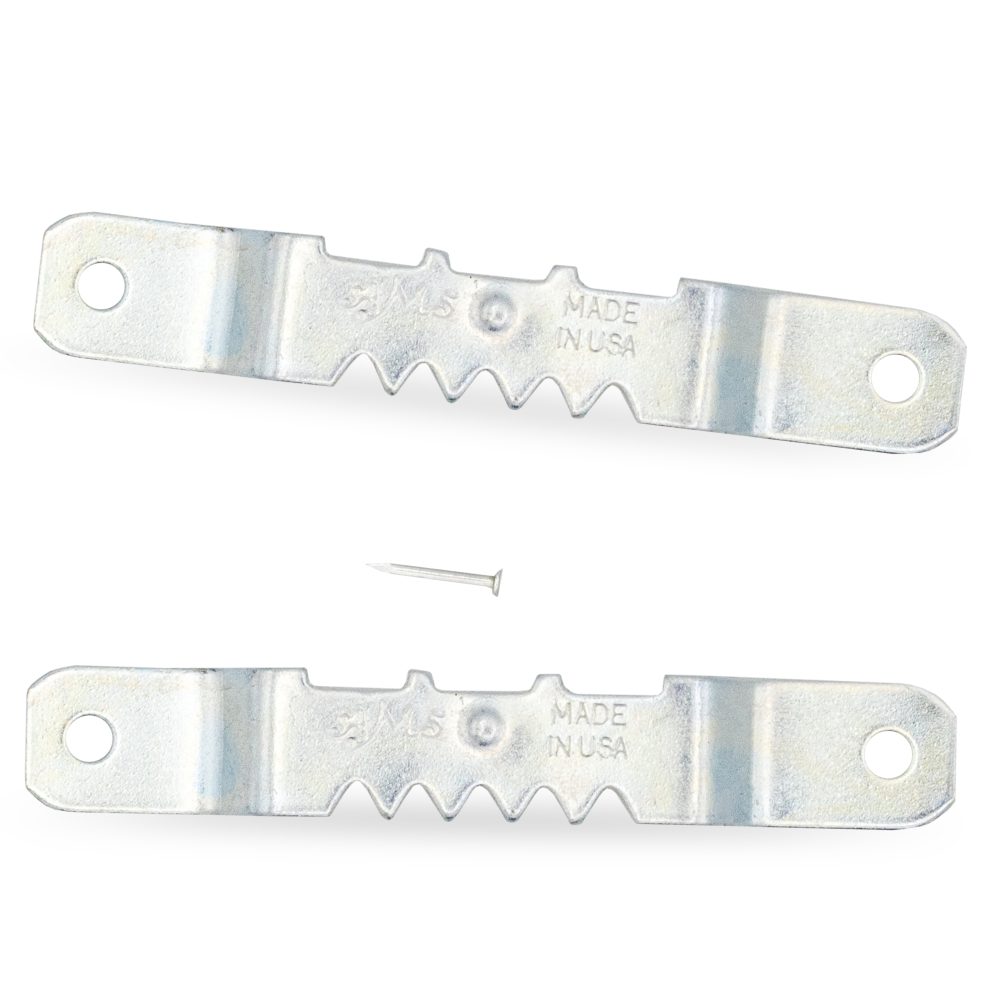
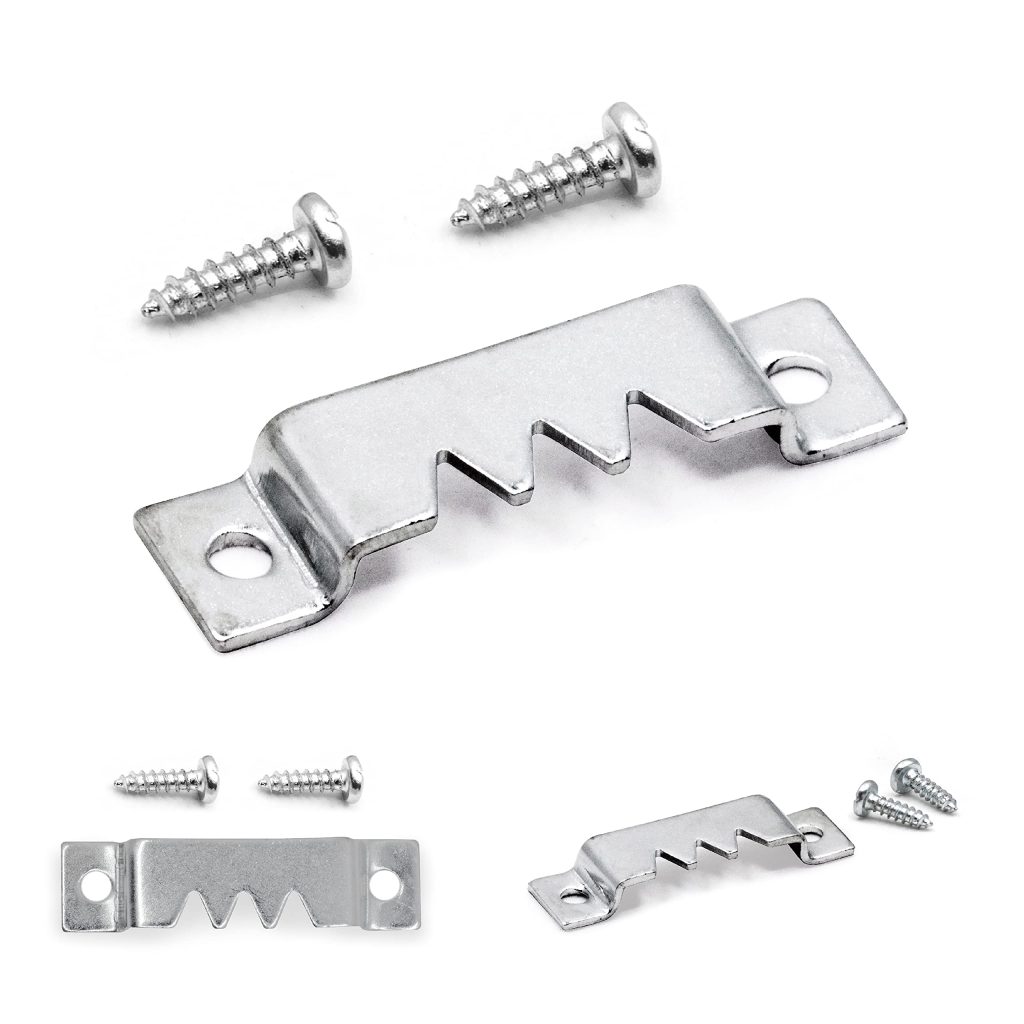
- Sawtooth hanger
- Hammer
- Pencil or marker
- Measuring tape or ruler
- Level (optional but recommended)
- Picture frame with a sturdy back
- Appropriate wall fixing (nail, screw, or anchor depending on the weight of the frame)
Choose the Right Location
Decide where you want to hang your picture. Use a measuring tape to ensure it’s at the desired height and in line with other frames or decorations, if applicable. A common rule of thumb is to position the center of the picture at eye level, which is typically around 57-60 inches from the floor.
Mark the Hanger Position
Turn the picture frame over and decide on the placement of the sawtooth hanger. It’s usually best to center it vertically on the frame’s backside. Measure and mark the spot with a pencil or marker. If your frame has pre-drilled holes for a sawtooth hanger, skip this step.
Attach the Sawtooth Hanger
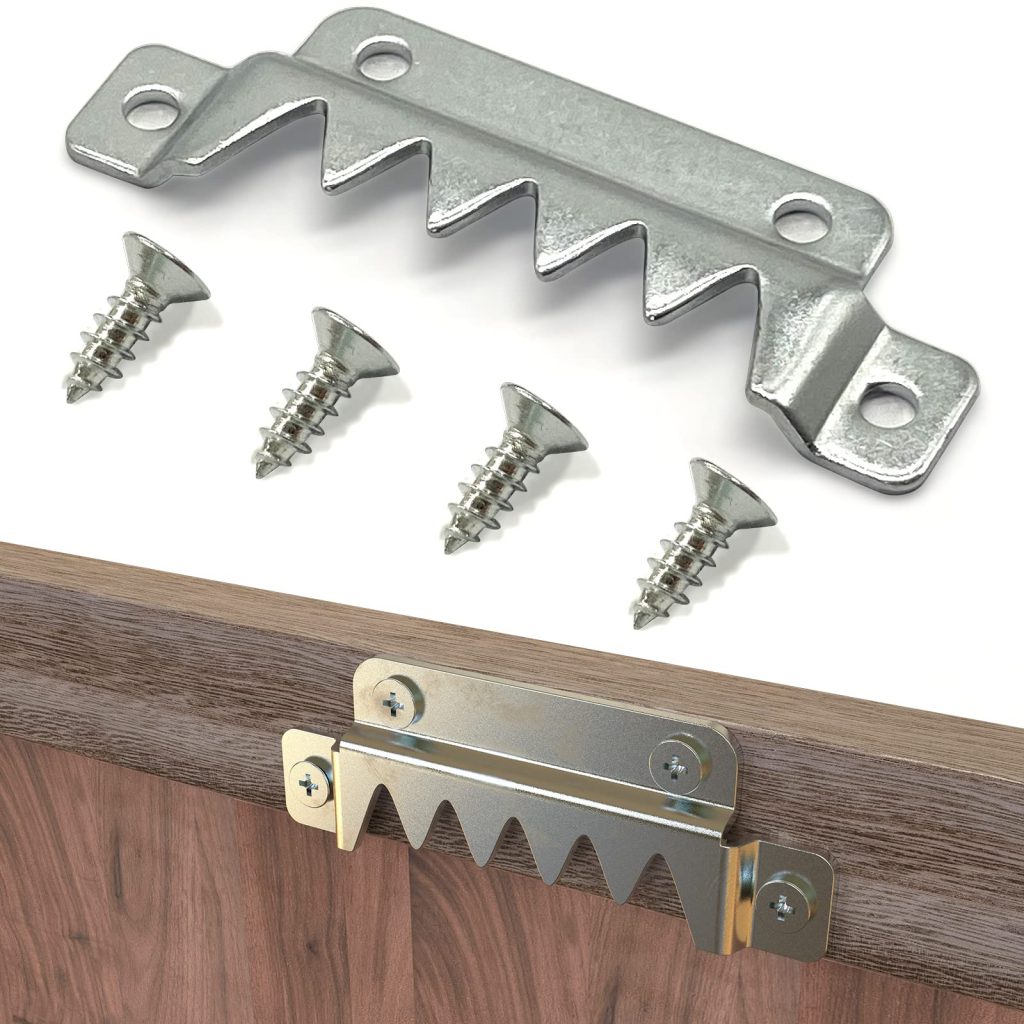
Hold the sawtooth hanger against the marked spot on the frame, making sure the teeth are facing downward. Gently tap the nails or screws provided with the hanger into the frame using a hammer. Be cautious not to hit too hard, as you could split the wood or damage the frame. Ensure the hanger is securely fastened but not protruding from the back of the frame.
Check for Level
Before hanging, it’s wise to check that the sawtooth hanger is level. You can do this by placing the frame on a flat surface or by using a level tool placed along the top edge of the frame. Adjust as necessary by gently bending the hanger if it’s not perfectly straight.
Prepare the Wall
Using a pencil, mark the spot on the wall where the nail will go. This should align with the center of the sawtooth hanger when the frame is held up against the wall. If you’re hanging something heavy, ensure you use an appropriate anchor for your wall type to support the weight.
Hang the Picture
Hammer the nail (or screw the hook) into the wall at the marked point. Make sure it’s secure but not too deep that it won’t hold the frame properly. Carefully lift your picture and align the sawtooth hanger over the nail on the wall. Gently lower the frame until it hangs securely.
Adjust and Finalize
Use a level once more to confirm the picture is hanging straight. If needed, slightly adjust the frame by lifting it off the nail and repositioning until it’s perfectly level. For minor adjustments, you can also gently push or tilt the frame while it’s on the nail.
Safety Tips and Considerations
- Always consider the weight of your frame and choose appropriate hardware to avoid accidents.
- When using a hammer or any tool, wear protective gear such as safety glasses.
- If you’re unsure about the strength of your wall or the appropriateness of the fixing method, consult a professional or do additional research on your specific wall type.
By following these steps, you can confidently hang your pictures or artwork using a sawtooth hanger, ensuring they are both secure and beautifully displayed.
Gather Your Materials
Before you begin, ensure you have all the necessary tools and materials at hand. For this project, you will need:
- A sawtooth picture hanger
- A hammer
- A measuring tape or ruler
- A pencil or marker
- A level (optional but recommended for ensuring a straight hang)
- The picture frame you wish to hang
Choose the Right Location
Decide where you want to hang your picture. Use the measuring tape to find the center of the wall or the desired height and mark it lightly with a pencil. If you’re hanging multiple pictures, consider creating a mock layout on the floor first to play around with arrangements before marking the wall. Remember, the center of the picture should be at eye level for optimal viewing pleasure.
Mark and Attach the Sawtooth Hanger
Turn your picture frame over and locate the top center (or wherever you prefer the hanger to be, depending on the frame’s balance). Using the measuring tape and pencil, mark the spot where the sawtooth hanger will go.
Now, take your sawtooth hanger and align its flat edge with the mark you made, making sure the teeth are pointing downwards. Gently tap the nails or screws of the hanger into the frame using the hammer. It’s crucial not to hit too hard to avoid splitting the frame. If your frame is particularly delicate or made of softer wood, you might want to pre-drill pilot holes to prevent cracking.
Check for Level and Adjust If Needed
Before hanging your picture, it’s wise to double-check that the sawtooth hanger is level. Hold the frame up against the wall, using the mark you made earlier as a guide. You can use a level placed on top of the frame to ensure it’s straight. If adjustments are needed, gently remove the hanger and reposition it accordingly, being careful not to damage the frame.
Hang Your Picture Securely
With the sawtooth hanger securely in place and leveled, it’s time to hang your picture. Drive a nail (preferably one that’s slightly thicker than the teeth of the hanger) into the wall at the marked spot, leaving about 1/4 inch protruding. Carefully lift your picture and hang it onto the nail, ensuring the teeth of the hanger catch onto the nail securely. Gently push the frame against the wall to make sure it’s firmly seated.
Safety Tips & Final Thoughts:
- Always be cautious when handling hammers and nails to avoid injury.
- If you’re hanging heavier frames, consider using two sawtooth hangers for added stability, spacing them evenly along the frame’s top edge.
- For peace of mind, consider using anchor screws if you’re hanging on drywall to support the weight of the frame adequately.
- After hanging your picture, stand back and admire your work! Adjustments may still be necessary to achieve perfect alignment, so don’t hesitate to make minor tweaks.

Safety Tips
- Always wear protective gear when using tools like hammers to avoid injury.
- Be cautious when hammering near finished surfaces to prevent damage.
- Ensure nails are hammered into studs or use appropriate wall anchors for heavier items to prevent the artwork from falling.
By following these steps, you can confidently and safely hang your wall art using a sawtooth hanger, adding a touch of personal style to your living space. Remember, practice makes perfect, and with time, you’ll become more efficient and precise in your hanging techniques.