Introduction
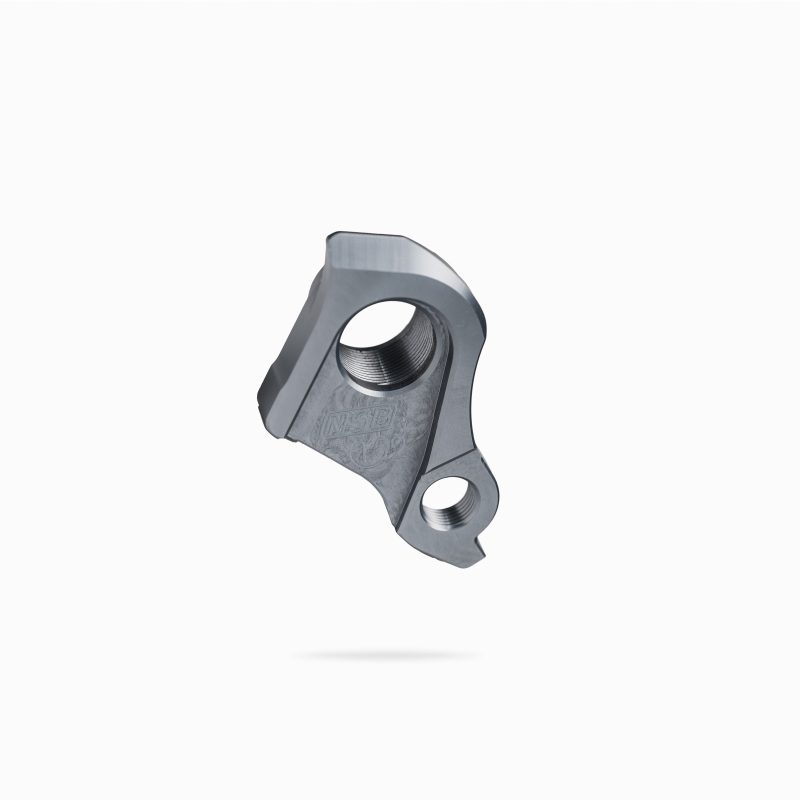
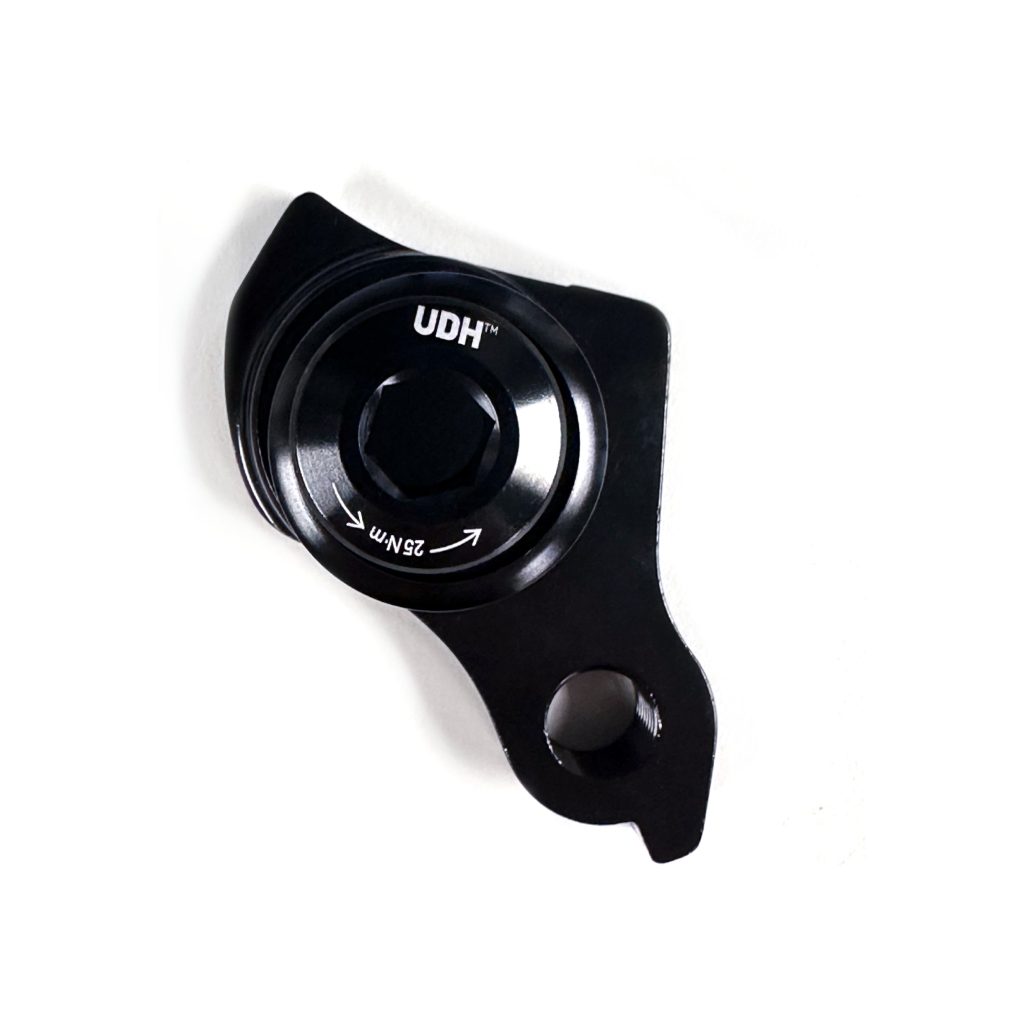
Udh derailleur hanger – Understanding and repairing bicycle derailleur hangers is an essential skill for any cyclist who wants to keep their bike running smoothly. A derailleur hanger, also known as a dropout or mech hanger, is a small but critical component found on the rear frame of most modern bicycles. Its primary function is to hold the rear derailleur in place and provide a mounting point that can absorb impact in case of a crash or chain-related incident, thus preventing damage to the frame itself. This guide will delve into the importance of derailleur hangers, how they work, common issues, and step-by-step instructions on inspecting, diagnosing problems, and making repairs.
Importance of Derailleur Hangers
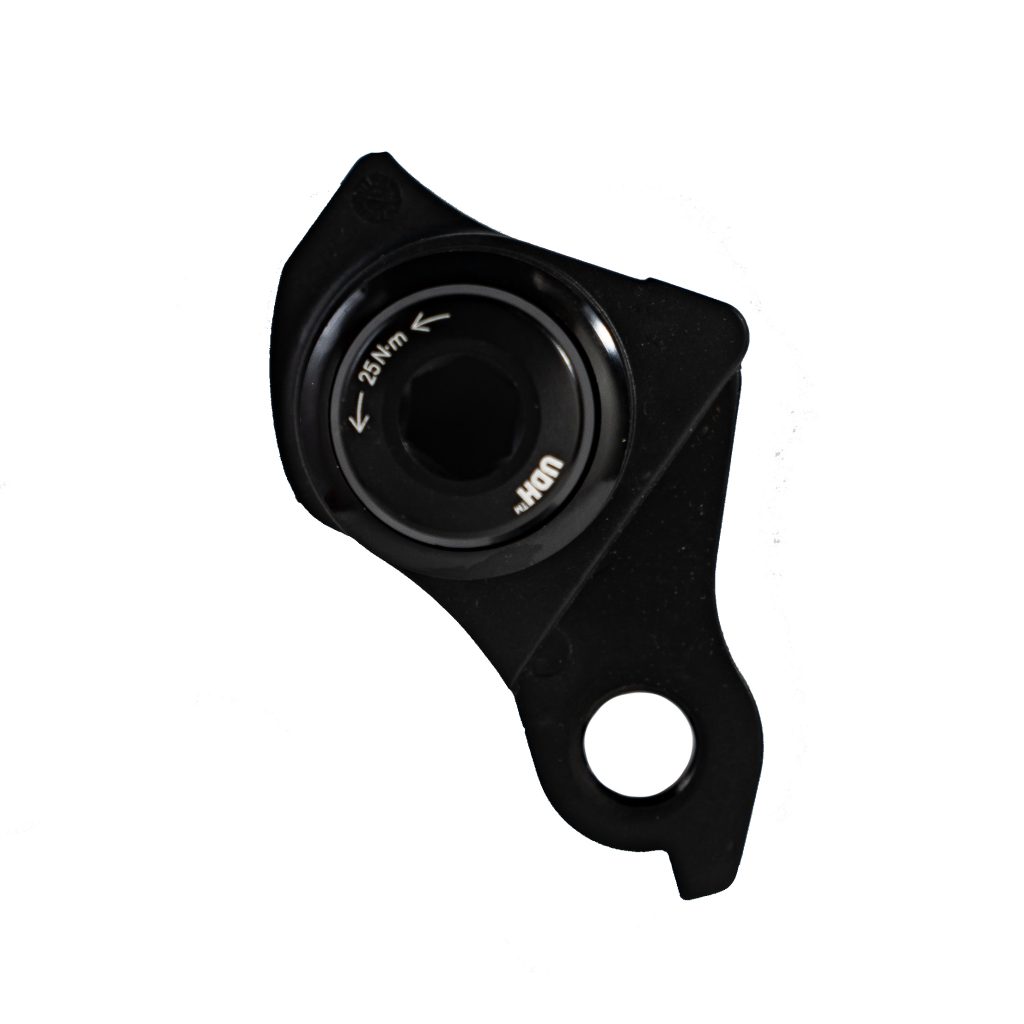
Derailleur hangers play a pivotal role in the shifting performance of your bicycle. They ensure that the derailleur is aligned correctly with the cassette, allowing for smooth gear changes. Since they are designed to bend or break under extreme force, they act as a sacrificial part, protecting the more expensive and integral parts of your bike’s drivetrain and frame.
How Derailleur Hangers Work
Derailleur hangers typically attach to the bike frame’s dropouts, which are the slots where the rear wheel axle sits. The hanger holds the rear derailleur at the correct distance from the cassette, enabling precise movement across the gears. Most modern hangers are made from aluminum due to its combination of strength and relative ease of bending, which allows them to deform instead of breaking outright.
Common Issues with Derailleur Hangers
- Misalignment: After a crash or heavy impact, the hanger may bend, causing the derailleur to be out of alignment with the cassette. This leads to poor shifting performance.
- Breakage: In severe cases, the hanger may break off completely, rendering the bike unrideable until it’s replaced.
- Wear and Tear: Over time, repeated bending and straightening can weaken the hanger, eventually necessitating replacement.
Inspecting and Diagnosing Problems
Visual Inspection
Start by examining the hanger visually for any signs of bending, cracks, or damage. Compare it to a known good hanger if possible, or consult your bike’s manual for the correct alignment.
Check Shifting Performance
Ride the bike and shift through all gears. If you notice skipping, difficulty changing gears, or链条 noise, these could indicate a problem with the hanger.
Test for Alignment
Use a derailleur hanger alignment tool or a straight edge to check the alignment. Place the tool against the hanger and the cassette to see if it’s straight. Any deviation indicates misalignment.
Repairing Derailleur Hangers
Straightening (If Applicable)
If the hanger is bent but not severely damaged, you can attempt to straighten it using a derailleur hanger alignment tool. Follow the manufacturer’s instructions carefully to avoid overcorrecting or causing further damage.
Caution: Do not attempt to straighten carbon frames or severely damaged hangers without professional help.
Replacement
In most cases, especially if the hanger is cracked or repeatedly bent, replacement is the best course of action. Hangers are often bike-specific, so identify the correct replacement part number (usually engraved on the original hanger) and purchase a new one.
Installing the New Hanger
Remove the old hanger (if still attached), clean the dropout area, and install the new hanger according to the manufacturer’s instructions. Ensure it is securely fastened and properly aligned before reinstalling the rear derailleur and adjusting the shifting.
Maintaining and repairing derailleur hangers is a straightforward process once you understand their function and the common issues they face. Regular inspections and prompt attention to any misalignments or damage can prevent more significant problems down the line, ensuring your bike remains safe and performs optimally. Always prioritize safety, and if in doubt about a repair, consult with a professional bike mechanic. Remember, a well-functioning derailleur hanger is key to enjoying smooth, reliable gear shifts on every ride.
What is a Derailleur Hanger?
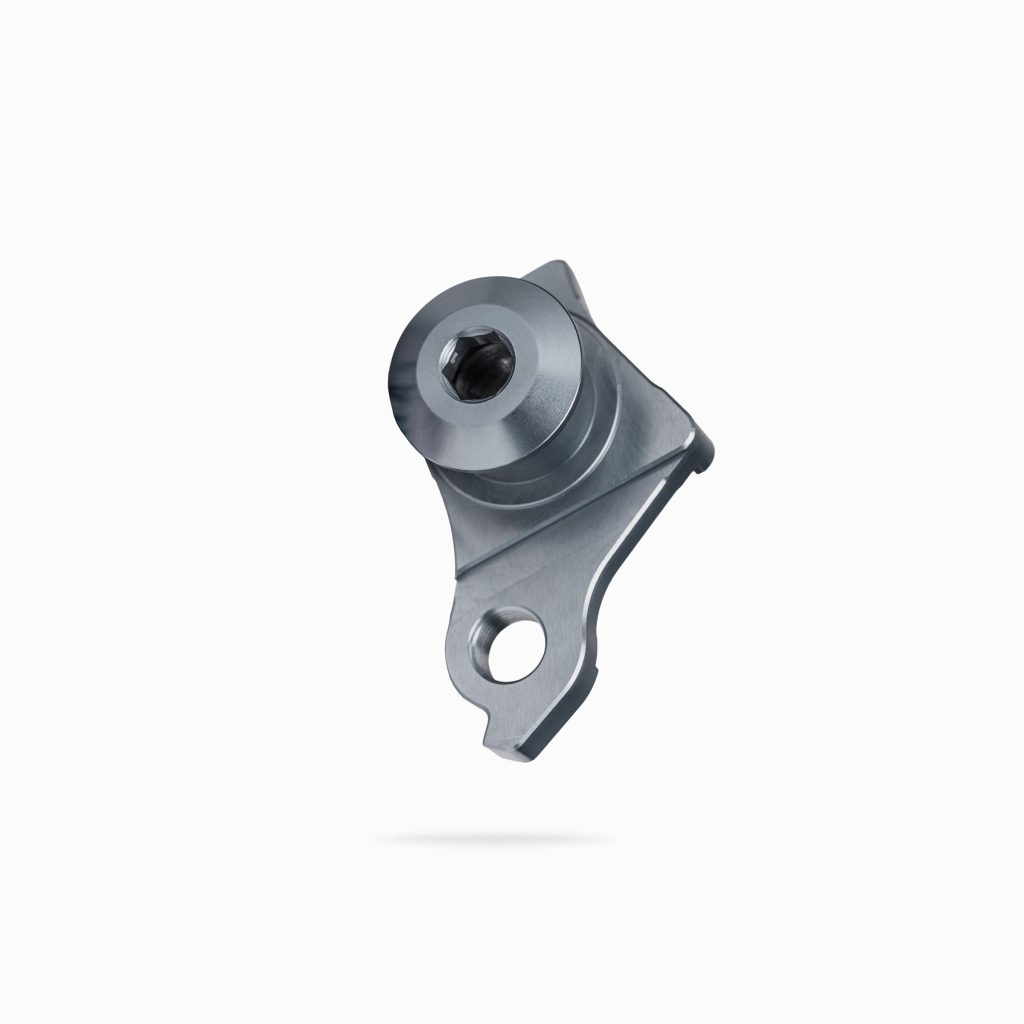
A derailleur hanger, sometimes referred to as a derailleur dropout, is a small metal component that connects the bicycle frame to the rear derailleur. It serves as the interface between the frame and the derailleur, allowing the derailleur to pivot and adjust the chain tension to achieve smooth gear shifts. Derailleur hangers are typically made from aluminum alloy to be lightweight yet durable.
Importance of Derailleur Hangers
The derailleur hanger is crucial because it directly affects the bike’s shifting accuracy and performance. A properly aligned hanger ensures that the derailleur moves in precise increments when shifting gears, maintaining chain tension and preventing misalignment that can lead to poor shifting or chain skipping. Additionally, derailleur hangers are designed to be sacrificial in nature; they are meant to bend or break in the event of an impact to protect the more expensive components like the frame or derailleur itself.
Common Issues with Derailleur Hangers
Several common issues can arise with derailleur hangers:
- Bending or Misalignment: Accidental impacts or mishandling can cause the derailleur hanger to bend out of its proper alignment, affecting gear shifting.
- Cracks or Damage: Excessive force or wear over time can lead to cracks or structural damage to the hanger, compromising its integrity.
- Thread Stripping: Since derailleur hangers are screwed into the frame, repeated installation and removal can wear out the threads, making it difficult to secure the derailleur properly.
Diagnosing Derailleur Hanger Issues
Before proceeding with any repairs or adjustments, it’s essential to diagnose whether the derailleur hanger is the source of the problem. Common symptoms of a faulty derailleur hanger include:
- Poor Shifting Performance: Difficulty shifting smoothly between gears or chain slipping during shifts.
- Noisy Drivetrain: Excessive noise or grinding sounds when pedaling, especially when changing gears.
- Visible Damage: Inspect the derailleur hanger visually for bends, cracks, or signs of wear.
Repairing or Replacing Derailleur Hangers
If you suspect issues with your derailleur hanger, here are steps to repair or replace it:
- Check Alignment: Use a derailleur hanger alignment tool (DAG) to assess and correct any misalignment. This tool ensures that the hanger is perfectly aligned with the rear derailleur and frame dropout.
- Straightening a Bent Hanger: If the hanger is slightly bent, carefully straighten it using a proper alignment tool. Avoid excessive force, as this can further damage the hanger or frame.
- Replacing a Damaged Hanger: If the hanger is severely bent, cracked, or damaged beyond repair, it’s advisable to replace it entirely. Most bike shops carry replacement derailleur hangers specific to your bike model.
- Installation: When installing a new hanger, apply grease to the threads to prevent seizing and ensure a secure fit. Use a torque wrench to tighten the hanger bolt to the manufacturer’s specifications.
- Test and Adjust: After replacing or realigning the derailleur hanger. Test the bike’s shifting performance through the full range of gears. Make adjustments as needed to achieve smooth and precise shifting.
Preventative Maintenance
To extend the life of your derailleur hanger and maintain optimal performance:
- Regular Inspections: Check the derailleur hanger periodically for signs of damage or misalignment.
- Careful Handling: Handle your bike carefully, especially when transporting or storing, to avoid impacts that could damage the hanger.
- Proper Installation: When reinstalling the derailleur or making adjustments, follow manufacturer guidelines and torque specifications.
Conclusion
Understanding how derailleur hangers work and knowing how to diagnose and repair issues associated with them is essential for any cyclist. By maintaining your derailleur hanger properly and addressing issues promptly. You can ensure smooth gear shifts, prolong the life of your drivetrain components. And enjoy a more comfortable and efficient riding experience. If you’re uncertain about performing repairs yourself, consult a professional bike mechanic for assistance.
