Introduction
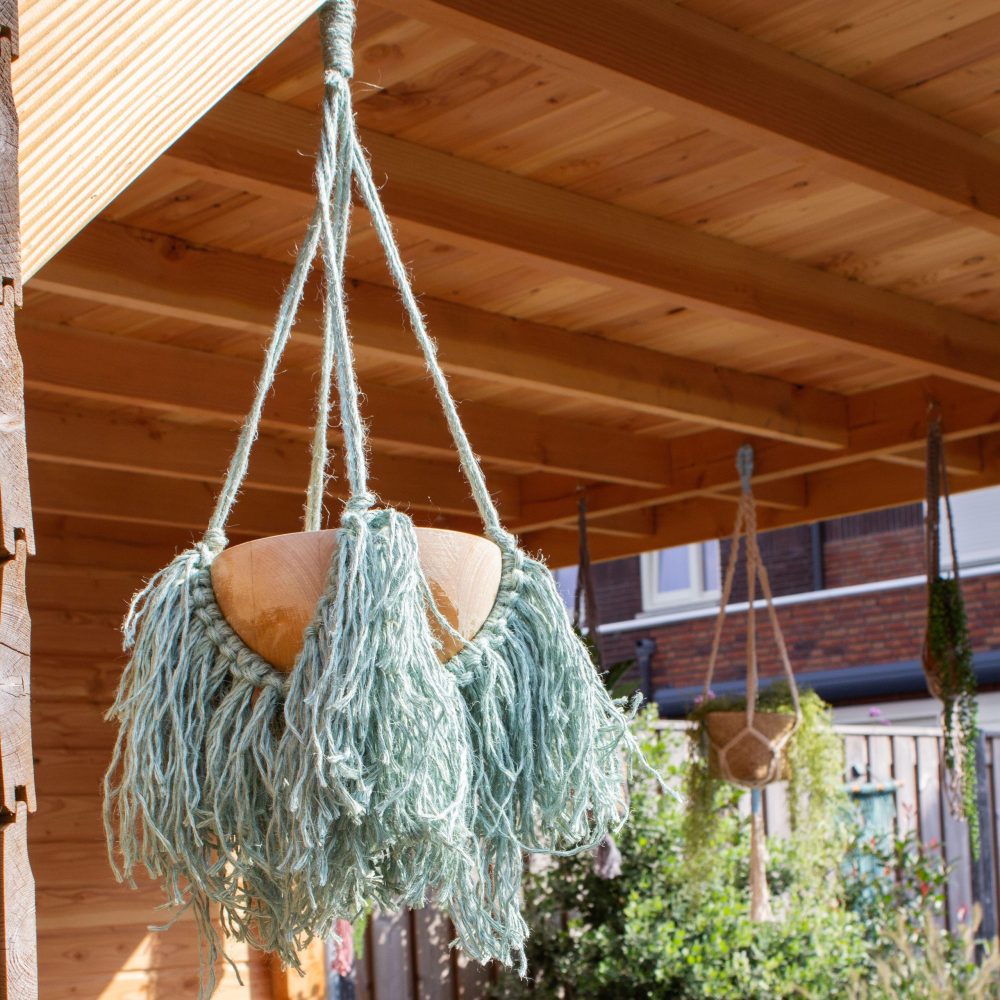
Diy macrame plant hanger – Transform your living space into a bohemian oasis by adding a touch of greenery suspended in the air with a handmade macramé plant hanger. Macramé, the art of knotting cords and ropes to create intricate patterns, has made a comeback in recent years as a trendy way to decorate homes with a natural, boho-chic vibe. This step-by-step guide will walk you through the process of crafting your own macramé plant hanger, perfect for displaying your favorite potted plants in style.
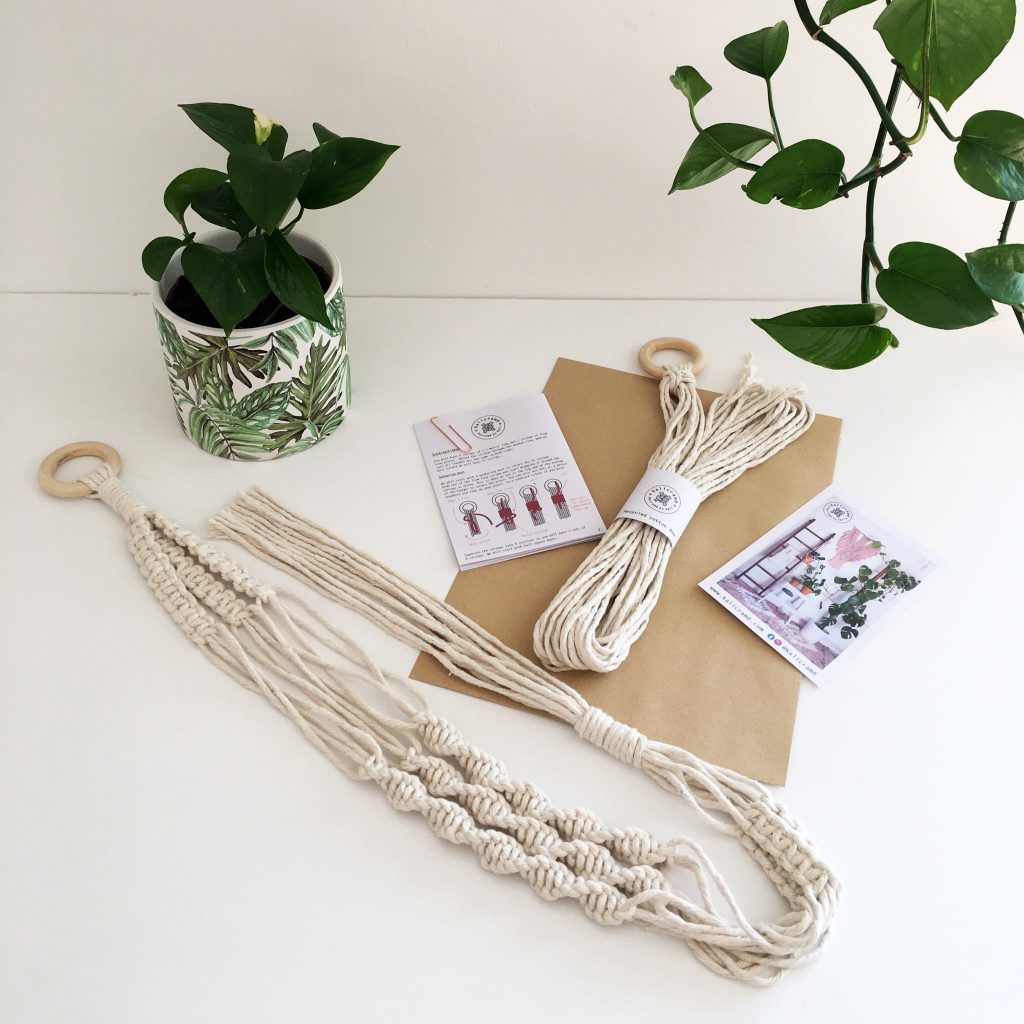
Materials and Tools Checklist
To begin your macramé journey, gather the following materials and tools:
- Macramé Cord: Approximately 70-100 feet of 3mm-4mm thick cotton cord, depending on the desired length and thickness of your hanger.
- Scissors: Sharp fabric scissors to cut the cord.
- Tape Measure: For measuring and ensuring symmetry in your knots.
- Plant Pot: Choose a pot that complements your decor and is lightweight enough to be hung safely.
- S-Hook or Ceiling Hook: To hang your completed macramé plant hanger.
- Optional: Wooden ring or metal hoop for the top of the hanger to add stability and a decorative touch.
Knots You’ll Need to Know
Mastering a few basic knots is key to creating a macramé plant hanger. The most common ones used are:
- Lark’s Head Knot: Used to start the project by attaching cords to the ring or to another cord.
- Square Knot: Forms the main body of the hanger and creates patterns.
- Half Hitch Knot: Often used in conjunction with square knots for variation and detail.
Step-by-Step Instructions
Preparing the Cords
Cut eight equal lengths of cord, each about 10-12 feet long, depending on how long you want your hanger to be. Fold each cord in half and attach them to your wooden ring or hoop using a Lark’s Head Knot. This should leave you with 16 strands hanging down.
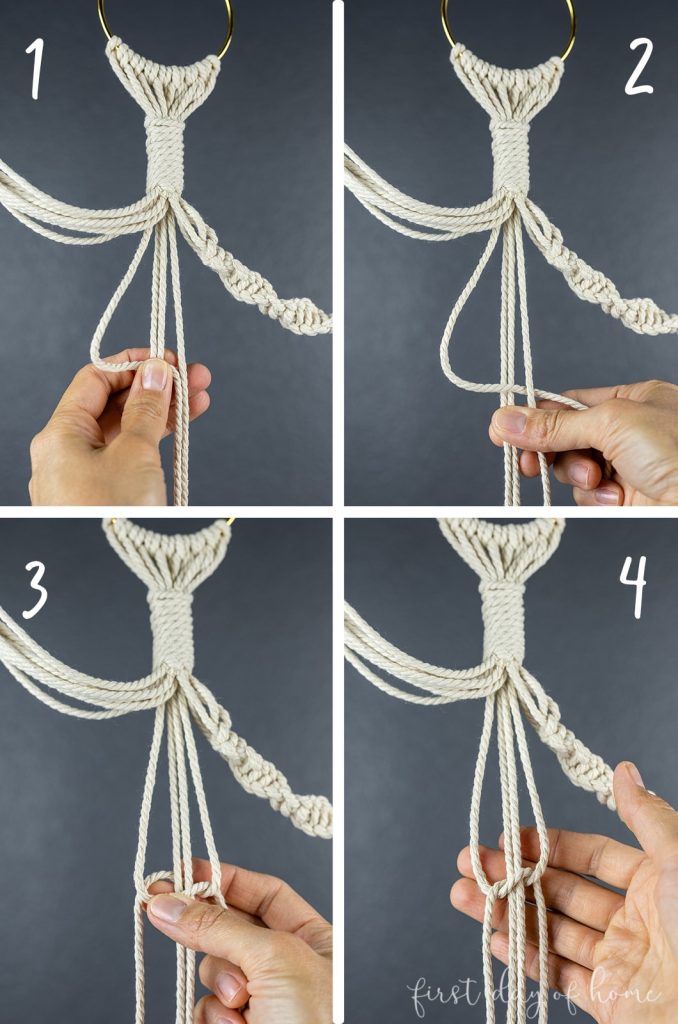
Creating the Base
Separate the cords into four groups of four strands each. Within each group, tie a row of square knots, about 4-6 inches down from the wooden ring, leaving some space at the top for adjustment. The square knots are formed by taking the left two cords, crossing them over the middle two, then under the right two, and finally pulling the ends through the loop created on the left. Repeat with the right two cords going over the middle and through the loop on the right. Tighten gently to create the knot.
Building the Body
Continue knotting rows of square knots, alternating the starting cords in each group to create a braided effect. After a few rows, you can introduce half hitch knots or other patterns for variation. Measure against your plant pot periodically to ensure the hanger will fit snugly.
Creating the Basket
When the hanger reaches the desired length, separate the cords into groups of four again. Begin tying knots around the circumference of the “basket,” where the pot will sit. You can use alternating square knots or a series of half hitch knots to create a net-like structure. Adjust the spacing to accommodate the width of your pot.
Finishing Touches
Once the basket is complete, gather all the cords together and tie a few knots at the bottom to create a fringe or tassel effect. Trim the ends evenly for a neat finish. Alternatively, you can braid the cords together for a different look.
Hanging Your Masterpiece
Attach an S-hook or ceiling hook to your desired location, ensuring it can bear the weight of your plant and hanger. Slip the wooden ring or hoop onto the hook, adjusting the length of the cords as needed for a balanced hang.
Personalizing Your Macramé Plant Hanger
- Color and Texture: Experiment with cords in various colors or textures to match your decor or to add pops of color.
- Beading and Embellishments: Incorporate beads, shells, or feathers into your knots for a unique, bohemian touch.
- Multiple Layers: Create multiple tiers in your hanger to accommodate more than one plant or to add visual depth.
Creating a macramé plant hanger not only results in a beautiful and functional piece for your home but also serves as a relaxing and meditative crafting activity. With each knot tied, you’re weaving a little bit of nature and tranquility into your living space, celebrating the harmony between handmade crafts and the beauty of greenery.

Why Make Your Own Macramé Plant Hanger?
Making a macramé plant hanger offers several benefits:
- Personalization: Choose your preferred colors, materials, and knot patterns to match your home décor and style.
- Cost-Effective: DIY allows you to create beautiful plant hangers at a fraction of the cost of buying them.
- Creative Expression: Experiment with different knotting techniques to create unique designs.
- Satisfaction: Enjoy the satisfaction of creating something handmade that enhances your living space.
Materials Needed
Before starting your project, gather the following materials:
- Macramé Cord: Choose a sturdy cord suitable for macramé, such as cotton or jute. The thickness depends on your design preference.
- Wooden Ring or Hoop: This will serve as the top of your plant hanger.
- Scissors: Sharp scissors for cutting the cord.
- Measuring Tape or Ruler: To measure the length of cord needed for each section.
- Pot or Planter: Choose a pot or planter that fits well with your macramé design.
- Optional Embellishments: Beads, feathers, or other decorative items to customize your hanger.
Step-by-Step Instructions
Prepare Your Workspace
Set up a comfortable workspace with good lighting where you can work on your project without interruptions. Consider using a flat surface or a clipboard to secure your work.
Cut Your Cords
Cut several lengths of cord, ensuring they are long enough for your desired length of plant hanger. A common starting point is about 8 cords, each around 4 times the desired length of your hanger, to account for knotting.
Attach Cords to the Hoop
Fold each cord in half and attach it to the wooden hoop using a lark’s head knot. Repeat until all cords are attached, evenly spaced around the hoop.
Begin Knotting
Start knotting the cords using your chosen macramé knot patterns. Popular knots for plant hangers include the square knot, spiral knot, and alternating square knot patterns. You can find detailed tutorials and patterns online to guide you through each knot.
Create the Body of the Hanger
Continue knotting until you reach your desired length for the body of the hanger, leaving enough room at the bottom for your pot or planter.
Finish the Hanger
Finish off the hanger with a gathering knot or another decorative knot pattern. Trim the ends of the cords evenly to create a neat finish.
Add Your Plant
Place your pot or planter into the macramé hanger. Adjust the knots as necessary to ensure the pot sits securely within the hanger.
Optional Embellishments
If desired, add beads, feathers, or other embellishments to the cords for a personalized touch.
Tips for Success
- Practice Makes Perfect: Experiment with different knotting techniques on spare cord before starting your hanger.
- Measure Carefully: Ensure each section of cord is measured accurately to maintain symmetry.
- Secure Knots Tightly: Tight knots will ensure your plant hanger is sturdy and secure.
Conclusion
Crafting your own macramé plant hanger is a delightful way to enhance your living space with a touch of boho-chic style. Whether you’re creating a single hanger or a series of them to display throughout your home, the process allows you to unwind, express your creativity, and enjoy the satisfaction of a handmade piece. Embrace the beauty of natural materials, experiment with knotting techniques, and create a stunning addition to your décor that showcases both your craftsmanship and your green thumb. Happy crafting!