Introduction
Refreshing your bathroom’s look can be as simple as updating fixtures like towel bars. Whether you’re redecorating or replacing old hardware, safely removing a towel bar is a straightforward DIY project that can give your bathroom a fresh, updated appearance. Here’s a comprehensive guide to help you through the process step-by-step:
Tools and Materials You Will Need:
- Screwdriver (Phillips or flathead depending on your towel bar)
- Utility knife or putty knife
- Pliers
- Measuring tape
- Patch kit (for repairing holes if necessary)
- Paint or wall covering (optional, for touch-ups or to cover old holes)
Step-by-Step Guide to Remove a Towel Bar:
Prepare the Work Area:
- Clear the Surrounding Space: Remove any towels or items hanging from the towel bar. Clear the area around the towel bar to give yourself space to work.
Locate and Identify Attachment Points:
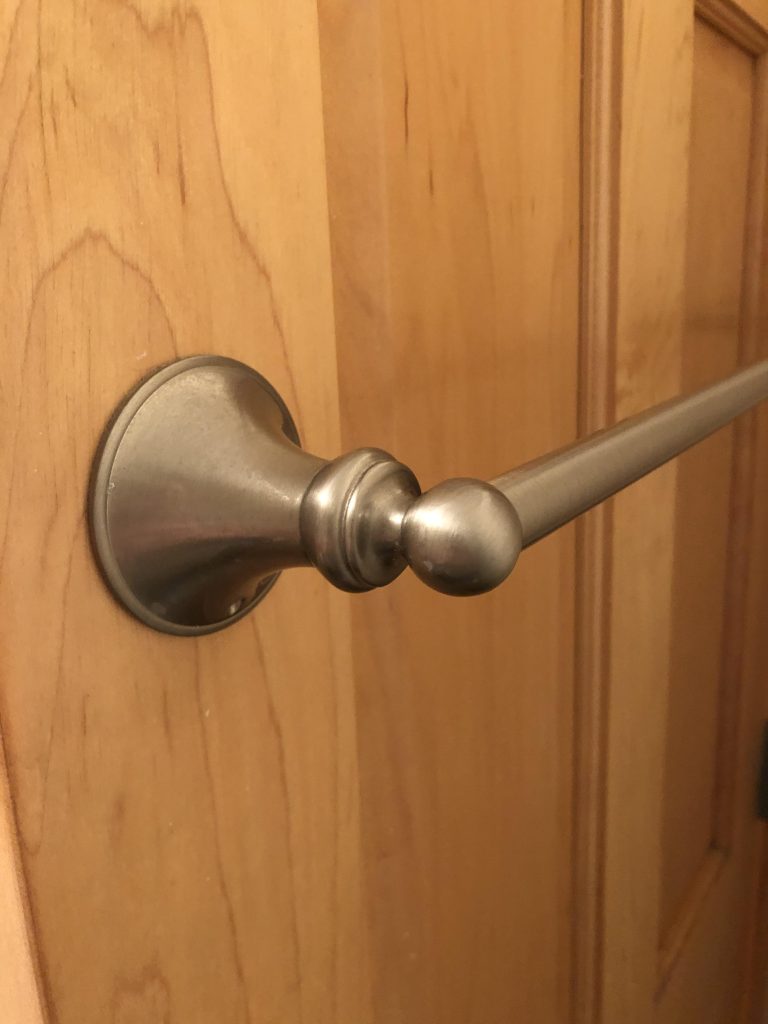
- Inspect the Towel Bar: Identify how the towel bar is attached to the wall. Most towel bars are attached with screws concealed by decorative covers or end caps.
Remove Decorative Covers:
- Use a Utility Knife: Carefully insert a utility knife or putty knife under the edge of the decorative cover or end cap. Gently pry it away from the wall to reveal the screws beneath.
Unscrew the Towel Bar:
- Use a Screwdriver: Depending on the type of screws used, use a Phillips or flathead screwdriver to unscrew the screws holding the towel bar in place. Hold onto the towel bar as you remove the last screw to prevent it from falling.
Detach the Towel Bar:
- Remove the Brackets: Once the screws are removed, carefully detach the brackets or mounting hardware from the wall. If the brackets are glued or caulked to the wall, gently pry them away using a putty knife.
Patch and Repair Holes (if necessary):
- Fill Holes: Use a patch kit to fill any holes left behind by the screws or brackets. Follow the manufacturer’s instructions for mixing and applying the patching compound.
- Sand Smooth: Once the patching compound is dry, sand it smooth with fine-grit sandpaper to blend it with the surrounding wall surface.
Touch Up the Wall (if necessary):
- Paint or Cover: If the wall surface is damaged or uneven after patching, consider painting the entire wall or using wall covering to refresh the area. This step helps to seamlessly integrate any repairs with the rest of the bathroom decor.
Install a New Towel Bar (optional):
- Measure and Mark: If you’re replacing the old towel bar with a new one, measure and mark the desired location using a measuring tape and level.
- Follow Manufacturer’s Instructions: Install the new towel bar according to the manufacturer’s instructions. Use new mounting hardware if necessary and ensure it is securely attached to the wall.
Tips for Success:
- Work Carefully: Take your time to avoid damaging the wall during removal. Use gentle pressure when prying off decorative covers or end caps.
- Safety First: Wear safety goggles when using tools to protect your eyes from debris.
Double-Check Measurements: Ensure the new towel bar is installed at a comfortable height and level with other fixtures in the bathroom.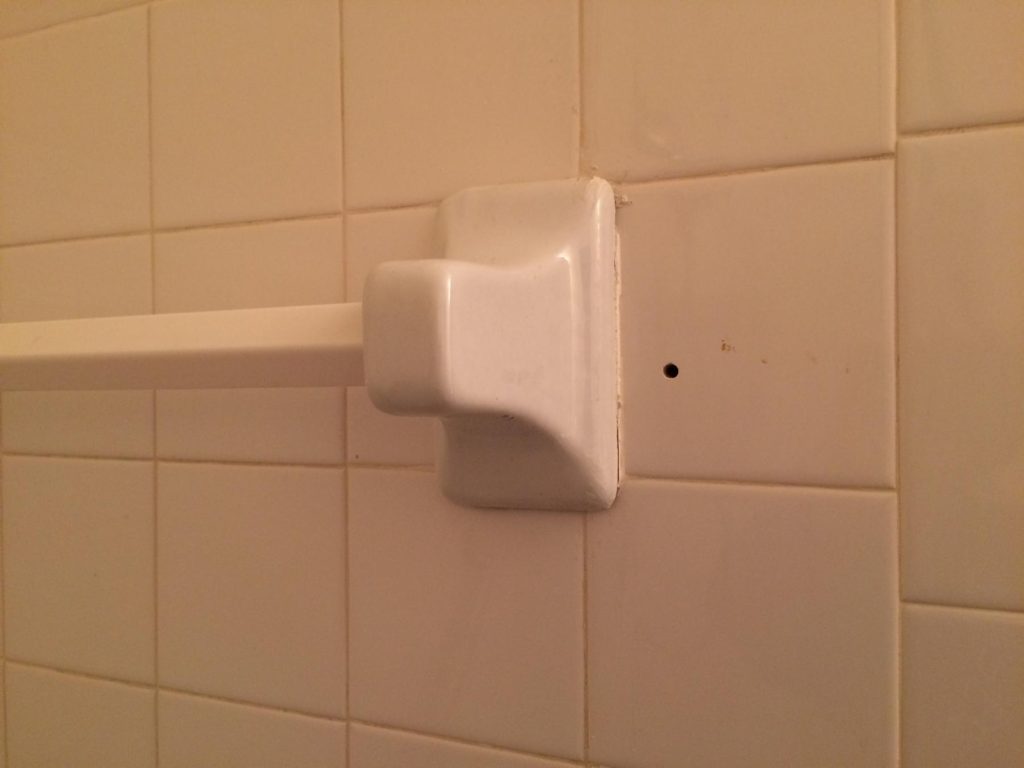
Additional Steps for Removing a Towel Bar:
Address Stubborn Adhesive:
- Use Heat (if applicable): If the towel bar was mounted with adhesive or silicone caulk, you may need to apply heat to soften the adhesive. Use a hairdryer on a low setting to warm the adhesive, then gently pry the towel bar away with a putty knife.
- Adhesive Remover: For persistent adhesive residue, apply a commercial adhesive remover according to the manufacturer’s instructions. This will help dissolve the remaining adhesive for easier removal.
Inspect and Clean the Wall:
- Inspect for Damage: After removing the towel bar and any adhesive, inspect the wall surface for any remaining damage or residue.
- Clean the Area: Wipe down the wall with a clean, damp cloth to remove any dust, debris, or residue left behind from the removal process.
Evaluate Wall Condition:
- Assess for Repairs: If the wall surface is damaged beyond minor holes, consider repairing it with drywall patching compound or spackling paste. Sand down any rough areas until smooth before proceeding.
Touch-Up and Finishing:
- Paint or Wallpaper: Depending on the extent of repairs needed, you may need to touch up the wall with matching paint or apply a new section of wallpaper to blend in with the existing decor.
Dispose of Old Hardware:
- Proper Disposal: Dispose of the old towel bar, screws, and mounting hardware responsibly. Recycle metal components if possible, and dispose of plastic or other materials according to local regulations.
Tips for Removing Stubborn Towel Bars:
- Patience is Key: Removing a towel bar can sometimes be challenging, especially if adhesive or caulk was used. Take your time and proceed carefully to avoid damaging the wall.
- Use the Right Tools: Ensure you have the appropriate tools for the job, including a utility knife, screwdriver, pliers, and possibly a hairdryer and adhesive remover.
- Protect Surrounding Surfaces: Place a towel or cloth beneath the work area to catch debris and protect your bathroom fixtures and flooring.
Additional Considerations:
Check for Electrical Wiring or Plumbing:
- Safety First: Before starting any work, ensure there are no electrical wires or plumbing pipes behind the wall where you’ll be removing the towel bar. Use a stud finder if necessary to locate studs and avoid cutting into them accidentally.
Repairing Larger Holes:
- Use a Patch Kit: For larger holes left behind by the towel bar brackets, use a drywall patch kit. Follow the instructions provided with the kit to patch the hole, sanding it smooth once the compound is dry.
Replacing with a Different Style:
- Consider Your Options: If you’re replacing the old towel bar with a new one of a different style or size, ensure the new mounting hardware matches up with the existing holes or plan to fill and paint over them accordingly.
Updating Bathroom Decor:
- Coordinate with Other Fixtures: Use the opportunity to update other bathroom fixtures or hardware to create a cohesive look. Matching towel bars, toilet paper holders, and robe hooks can enhance the overall aesthetic.
Additional Tips:
- Label Parts: If you plan to reuse the towel bar or its components elsewhere, label the parts or store them in a safe place during removal to avoid misplacing or damaging them.
- Assess Wall Material: Different wall materials (drywall, tile, plaster) may require slightly different removal techniques. Adjust your approach accordingly to avoid unnecessary damage.
- Seek Professional Help if Needed: If you encounter challenges such as stubborn adhesive, extensive damage, or uncertain wall composition, consider consulting a professional for assistance to ensure the job is done correctly.
Environmental Considerations:
- Recycle Materials: Whenever possible, recycle metal parts and dispose of plastic or other materials responsibly to minimize environmental impact.
Conclusion:
Removing a towel bar is a DIY project that can be completed in a few simple steps with basic tools. By following this guide, you can safely remove an old towel bar and refresh your bathroom’s look quickly and efficiently. Whether you’re preparing for a complete bathroom makeover or just updating hardware, this process allows you to make a noticeable change to your bathroom’s appearance with minimal effort. Always remember to work carefully and consider updating other fixtures or accessories to achieve a cohesive new look for your bathroom space.
